Yosemite landscape photography 2026 guide
Master Yosemite landscape photography 2026 with our expert guide to capturing iconic valley views and majestic waterfalls.
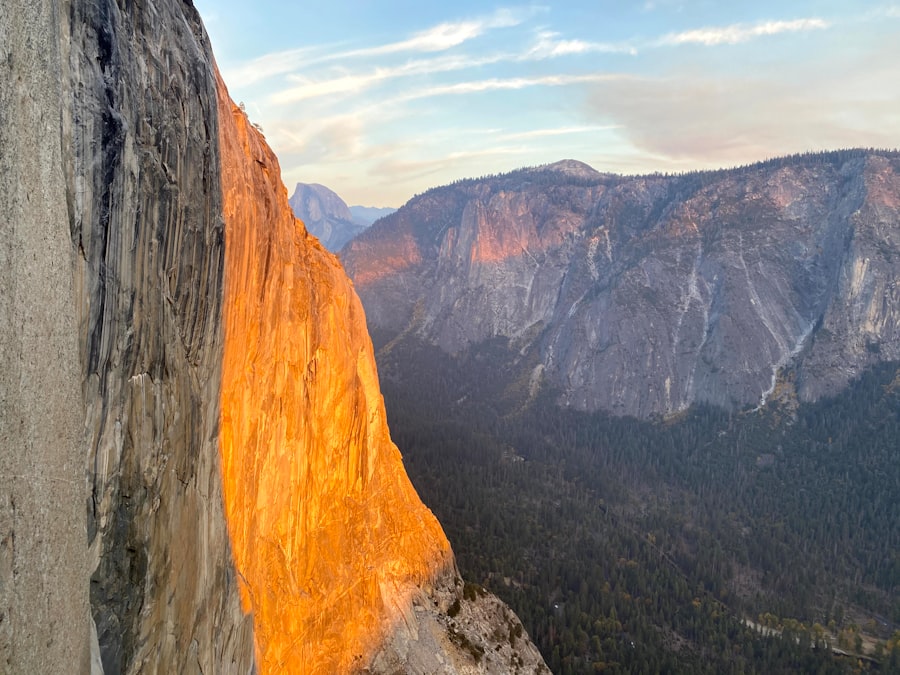
If you want to capture breathtaking images of California's most famous national park, this Yosemite landscape photography 2026 guide will show you how to master the light, gear, and camera settings for stunning results.
I still remember my first trip to Yosemite Valley a decade ago. I woke up at 4:00 AM, hiked to Tunnel View in the freezing cold, and waited for the sun to hit El Capitan. When the light finally broke, I clicked the shutter, feeling like a professional. But when I got home and opened the files on my computer, my heart sank. The sky was a bright, featureless white, and the valley floor was pitch black. My camera had been fooled by the extreme contrast of the granite cliffs. Since that disappointing day, I have spent years perfecting my approach. Today, I am going to teach you how to avoid my early mistakes so your photos look spectacular right from the start.
Understanding Your Camera Settings for Yosemite
To get the most out of your Yosemite landscape photography 2026 adventures, you must move away from automatic mode. Your camera is smart, but it cannot feel the emotion of a Yosemite sunrise. We need to take control of the settings to capture the true spirit of the wilderness.
First, let us look at the foundation of every great landscape image: the balance between image quality and detail. This starts with choosing the right file format. You should always shoot in RAW rather than JPEG. A JPEG is a compressed file where the camera makes permanent decisions about color and contrast. A RAW file, however, saves all the unprocessed data captured by your camera sensor. This gives you the ultimate control to recover shadow details in dark pine trees or bright highlights in clouds when you edit your photos later.
Next, you must manage your ISO. ISO measures your camera sensor's sensitivity to light. A low ISO, like ISO 100, produces the cleanest images with the least amount of digital noise or grain. As you increase the ISO to 1600 or higher, the camera can shoot in darker conditions, but the image will become grainy. For clean, sharp mountain peaks, always aim to keep your ISO as low as possible and use a sturdy tripod to support your camera during longer exposures.
Recommended Settings for Yosemite Landscapes
- File Format: RAW (for maximum dynamic range recovery)
- Exposure Mode: Aperture Priority (A or Av) or Manual (M)
- ISO: 100 to 400 (keep it low to prevent digital noise)
- Aperture: f/8 to f/11 (the sweet spot for front-to-back sharpness)
- White Balance: Daylight or Cloudy (to capture the warm mountain tones)
Mastering Composition in the Valley
Composition is the art of arranging elements within your frame to tell a story. When you face massive structures like Half Dome, it is easy to get overwhelmed and just point and shoot. The secret is to slow down and organize your frame using classic rules of design.
Now try this: use the Rule of Thirds. Imagine your viewfinder is divided into a grid of nine equal rectangles by two horizontal lines and two vertical lines. Instead of putting El Capitan right in the center of the frame, place it along one of the vertical lines. If the Merced River is flowing through your scene, place the riverbank along the bottom horizontal line. This simple adjustment instantly makes your image look more balanced and dynamic.
Another powerful tool is controlling your depth of field to guide the viewer's eye. While portrait photographers love a shallow depth of field to create beautiful Bokeh (the soft, blurry background that isolates a subject), landscape photographers usually want the opposite. We want a deep depth of field so that wildflowers in the foreground and granite peaks miles away are all perfectly sharp. You can achieve this by choosing a small aperture, such as f/11.
The Golden Rule of Yosemite Exposure: When photographing bright granite walls against dark forests, use Exposure Compensation to darken your image by 0.5 or 1.0 stops. This prevents the bright rock surfaces from overexposing and losing their beautiful natural textures.
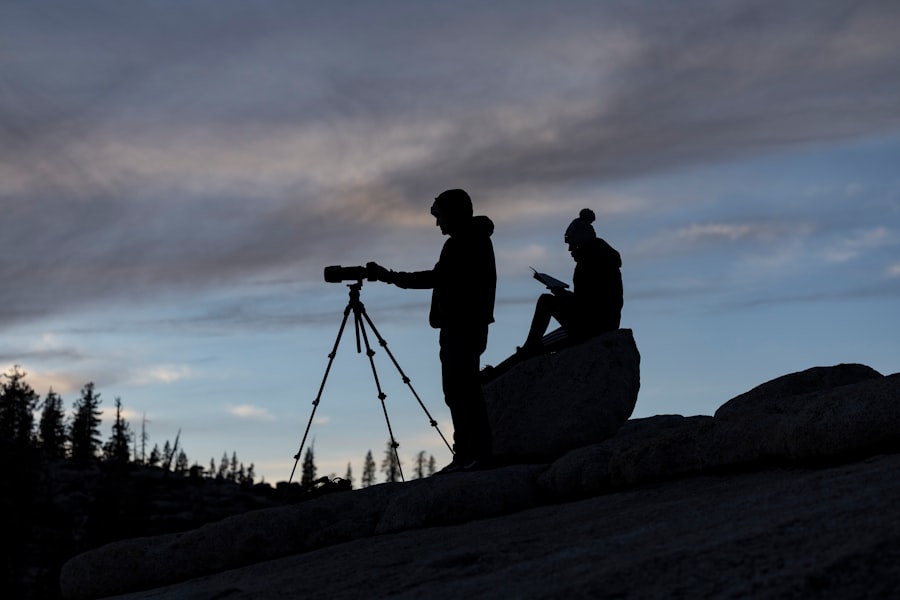
Step-by-Step Guide to Shooting a Yosemite Sunset
As you plan your Yosemite landscape photography 2026 trip, you must prepare for the fast-changing light of sunset. Follow this step-by-step method to capture the famous orange glow on the granite peaks.
Step 1: Scout Your Location Early
Do not show up five minutes before the sun goes down. Arrive at least one hour early at spots like Sentinel Bridge or Valley View. This gives you time to set up your tripod, compose your shot, and analyze how the shadows are falling across the valley.
Step 2: Secure Your Gear on a Sturdy Tripod
As the sun dips below the hills, the light levels will drop quickly. Your shutter speed will slow down to a fraction of a second. To avoid camera shake and blurry photos, mount your camera securely on a tripod and use a two-second self-timer delay so your hand does not shake the camera when you press the button.
Step 3: Monitor Your Histogram
Do not trust the image on your camera LCD screen, as it can look brighter than it actually is in the dark. Instead, look at the histogram, which is a small graph showing the distribution of light and dark tones. Make sure the graph is not touching the far-right edge (which means your highlights are blown out) or the far-left edge (which means your shadows are completely black).
Must-Have Gear for Your 2026 Photography Trip
Having the right tools will make your Yosemite landscape photography 2026 experience much more enjoyable and successful. You do not need the most expensive gear on the market, but you do need reliable equipment that can handle the outdoor elements.
- Wide-Angle Zoom Lens: A 16-35mm lens is perfect for capturing the vast scale of the valley floor and towering cliffs.
- Telephoto Zoom Lens: A 70-200mm lens allows you to zoom in on the texture of the granite walls or isolate distant waterfalls.
- Polarizing Filter: This filter reduces glare on water surfaces and helps the green pine trees and blue skies pop with natural contrast.
- Sturdy Travel Tripod: Essential for keeping your camera steady during low-light golden hour shoots.
To ensure your camera body and lenses are up to the task, check out the official equipment guides on Canon or Nikon to find weather-sealed options that protect against the mist of Yosemite's roaring waterfalls.
Before and After: Fixing a Flat Landscape
Let us look at a common scenario to see how these techniques work in real life. Imagine you are standing at Valley View on a cloudy afternoon.
The Before: You shoot in JPEG on automatic mode. The camera tries to make everything average. The sky looks grey and washed out, the Merced River looks dull, and El Capitan has no definition. The image feels flat, boring, and looks nothing like the majestic scene you are witnessing.
The After: You switch your camera to RAW format. You set your aperture to f/11 for maximum sharpness and drop your ISO to 100. You attach a circular polarizer to cut the glare on the river water, revealing the colorful river stones below. Because you are shooting in RAW, you can later use editing tools to lift the shadows in the trees and add contrast to the dramatic clouds. The final image is sharp, full of rich color, and captures the true power of the landscape.
Don't forget to practice these techniques before you arrive at the park. Spend some time in a local park adjusting your aperture, reading your histogram, and practicing your composition. The more comfortable you are with your gear, the easier it will be to capture magic when you begin your Yosemite landscape photography 2026 journey.
Your photos will look incredible if you stay patient, watch the light, and apply these simple guidelines. For more technical deep-dives into sensor performance and lens sharpness, you can read detailed reviews on DPReview. Now, pack your camera bag, check your batteries, and go capture the timeless beauty of Yosemite!
Frequently Asked Questions
What is the best time of year for Yosemite landscape photography in 2026?
Spring (April-May) offers waterfalls and wildflowers, while fall (September-October) provides vibrant colors and fewer crowds. Winter is ideal for snow-covered scenes, but check road closures.
Which are the top spots for iconic Yosemite landscape shots?
Tunnel View, Glacier Point, and Valley View are classic must-visits. For lesser-known views, try Cathedral Lakes or the Merced River's reflections.
How can I avoid crowds when photographing Yosemite in 2026?
Arrive before sunrise at popular viewpoints and use weekday visits. Also, hike to less accessible areas like Taft Point or Sentinel Dome.
What camera gear is essential for landscape photography in Yosemite?
A wide-angle lens (16-35mm), a sturdy tripod, and ND filters for long exposures. A telephoto lens is useful for compressing distant peaks.
Are there any new photography rules or park regulations for 2026?
No major changes have been announced, but always check the official park website for updated drone bans and trail closures. Stay on marked paths to protect fragile meadows.

Matthias Weber digs into the craft of travel photography, from camera settings to editing. He explains the technical side in plain language so you can spend less time fiddling with dials and more time shooting.
💬 Comments (0)
No comments yet. Be the first!