Tahoe winter landscape 2026 tips
Master Tahoe winter landscape 2026 techniques with our expert guide to capturing snow, frozen lakes, and dramatic alpine light.
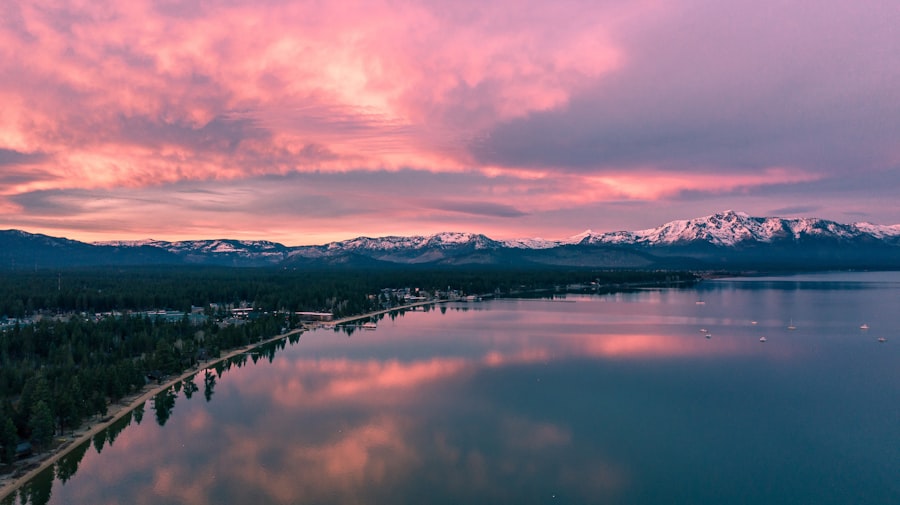
If you want to capture the ultimate Tahoe winter landscape 2026 photograph, you need to prepare for the unique challenges of shooting snow, ice, and brilliant alpine light. Tahoe is a winter wonderland, but it can easily trick your camera into delivering dull, gray images instead of the sparkling white scenes you see with your eyes. In this guide, I will coach you through the essential gear, settings, and creative techniques to make your images stand out this season. Whether you are standing on the shores of Emerald Bay or hiking through the snow-laden pines of Donner Pass, your photos will look professional, crisp, and absolutely breathtaking.
Why Lake Tahoe in Winter Requires a Special Approach
The secret is understanding how your camera sensor reacts to snow. When you point your camera at a vast, bright white snowbank, your camera's internal light meter gets confused. It thinks the scene is blindingly bright, so it automatically darkens the image to achieve a neutral gray. If you leave your camera on full automatic mode, your pristine winter wonderland will end up looking muddy and gloomy.
First, let's look at why this happens and how we can fix it. When shooting a Tahoe winter landscape 2026 scene, you must take control of your exposure. By learning a few simple manual overrides, you can force your camera to see the snow the way you do: bright, clean, and full of texture. Let's dive into the core photography concepts that will transform your winter portfolio this year.
Mastering Your Settings for Snow and Ice
To get the best results, you need to move away from automatic mode. Do not worry, I will walk you through the jargon so you feel completely confident adjusting these settings on the fly. Here is a quick breakdown of the terms you need to know:
- RAW vs JPEG: Always shoot in RAW format. A JPEG file compresses the image and throws away valuable data. A RAW file preserves all the details in the bright white snow and the dark green pine trees, giving you maximum flexibility when editing.
- ISO: This measures your camera sensor's sensitivity to light. Keep your ISO as low as possible (usually ISO 100) to avoid digital noise, which looks like unwanted grain in your clean snowscapes.
- Exposure Compensation: This is your secret weapon. By dialling this setting to +1 or +2, you tell your camera to let in more light, turning gray snow back into brilliant white.
- Bokeh: This refers to the out-of-focus, blurry background elements created by a wide lens aperture. It is perfect for isolating frozen pine needles or icicles against a soft, dreamy backdrop.
The Golden Rule of Winter Photography: When shooting snow, always overexpose by 1 to 2 stops using Exposure Compensation. Trust your histogram, not your LCD screen, to ensure you are not losing details in the highlights.
Now try this next time you are out in the cold: take a shot on auto, then dial your Exposure Compensation to +1.3 and take another. You will immediately see the difference in vibrance and clarity. For high-quality editing tutorials on how to process these RAW files, you can check out the step-by-step guides on Adobe Tutorials.
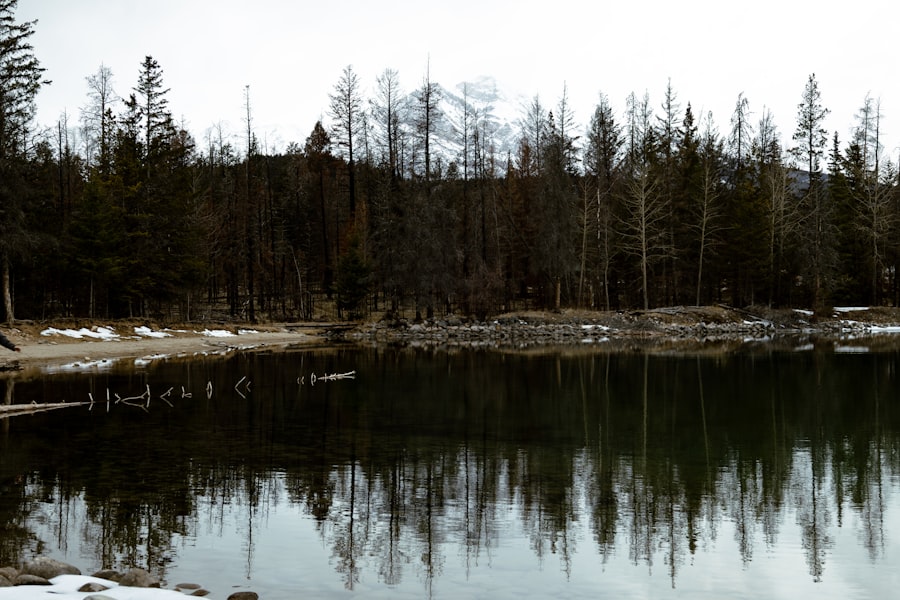
Step-by-Step Guide to Shooting Emerald Bay at Sunrise
Step 1: Check the Weather and Prepare Your Gear
Before you head out to capture your Tahoe winter landscape 2026 masterpiece, check the local Sierra weather reports. Extreme cold drains camera batteries rapidly. Keep your spare batteries in an inside pocket close to your warm body heat. Ensure you have a sturdy tripod to keep your camera steady in the crisp morning breeze.
Step 2: Compose Using the Rule of Thirds
Once you arrive at the Emerald Bay overlook, do not just aim your camera randomly. Use the Rule of Thirds to create a balanced composition. Imagine your frame is divided into a nine-box grid. Place the iconic Fannette Island at one of the intersections where the grid lines meet, rather than dead center. This draws the viewer's eye naturally through the scene.
Step 3: Dial in Your Manual Settings
Set your camera to manual mode or aperture priority. Choose an aperture of f/8 or f/11 to ensure that both the foreground snow patterns and the distant mountain peaks remain sharp. Set your ISO to 100, and use your exposure compensation to brighten the snow. Switch your file format to RAW to capture the full dynamic range of the sunrise.
Step 4: Capture and Protect Your Gear
Use a two-second shutter delay or a remote release to prevent camera shake when you press the button. Once you have captured your shot, put your camera inside a sealed plastic bag before entering a warm vehicle or building. This prevents condensation from forming on your lens and delicate internal electronics.
My Favorite Failed Photo (And How I Fixed It)
A few winters ago, I hiked down to Sand Harbor to shoot a dramatic sunset over the lake's famous granite boulders. I was so excited by the glowing red clouds that I forgot my own rules. I shot in JPEG mode, relied on my camera's auto-exposure, and did not check my histogram. When I got home and opened the files on my computer, the snow looked like dirty gray slush, and the beautiful orange clouds were completely blown out with zero detail.
I realized I had let the camera make all the decisions. To fix this on my next trip, I switched back to RAW format, which let me recover details in both the bright sky and the dark shadows. I also manually adjusted my exposure to keep the snow looking bright white. That simple shift from automatic JPEG to manual RAW saved my portfolio, and it will do the same for your Tahoe winter landscape 2026 gallery.
Must-Have Gear for Lake Tahoe Winters
Having the right tools makes a massive difference when you are working in sub-freezing temperatures. Beyond your camera body and lenses, these items will keep you shooting comfortably for hours:
- Circular Polarizer Filter: This helps cut down the glare and reflections off the water and wet snow, while deepening the blue of the Tahoe sky.
- Sturdy Tripod: Essential for sharp landscape shots, especially during low-light golden hours. You can read reviews of the sturdiest options on DPReview.
- Lens Hood: This protects your front element from falling snow and prevents lens flare from the low winter sun.
- Microfiber Cloths: Keep several in dry pockets to wipe away moisture and snow drifts from your lens element.
Creative Techniques for a Unique Tahoe Look
Now that you have mastered the technical side of your Tahoe winter landscape 2026 run, let us talk about creativity. Do not just take standard eye-level photos. Get low to the ground to emphasize the textures of frozen ice crystals along the shoreline. Use the leading lines of a snow-covered pier to guide your viewer's eyes out into the deep blue depths of the lake.
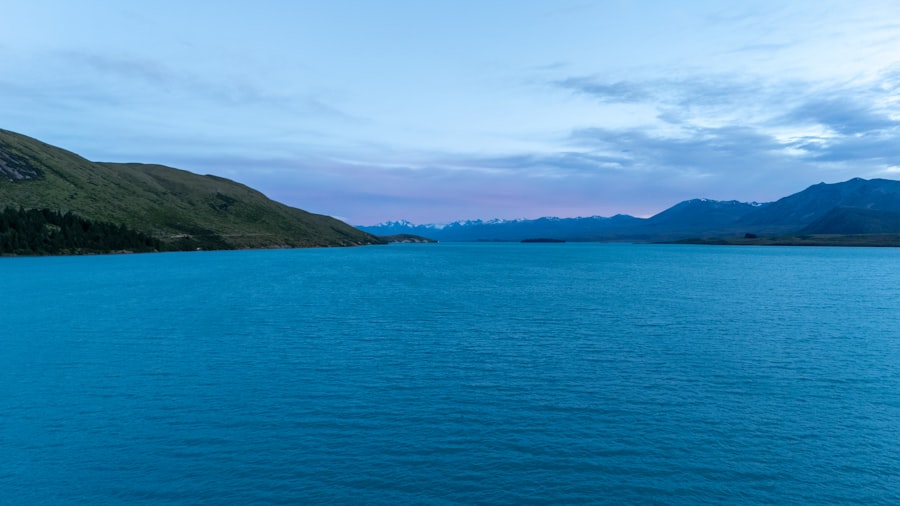
You can also play with contrast. The contrast between the cold blue water of Lake Tahoe and the warm golden light of a winter sunset is incredibly powerful. By adjusting your white balance to shade or cloudy, you can enhance those warm, golden tones in the sky while keeping the snow looking clean and crisp. Your Tahoe winter landscape 2026 photos will look absolutely spectacular if you combine these creative choices with solid technical execution.
Don't forget to pack your patience, dress in warm layers, and enjoy the magical stillness of winter. With these tips in your photography toolkit, you are ready to capture the breathtaking beauty of Lake Tahoe like a true professional. Happy shooting!
Frequently Asked Questions
What should I bring to capture the Tahoe winter landscape in 2026?
Bring a waterproof camera or phone with a good lens, plus extra batteries since cold drains them quickly. Don't forget polarized sunglasses or a filter to reduce glare on snow.
When is the best time of day to photograph the snowy mountains?
Golden hour, right after sunrise or before sunset, offers soft warm light on the snow. Early mornings also give you pristine, untouched powder.
How do I avoid lens fogging in the cold weather?
Let your camera acclimate by keeping it in a sealed bag before taking it out, and use a lens hood or breathing filter. Remove condensation with a microfiber cloth, not by blowing on it.
Are there any hidden spots to see winter landscapes without crowds?
Try lesser-known trails like Echo Lake or hike along the Tahoe Rim Trail's sections near Kings Beach. XC ski areas often provide quiet, stunning panoramas.
What safety precautions should I take while hiking in snowy Tahoe?
Check the avalanche forecast first, carry traction devices for your boots, and start early to avoid afternoon storms. Also, tell someone your route and carry a maps app offline.

Matthias Weber digs into the craft of travel photography, from camera settings to editing. He explains the technical side in plain language so you can spend less time fiddling with dials and more time shooting.
💬 Comments (0)
No comments yet. Be the first!