Seoul urban photography 2026: Pro Tips
Master Seoul urban photography 2026 with our comprehensive guide to capturing neon-lit night alleys and futuristic skylines.
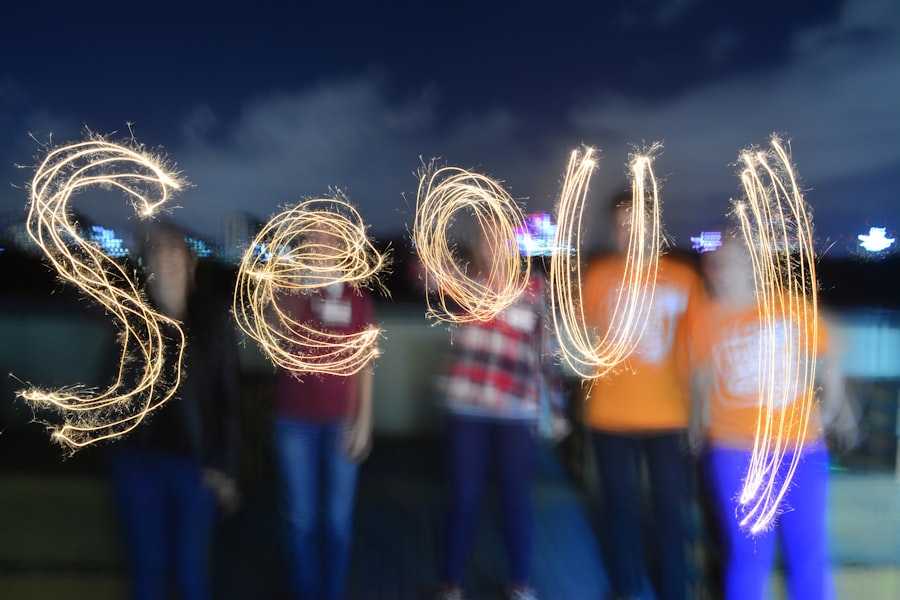
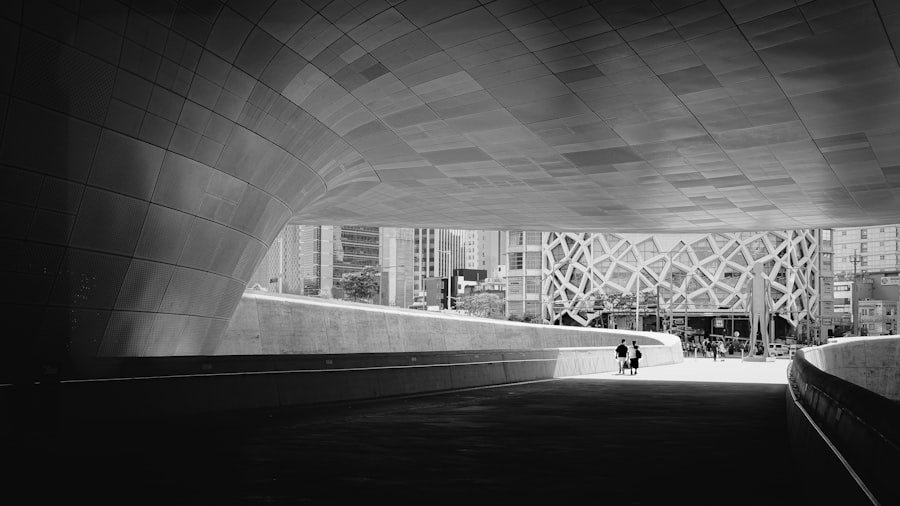
If you want to capture the ultimate fusion of ancient tradition and futuristic design, mastering Seoul urban photography 2026 is your ticket to creating breathtaking visual art. I still remember my first night shooting in the Dongdaemun area years ago. I set up my tripod, pointed my camera at the glowing, spaceship-like curves of the design plaza, and pressed the shutter. The result? A blurry, overexposed mess of white light and muddy shadows. I had the wrong settings, the wrong timing, and zero plan. But that failure taught me exactly how to read this city, and today, I am going to share those hard-earned secrets with you. Your photos will look professional, sharp, and absolutely mesmerizing by the time you finish this guide.
The Evolution of Seoul Urban Photography 2026
Seoul has transformed into a playground for creators, especially in 2026. The city now boasts an incredible mix of ultra-modern skyscrapers, glowing neon alleyways, and beautifully preserved palaces. To capture this unique atmosphere, you need to understand how to balance the high-contrast light of the metropolis. This is where your technical skills and creative vision come together.
When shooting Seoul urban photography 2026, you are dealing with extreme lighting dynamic ranges. You will have brilliant LED screens right next to dark, historic alleyways. Understanding your camera sensor capability is key here. If you want to dive deeper into how modern sensors handle these extreme conditions, check out the latest camera reviews on DPReview to see how your gear stacks up.
Must-Have Gear and Camera Settings
Before you head out into the bustling streets of Hongdae or Gangnam, let us get your gear and camera settings dialed in. Having the right foundation prevents those heartbreaking blurry shots when you get back to your hotel.
Recommended Settings for Seoul Streets
- File Format: Always shoot in RAW. Unlike JPEG, which compresses your image and throws away data, RAW files preserve all the details in the brightest highlights and darkest shadows.
- ISO: Keep this as low as possible (ISO 100 to 400) during the day to avoid digital noise. At night, push it to ISO 1600 or 3200, but no higher than necessary.
- Aperture: Use f/1.8 to f/2.8 for beautiful background blur, or f/8 to f/11 for sharp, detailed cityscapes.
- White Balance: Set to Daylight for golden hour, or Tungsten/Fluorescent to bring out those cool, futuristic blue and purple tones in the neon lights.
Essential Gear for Your Kit
- A Fast Prime Lens: A 35mm or 50mm lens with a wide aperture of f/1.8 is perfect for low-light street photography.
- A Lightweight Travel Tripod: Essential for long-exposure light trails along the Han River.
- Variable ND Filter: This helps you control the light entering your lens during bright daylight shoots.
Mastering the Technical Jargon
To truly elevate your Seoul urban photography 2026 game, we need to speak the language of light. Do not worry, I will make this incredibly simple to grasp.
First, let us look at ISO. Think of ISO as your camera sensitivity to light. A low ISO means clean, crisp images, while a high ISO lets you shoot in the dark but introduces grain. Next is Bokeh, which is just a fancy Japanese term for the soft, out-of-focus background blur created by using a wide aperture like f/1.4 or f/1.8. It is perfect for isolating a subject against a busy Seoul street market.
Then we have the Rule of Thirds. Imagine your frame divided into a nine-box grid. By placing your main subject, like a traditional pagoda, along those grid lines or at their intersections, your composition instantly feels more balanced and engaging. If you want to master these foundational editing and shooting principles, the Adobe Lightroom Tutorials offer incredible interactive guides to help you visualize these concepts.
The Golden Rule of Seoul Nights: Always use Exposure Compensation. When shooting bright neon signs against dark alleys, your camera will try to brighten the whole scene, blowing out the neon colors. Dial your exposure compensation down to -1 or -2 to keep those neon colors rich, saturated, and perfectly exposed.
Step-by-Step Guide to Shooting a Cyberpunk Street Scene
Now try this specific workflow the next time you find yourself in a rainy alleyway in Euljiro. This is how you get that iconic, futuristic look that defines Seoul urban photography 2026.
Step 1: Find Your Composition
Look for a narrow alley with glowing signs. Use the Rule of Thirds to position a pedestrian on one of the vertical grid lines, walking away from you into the light.
Step 2: Adjust Your Aperture for Bokeh
Switch your camera to Aperture Priority mode and set it to your lowest f-number (like f/1.8 or f/2.8). This will create a gorgeous, creamy bokeh effect with the rain puddles and distant neon signs.
Step 3: Manage Your ISO and Shutter Speed
Set your ISO to 1600. Keep an eye on your shutter speed; make sure it stays above 1/160th of a second so that your walking subject remains perfectly sharp and blur-free.
Step 4: Shoot RAW and Edit the Colors
Capture the image in RAW. When you edit, boost the shadows slightly to reveal the texture of the wet brick walls, and shift your blue and magenta color channels to get that distinct cyberpunk color palette.
Before & After: Fixing a Classic Mistake
Let us look at a common scenario to show you how a few simple adjustments can save your shoot. This is the exact process I used to rescue my portfolio.
The Before Scenario: You are standing at the Banpo Bridge waiting for the rainbow fountain light show. You shoot in JPEG on auto mode, holding the camera in your hands. The resulting photo is blurry because the camera selected a slow shutter speed to let in light. The water looks like a messy white blob, and the night sky is a noisy, grainy gray because the auto settings pushed the ISO too high.
The After Solution: You switch your camera to manual mode and mount it securely on a tripod. You change your format to RAW. You set your ISO to a clean 100, lock your aperture at f/8 for maximum sharpness, and set a long exposure shutter speed of 4 seconds. The secret is using a 2-second shutter timer so your finger press does not shake the camera. Now, the water flows in silky, glowing rainbow ribbons, the bridge structure is razor-sharp, and the night sky is a deep, clean, noise-free black. That is the power of knowing your settings!
Elevating Your Seoul Urban Photography 2026 Journey
The secret to mastering Seoul urban photography 2026 is patience and experimentation. Don't forget to look up, look down, and explore the hidden corners of this magnificent metropolis. Every alleyway has a story to tell, and with these tools in your creative belt, you are fully equipped to capture them in their best light. Now, grab your gear, head out into the vibrant streets of Seoul, and start creating images that will leave your audience in absolute awe!
Frequently Asked Questions
What camera settings work best for nighttime Seoul street photography?
Use a wide aperture like f/1.8, ISO 800-3200, and shutter speeds around 1/60s to freeze motion while capturing neon signs. Enable high-ISO noise reduction in-camera or shoot RAW for cleanup in post.
Which Seoul neighborhoods offer the most photogenic urban backdrops for 2026?
Hit Seongsu-dong for industrial-cool alleys, Hongdae for playful murals, and the new Han River parks for futuristic bridges. Don't miss Euljiro's retro signage and rooftop bars.
How can I avoid crowds while shooting popular landmarks like N Seoul Tower or Gyeongbokgung Palace?
Go at dawn or late evening, and focus on back alleys or less-angled details. Early golden hour (6-7 AM) gives clean backgrounds and soft, horizontal light.
Are there any legal restrictions on drone photography in Seoul for hobbyists?
Drones are restricted in many central areas, including near airports and palaces; always check Korea's drone map and register if over 250g. Instead, use wide-angle smartphone lenses or rooftop vantage points.
What post-processing style fits Seoul's 2026 cyberpunk look without looking fake?
Boost teal and magenta tones moderately, lift shadows slightly, and preserve natural skin tones. Use subtle grain over heavy HDR, and never over-saturate neon—keep reflections clear.

Matthias Weber digs into the craft of travel photography, from camera settings to editing. He explains the technical side in plain language so you can spend less time fiddling with dials and more time shooting.
💬 Comments (0)
No comments yet. Be the first!