Olympic National Park macro photography 2026
Our essential guide to Olympic National Park macro photography 2026 will help you capture the Pacific Northwest's tiny wonders.
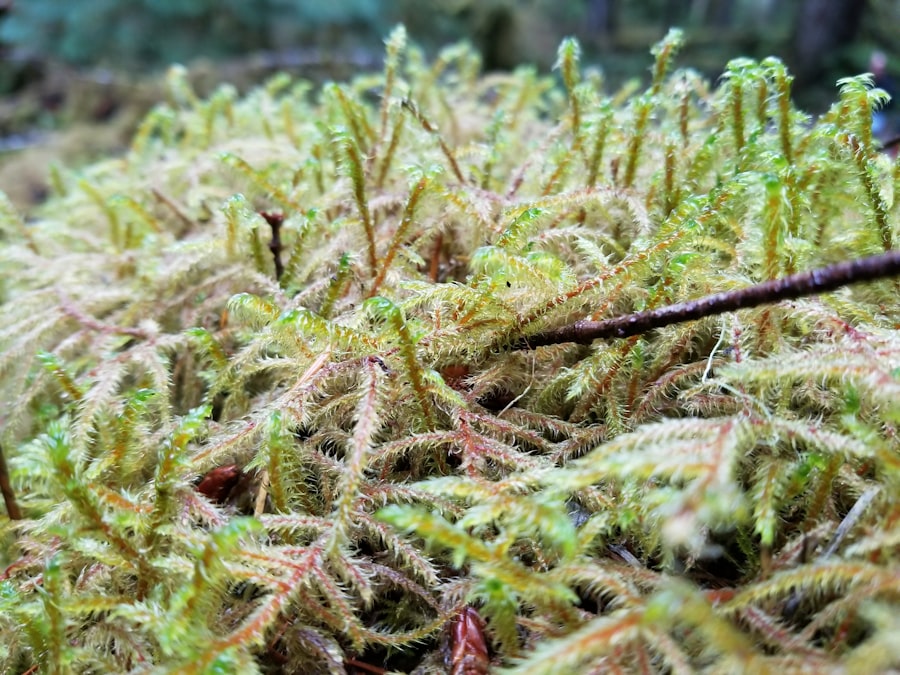
If you want to capture the hidden, mossy details of the Pacific Northwest, mastering Olympic National Park macro photography 2026 is the ultimate way to elevate your portfolio this year.
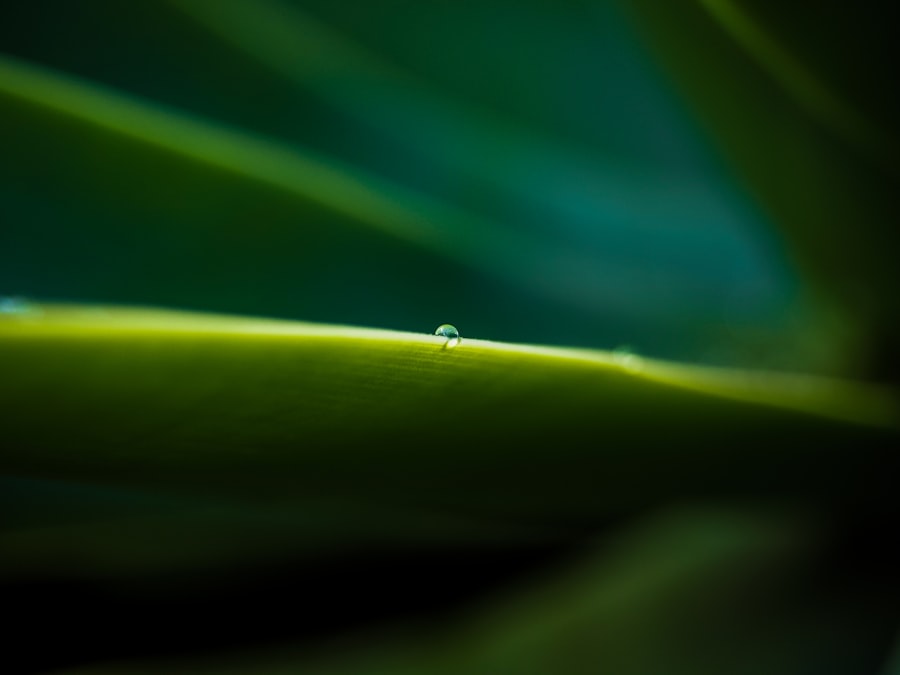
As your photography coach, I am thrilled to guide you through this temperate rainforest wonderland. Olympic National Park is a paradise of damp ancient woods, sparkling dew, and miniature ecosystems that most travelers walk right past. Today, we are going to slow down, look closer, and turn tiny forest details into grand works of art. Whether you are aiming to capture the intricate gills of a wild mushroom or the glistening dew on a sword fern, this guide will give you the practical skills to succeed.
Why 2026 is the Year to Explore the Micro World
With more travelers seeking mindful, slow travel experiences, focusing on the small details is the perfect way to escape the crowds at popular viewpoints. The damp, moody climate of the Pacific Northwest creates a playground for close-up shooters. But to capture these tiny subjects, we need to understand how our cameras see the world at a 1:1 magnification ratio.
The secret is learning to embrace the moisture. In Olympic National Park, rain is not your enemy; it is your best friend. Wet surfaces reflect soft, polarized light, making colors look incredibly saturated. If you are ready to dive in, let us look at the essential equipment you will need to bring into the rainforest this season.
Must-Have Gear for Olympic National Park Macro Photography 2026
You do not need the most expensive gear to get started, but a few specific tools will make your life much easier in the damp rainforest environment. Here is my recommended packing list for your creative adventure:
- A Dedicated Macro Lens: A focal length between 90mm and 105mm is the sweet spot. It allows you to keep a comfortable working distance from shy insects or damp soil. Refer to the Sony camera specs or Canon camera specs to find a lens with a true 1:1 reproduction ratio.
- A Sturdy Tripod with a Low-Angle Option: Many of your best subjects will be on the forest floor. You need a tripod that can get down to ground level.
- A Diffuser and Reflector: A small, collapsible 2-in-1 diffuser is vital for softening harsh sunlight filtering through the canopy.
- A Rain Cover: Protect your camera body and lens from the constant Olympic drizzle.
- A Headlamp or Small LED Panel: The forest floor can be surprisingly dark, even during the middle of the day.
Understanding the Jargon: Your Macro Toolkit
Before we head into the mossy depths, let us demystify some of the photography terms we will be using. Do not worry, these concepts are simple once you see them in action!
ISO (International Organization for Standardization)
ISO measures your camera sensor's sensitivity to light. A low ISO, like ISO 100, gives you the cleanest, sharpest image. A high ISO, like ISO 3200, lets you shoot in dark forests but introduces digital noise, which looks like grain. In the dark canopy of Olympic National Park, we want to keep our ISO as low as possible by using a tripod to allow for longer shutter speeds.
Bokeh
Bokeh is the soft, out-of-focus background blur created by shooting with a wide aperture. In macro work, a beautiful bokeh helps your tiny subject stand out from the busy forest clutter. By using a wide aperture like f/2.8 or f/4, you can turn a messy background of twigs into a creamy, gorgeous wash of color.
RAW vs JPEG
Always set your camera to shoot in RAW format. A JPEG is a finished image compressed by your camera, which throws away valuable color and light data. A RAW file saves all the raw data captured by your sensor. This gives you maximum flexibility when editing your files in post-processing, especially when trying to recover details in bright highlights or dark shadows.
The Golden Rule of Macro Photography: When working at extreme close-up magnifications, your depth of field becomes razor-thin. Move your camera parallel to your subject to keep the most important details in sharp focus.
My Giant Mistake at Sol Duc Falls: A Personal Story
Let me tell you about a time I failed, so you do not have to make the same mistake. During my first trip to the Sol Duc area, I spotted a tiny, translucent ghost pipe plant growing out of a dark, decaying log. I was so excited that I threw my tripod down, set my camera to aperture priority, and fired off a dozen shots.
When I got back to my cabin and opened the images on my laptop, I was devastated. Because the forest was so dark, my camera had automatically boosted the ISO to 6400, making the delicate white plant look incredibly grainy and pixelated. To make matters worse, the bright white plant was completely blown out and overexposed against the dark log, and the autofocus had locked onto a pine needle behind my subject instead of the plant itself.
How did I fix it the next day? First, let us look at how manual control changes everything. I switched my camera to Manual mode, lowered my ISO to 100 for maximum clarity, and mounted my camera on a tripod. I switched to manual focus, using the camera's screen magnifier to get the focus tack-sharp on the plant's rim. Finally, I used negative Exposure Compensation to darken the exposure, preserving the delicate white details of the plant. The result was a stunning, clean, moody masterpiece.
Step-by-Step Guide to Capturing Forest Details
Now try this step-by-step workflow when you find your first subject on the Hoh Rain Forest trail. This simple routine will guarantee sharp, beautifully exposed images every time.
Step 1: Composition and the Rule of Thirds
Do not just point your lens and shoot. Spend a minute looking at your subject. Use the Rule of Thirds by imagining your frame divided into a grid of nine equal rectangles. Place the most interesting part of your subject, like the cap of a mushroom or the center of a dewdrop, along those grid lines or at their intersections to create a balanced, dynamic composition.
Step 2: Dial in Your Camera Settings
To get the best results for your Olympic National Park macro photography 2026 adventures, use these proven settings as your starting point:
- Shooting Mode: Manual (M)
- Image Format: RAW
- ISO: 100 to 400 (keep it low for clean details)
- Aperture: f/5.6 to f/11 (to ensure enough of your tiny subject is in focus)
- Focus Mode: Manual Focus (MF) with Focus Peaking enabled if your camera has it
- Drive Mode: 2-Second Self-Timer (to prevent camera shake when you press the shutter button)
Step 3: Control the Light and Shoot
The secret is using your diffuser. Hold it between the overhead tree canopy and your subject to block any harsh patches of sunlight. This creates a beautifully even, soft light across your subject. Now, turn on your 2-second timer, gently press the shutter, hands off the camera, and let the magic happen.
Perfecting Your Images in Post-Processing
Your journey with Olympic National Park macro photography 2026 does not end when you click the shutter. Once you are back home, open your RAW files in an editing program like Adobe Lightroom. You can learn more about these tools through the official Adobe tutorials.
Because you shot in RAW, you can easily fine-tune the white balance to bring out those rich, cool greens and deep earthy browns of the Pacific Northwest. Gently raise the shadows to reveal hidden textures in the moss, and add a touch of clarity to make the water droplets pop. Remember, keep your adjustments subtle; we want to honor the natural, wild beauty of Olympic National Park.
Get Out and Explore the Micro World!
Now you have the knowledge, the settings, and the creative techniques to make your Olympic National Park macro photography 2026 portfolio absolutely stunning. Remember to take your time, respect the delicate park ecosystem by staying on the designated trails, and enjoy the meditative process of macro shooting. Don't forget to pack your patience, embrace the rain, and happy shooting!
Frequently Asked Questions
What makes Olympic National Park ideal for macro photography in 2026?
Its diverse ecosystems—from rainforests to alpine meadows—offer countless subjects like rare fungi, insects, and delicate flora, especially after seasonal rains.
What macro gear should I bring for 2026 shoots?
A 90-105mm macro lens, a sturdy tripod, and a diffused ring flash are essential, plus weatherproof gear for the park's humid trails.
When is the best time for macro photography around Olympic National Park?
From late spring through early fall, mornings and overcast days provide soft light and dew, ideal for highlighting tiny details.
Are there specific park areas recommended for macro shots?
Hurricane Ridge's wildflower meadows, Hoh Rainforest's mossy floors, and tide pools at Rialto Beach offer exceptional close-up subjects.
What permits do photgraphers need for macro work in 2026?
Personal use doesn't require a permit, but a photography permit is needed for models, props, or if taking photos for commercial publications.

Matthias Weber digs into the craft of travel photography, from camera settings to editing. He explains the technical side in plain language so you can spend less time fiddling with dials and more time shooting.
💬 Comments (0)
No comments yet. Be the first!