Madeira drone photography 2026: Pro Tips
Master your Madeira drone photography 2026 skills with our guide to capturing dramatic ocean cliffs and misty volcanic peaks.
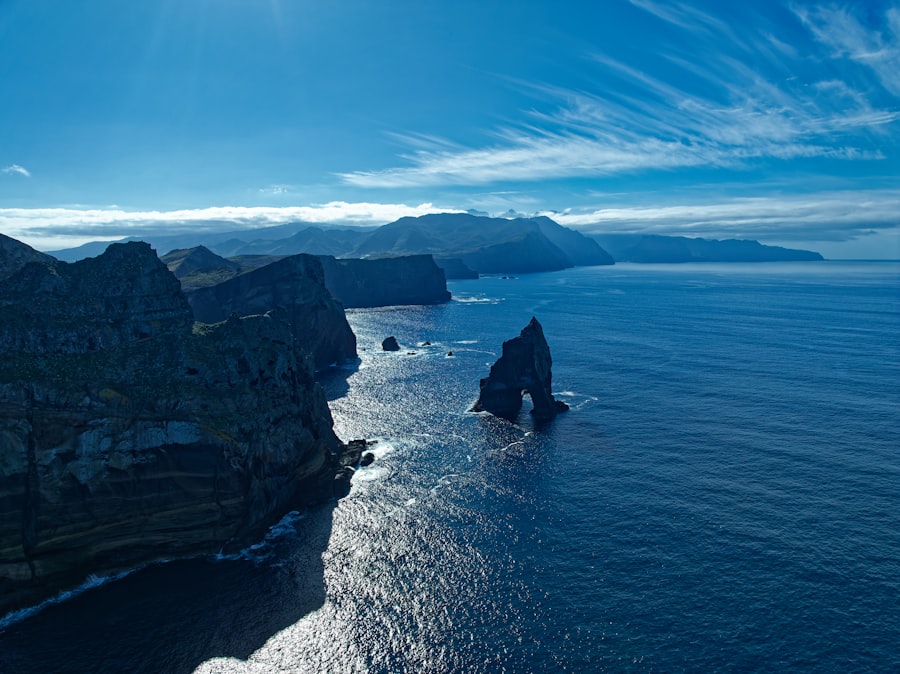
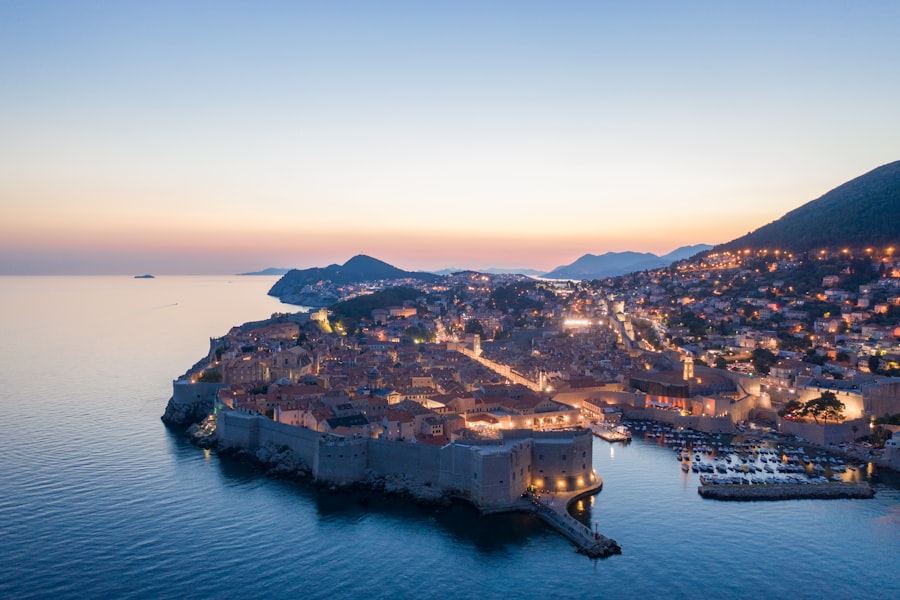
If you are planning to capture the dramatic cliffs and misty peaks of the Portuguese archipelago, mastering Madeira drone photography 2026 is the ultimate way to elevate your portfolio. I still remember my very first flight over the rugged coastline of Ponta de Sao Lourenco. I launched my quadcopter with high hopes, but when I looked at the screen, the image was completely ruined. The dark basalt rocks were a solid, detail-free black, while the white ocean foam was totally blown out. I had made the classic amateur mistake of letting the camera auto-expose. In this guide, I will show you how to avoid those rookie mistakes so your photos will look absolutely spectacular from day one.
The Magic of Madeira Drone Photography 2026: Why This Year is Different
The landscape of aerial imaging has evolved rapidly. When we talk about Madeira drone photography 2026, we are looking at a new era of compact sensors with incredible dynamic range and smart flight safety features. The wind on this island is legendary, swirling off the Atlantic and rushing up deep volcanic valleys. Fortunately, modern aircraft are better equipped to handle these microclimates than ever before.
But having great technology is only half the battle. To truly capture the soul of the island, you need to understand how light interacts with its extreme topography. From the ancient laurel forests of Fanal shrouded in fog to the sun-drenched sea stacks of Ribeira da Janela, you will be shooting in some of the most challenging lighting conditions on Earth. Let us dive into how you can conquer these elements.
Essential Camera Settings for Aerial Excellence
Before you even calibrate your compass, we need to talk about your camera settings. Your drone is not just a flying toy; it is a high-performance camera suspended in the sky. To get professional results, you must take manual control over your exposure.
RAW vs JPEG: The Golden Rule
The secret is to always shoot in RAW format. While a JPEG is a compressed, pre-processed file that discards valuable image data, a RAW file saves all the uncompressed information captured by your camera sensor. This gives you maximum flexibility when editing in software like Lightroom. To understand the science behind digital sensors, you can read more on the DPReview website. Shooting RAW allows you to rescue shadow details in deep ravines and tame the bright highlights of a sunrise without losing image quality.
Mastering the Exposure Triangle in the Air
Now try this: switch your camera to manual mode. We want to keep our ISO as low as possible, ideally at ISO 100, to prevent digital noise from graining up our clean island skies. ISO is simply the measurement of your camera sensor's sensitivity to light. Because we are keeping the ISO low, we must balance our exposure using shutter speed and aperture.
If your drone has a fixed aperture (usually f/2.8), you will rely heavily on shutter speed and your ND (Neutral Density) filters to control the light. Don't forget to use your Exposure Compensation dial if you are shooting in a semi-automatic mode. This tool tells your camera to make the image intentionally darker or brighter than what its internal meter thinks is correct, which is vital when shooting dark volcanic sand against bright white waves.
The Madeira Drone Photography 2026 Golden Rule: Always expose for the highlights. It is much easier to recover dark shadows in post-processing than it is to fix a blown-out, pure white sky where the data is permanently lost.
Must-Have Gear for Island Flying
To successfully execute your Madeira drone photography 2026 checklist, you need the right tools in your backpack. The island is rugged, and you will often find yourself hiking steep trails to reach your launch points.
- Neutral Density (ND) Filters: These act as sunglasses for your camera lens, allowing you to use slower shutter speeds to create a smooth, motion-blurred effect on the ocean waves.
- High-Speed MicroSD Cards: Ensure your cards have a U3 rating to handle the high write speeds of 4K or 5K video and rapid RAW photo bursts.
- A Sturdy Landing Pad: Madeira is dusty and wet; a portable pad protects your camera gimbal from dirt during takeoff and landing.
- Extra Batteries: The cold mountain air at Pico do Arieiro will drain your battery life much faster than warm coastal areas.
Step-by-Step Guide to Framing Your Shots
Great composition is what separates a snapshot from a work of art. Let us look at a simple workflow to compose your aerial masterpieces using timeless design principles.
Step 1: Activate the Grid Lines
First, let us look at your pilot app settings and turn on the 3x3 grid overlay. This grid helps you implement the Rule of Thirds. This classic concept suggests that you should place your main subjects, like a lonely lighthouse or a dramatic sea stack, along the intersecting lines of the grid rather than dead center. This instantly makes your composition feel more balanced and dynamic.
Step 2: Find Leading Lines
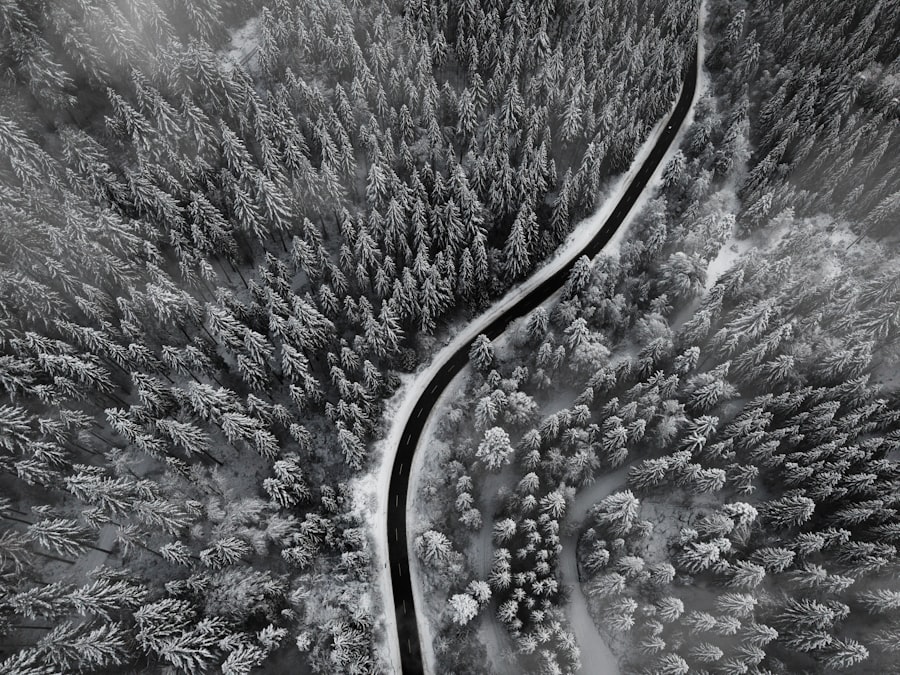
Now try this: search for natural lines in the landscape that guide the viewer's eyes through the frame. In Madeira, this could be the curving coastal roads, the sharp ridges of mountains, or the foaming edge of the tide. Position your drone so these lines start from the bottom corners of your frame and point toward your main subject.
Step 3: Look Straight Down
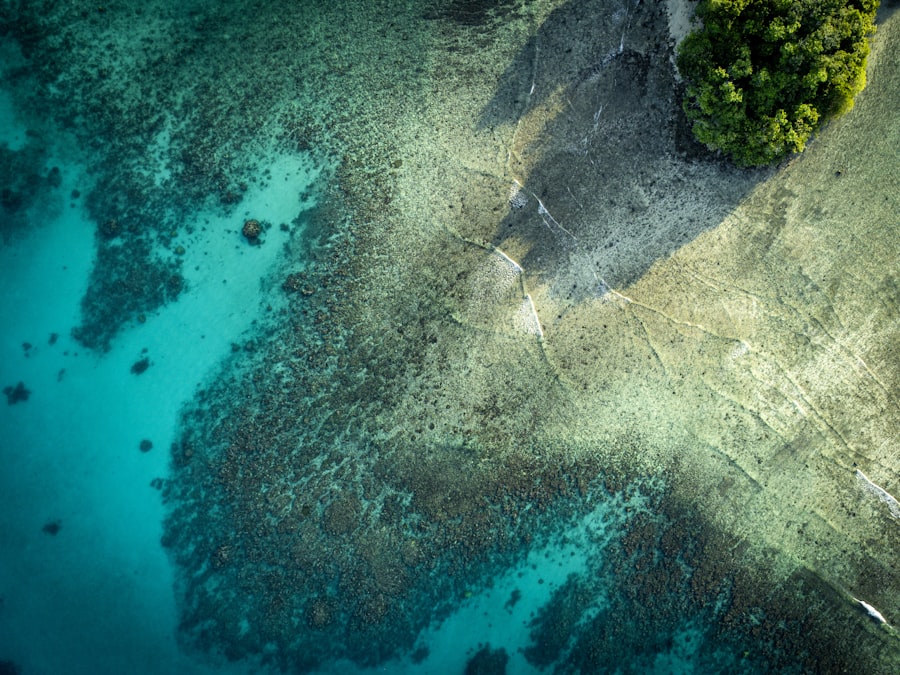
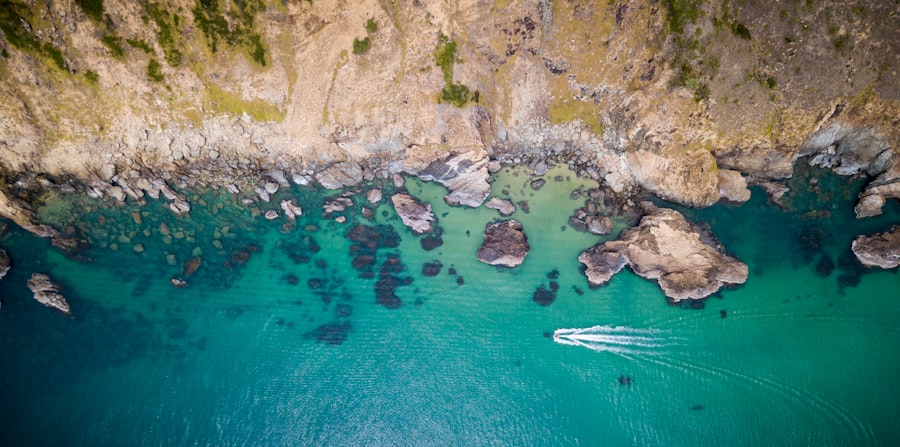
One of the unique advantages of aerial photography is the top-down perspective. Fly high over the black sand beach of Seixal, tilt your gimbal ninety degrees down, and capture the stark contrast between the dark sand and the turquoise water. Without the distraction of the horizon, your photo becomes a beautiful abstract painting focusing on texture and form.
A Before and After Journey: Learning From Failure
Let me share a quick story. During my early days of exploring Madeira drone photography 2026, I hiked up to the ancient forest of Fanal. The fog was rolling through the twisted trees, creating an incredibly moody atmosphere. I put my drone in the air, framed a beautiful old tree using the Rule of Thirds, and pressed the shutter. The raw photo was a disaster. The fog had tricked my camera's auto-exposure into thinking the scene was too bright, resulting in a dark, muddy, and grey image. The beautiful, soft background blur, or bokeh, that I wanted to isolate the tree branches was completely lost in a flat composition.
To fix this, I landed, put on an ND8 filter, switched to manual mode, and increased my Exposure Compensation to +1.0 to tell the camera that the white fog should actually look white. I also lowered my flight altitude to get closer to the branches, creating a stronger sense of depth. The resulting image was night and day compared to my first attempt; the fog looked ethereal, and the dark wood of the trees popped with rich contrast. You can check out professional imaging techniques on the Adobe Photoshop Tutorials page to see how to enhance these RAW files after your shoot.
Recommended Camera Settings for Madeira
To make things easy for your next flight, here is a quick reference guide of the exact settings I recommend for different times of the day on the island.
- Sunrise at Pico do Arieiro: ISO 100, f/4 (or widest available), Shutter Speed 1/120s, RAW format, Exposure Compensation -0.7 to protect the golden sun.
- Misty Afternoon in Fanal Forest: ISO 100, f/2.8, Shutter Speed 1/250s, RAW format, Exposure Compensation +0.7 to keep the fog bright and clean.
- Sunset Sea Stacks at Ribeira da Janela: ISO 100, f/5.6, Shutter Speed 1/5s (using a tripod mode and ND filter to blur the waves), RAW format.
Final Tips for Safe and Legal Flying
As you embark on your journey to master Madeira drone photography 2026, please remember to respect the local environment and regulations. Much of Madeira is a protected natural park, and there are strict no-fly zones around the airport and certain nature reserves. Always check local drone maps before taking off, and never fly close to nesting birds or crowds of tourists.
Your photos will look best when they capture the wild, untouched spirit of the island, and preserving that beauty is part of our job as photographers. Charge your batteries, pack your ND filters, and get ready to capture some of the most breathtaking perspectives of your creative career!
Frequently Asked Questions
What are the main legal requirements for flying a drone in Madeira in 2026?
You must register your drone with the Portuguese aviation authority (ANAC) and follow the EASA regulations, including keeping a visual line of sight and respecting no-fly zones.
Which areas in Madeira are best for drone photography?
Funchal, Cabo Girão, Ponta de São Lourenço, and the Laurisilva forest offer stunning landscapes, but always check local restrictions before flying.
How can I handle Madeira's wind and weather conditions for drone flying?
Fly in the early morning or late afternoon when winds are calmer, and use a drone with strong wind resistance. Check weather forecasts and avoid flying near cliffs where turbulence is common.
Are there any specific no-fly zones or restrictions in Madeira?
Yes, avoid areas near airports, helicopters, and protected natural parks like portions of the Laurisilva, unless you get special permission from the authorities.
What camera settings do you recommend for capturing Madeira's dramatic landscapes?
Use a low ISO (100-200), adjust exposure for varied lighting, and shoot in RAW to retain detail in highlights and shadows for post-processing.

Matthias Weber digs into the craft of travel photography, from camera settings to editing. He explains the technical side in plain language so you can spend less time fiddling with dials and more time shooting.
💬 Comments (0)
No comments yet. Be the first!