Guide to Daintree Macro Photography 2026
Master Daintree macro photography 2026 with our pro guide to capturing exotic insects and rare plants in Australia.
If you are looking to capture the hidden wonders of the oldest continuously surviving tropical rainforest on Earth, this comprehensive guide to Daintree macro photography 2026 will help you unlock a universe of microscopic beauty. The dense canopy of Far North Queensland, Australia, is teeming with alien-looking fungi, iridescent insects, and prehistoric mosses just waiting for your lens. As your photography coach, I am thrilled to guide you through this ancient wilderness. Together, we will transform how you see the forest floor and elevate your close-up imaging skills to a professional standard.
The Magic of the Microscopic Rainforest
First, let us look at why this region is a paradise for close-up shooters. When most travelers visit the Daintree, they look up at the towering fan palms or scan the rivers for crocodiles. But the real magic is happening right at your feet. The damp, humid environment creates a haven for tiny organisms that look like they belong on another planet.
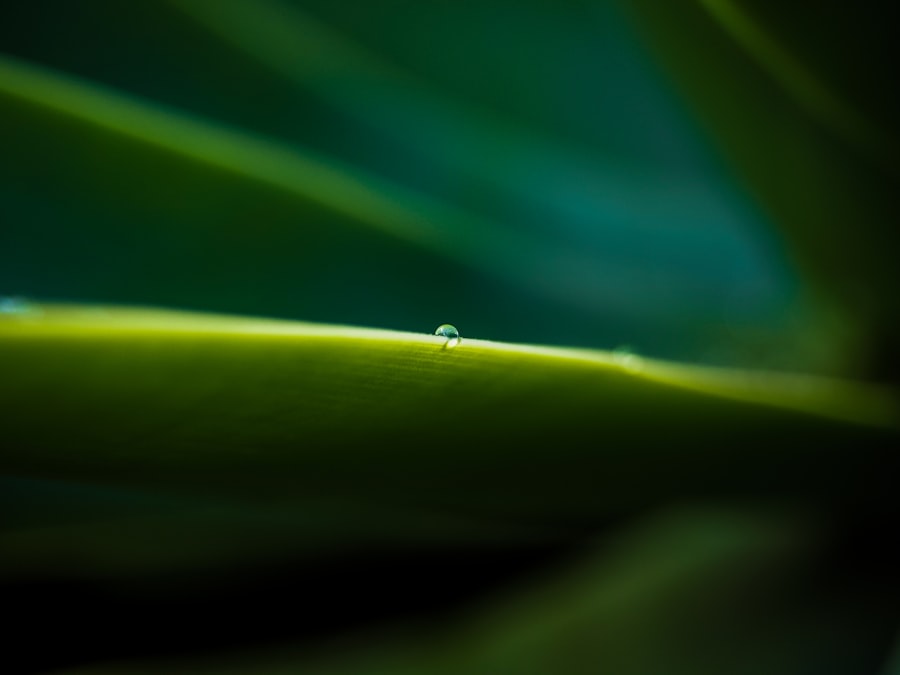
To capture these tiny wonders, you need a shift in mindset. You are no longer taking a picture of a forest; you are taking a portrait of a single dewdrop on a neon-green moss spore. By mastering Daintree macro photography 2026, you will learn to slow down, control your breathing, and appreciate the intricate architecture of nature. I promise that once you start seeing the rainforest at a 1:1 reproduction ratio, you will never look at a simple leaf the same way again.
The Gear You Need for Daintree Macro Photography 2026
Before we hike into the humid wild, we need to talk about the tools that will make your images pop. You do not need the most expensive camera on the market, but you do need the right setup to handle the dark, wet conditions of the jungle floor.
Must-Have Gear List
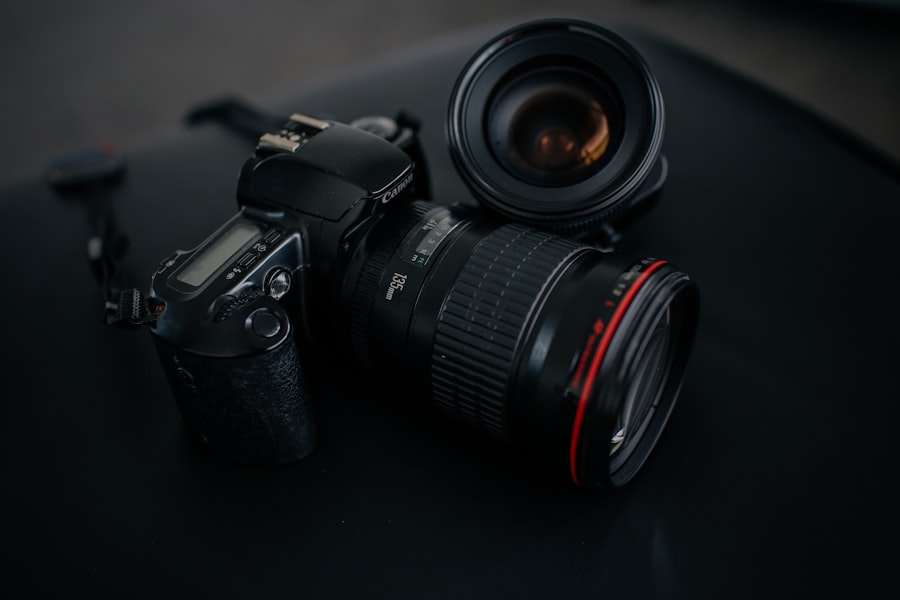
- Dedicated Macro Lens: A focal length between 90mm and 105mm is the sweet spot. It gives you a comfortable working distance so you do not scare away skittish insects.
- Diffused Flash or Ring Light: The rainforest canopy blocks up to 90 percent of natural sunlight. A speedlight with a high-quality diffuser is essential to soften harsh shadows.
- Sturdy Tripod with a Low-Angle Option: You will often be working inches from the muddy ground. A tripod that can get flat to the earth is a lifesaver.
- Weather Sealing or Rain Covers: It is called a rainforest for a reason. Protect your investment from sudden tropical downpours.
Macro Photography Golden Rule: The secret to mind-blowing macro shots is not just magnification; it is light diffusion. A harsh, bare flash will ruin your shot with ugly reflections. Always use a softbox or a DIY paper diffuser to spread the light evenly over your tiny subject.
Understanding the Photography Jargon: Made Simple
Now try this: let us demystify the technical terms you need to master. First up is ISO, which measures your camera sensor's sensitivity to light. In the dark Daintree, you might be tempted to crank your ISO to 6400, but this introduces digital noise (graininess) that destroys fine details. Keeping your ISO as low as possible (between 100 and 800) ensures your images stay crisp and clean.
Next is Bokeh, a Japanese word that describes the aesthetic quality of the out-of-focus blur in your background. In macro work, your depth of field (the area of the image that is sharp) is incredibly thin, often just a fraction of a millimeter. To get beautiful, creamy bokeh that makes your subject stand out, you need to manage your aperture carefully. If you want to learn more about optical physics and how sensor sizes affect your depth of field, check out the detailed technical guides on DPReview.
We also need to talk about the Rule of Thirds. Instead of placing your tiny insect dead-center, imagine your frame is divided by a tic-tac-toe grid. Place the eye of the insect at one of the four intersections where the lines cross. This creates a much more dynamic and pleasing composition. To help manage your exposures in the tricky, dappled forest light, use Exposure Compensation. This camera setting allows you to manually brighten or darken your image when your camera's automatic meter gets confused by bright patches of sky breaking through the dark canopy.
Finally, always shoot in RAW vs JPEG. A JPEG is a compressed file where the camera decides the colors and contrast for you. A RAW file saves all the uncompressed data from your camera sensor, giving you total control in post-processing. If you want to master the art of developing these files, the official Adobe Tutorials offer fantastic step-by-step guides on recovering highlight and shadow details from raw data.
My Costly Mistake: A Rainforest Lesson
Let me share a personal story from my early days of exploring the wet tropics. I spotted a brilliant, sapphire-blue weevil sitting on a red palm leaf. I was so excited that I hand-held my camera, cranked my shutter speed, and relied on the dim, ambient light filtering through the trees. I thought the shot looked amazing on my tiny camera screen.
When I got back to my cabin and opened the files on my laptop, I was devastated. Because I hand-held the camera at a high ISO, the image was incredibly noisy. Even worse, my point of focus had drifted slightly due to my breathing. Instead of the weevil's eye being sharp, the leaf behind it was in focus. The insect was just a blurry, blue blob.
To fix this, I returned to the same spot the next morning. I set up my tripod, attached my speedlight with a large DIY diffuser, and switched to manual focus. I used the camera's live-view screen to zoom in digitally and lock the focus precisely on the weevil's compound eye. The difference was night and day. The second attempt was tack-sharp, noise-free, and featured gorgeous, creamy bokeh.
Step-by-Step Guide to Capturing Your First Masterpiece
Ready to create your own stunning images? Follow this step-by-step workflow to master Daintree macro photography 2026 on your next excursion.
Step 1: Find the Perfect Subject
Walk slowly and look beneath leaves, on decaying logs, and along the edges of small streams. Look for the iconic green tree frog, colorful fungi, or the intricate patterns of a lichen-covered tree trunk.
Step 2: Stabilize and Position Your Camera
Set up your tripod and adjust the legs so your lens is at the exact same height as your subject. Shooting from a parallel angle ensures that more of your subject stays within the razor-thin plane of sharp focus.
Step 3: Dial in Your Settings
Switch your camera to manual mode. Do not let the camera make the decisions for you in such a challenging environment. Use the recommended settings list below as your starting baseline.
Recommended Camera Settings
- Image Format: RAW (to maximize your editing potential later)
- Aperture: f/8 to f/11 (provides a balance of sharpness without causing diffraction)
- Shutter Speed: 1/160s to 1/250s (fast enough to freeze subject movement and hand shake)
- ISO: 100 to 400 (keeps digital noise to an absolute minimum)
- Focus Mode: Manual Focus (use your camera's focus peaking tool if available)
Step 4: Compose and Diffuse
Apply the Rule of Thirds to position your subject elegantly. Position your flash diffuser close to the subject to create soft, natural-looking illumination that mimics a bright, overcast day.
Step 5: Hold Your Breath and Shoot
Gently press the shutter button, or better yet, use a two-second self-timer or cable release. This eliminates any tiny vibrations caused by your finger pressing the button, ensuring absolute sharpness.
Elevating Your Art in 2026
As we push forward with our Daintree macro photography 2026 skills, remember that patience is your most valuable asset. The rainforest does not reveal its secrets to those who rush. Spend time observing your subject, watch how the light changes, and do not be afraid to get a little dirty lying on the forest floor.
Before you pack your bags, don't forget to respect the delicate ecosystem of the Daintree. Never touch or move wildlife just to get a better shot, and stay on designated boardwalks whenever possible to protect the fragile root systems. By combining technical precision with deep respect for nature, your Daintree macro photography 2026 portfolio will not only look breathtaking, but it will also tell a powerful story of conservation. Now, grab your gear, head into the wild, and start capturing the magnificent micro-world!
Frequently Asked Questions
What is Daintree macro photography 2026?
It's a specialized photographic focus for capturing tiny details of the Daintree Rainforest's flora and fauna using close-up techniques in the 2026 season. It emphasizes the intricate beauty often missed by the naked eye.
What equipment do I need for Daintree macro photography in 2026?
A camera with a dedicated macro lens (180mm or 60mm) and a sturdy tripod are essential, plus a ring flash or diffuser for even lighting. Avoid heavy gear as jungle trails can be challenging.
When is the best time for Daintree macro photography in 2026?
Early morning (5-8am) right after rain is ideal when insects are slow and damp conditions reduce contrast. The wet summer months (Nov-Mar) of 2026 offer more sightings, despite occasional downpours.
What subjects are unique for Daintree macro in 2026?
Look for colorful tree frogs, orchid mantises, luminous fungi, and the notorious stinging tree's fine hairs. Don't forget the diverse insect life and water droplets on tropical leaves.
How do I compose strong macro shots legally and ethically in the park?
Stay on marked trails and use a telephoto macro lens to avoid disturbing wildlife. Never move leaves or creatures; patience is key to capturing natural behavior, and respect park permits.

Camille Bernard shares travel photography tips for every kind of traveller, from phone snapshots to full kits. She breaks down light, composition and timing so you come home with photos that actually capture how a place felt.
💬 Comments (0)
No comments yet. Be the first!