Death Valley astrophotography 2026 guide
Learn key settings with our Death Valley astrophotography 2026 guide. Capture stunning Milky Way shots in dark sky parks.
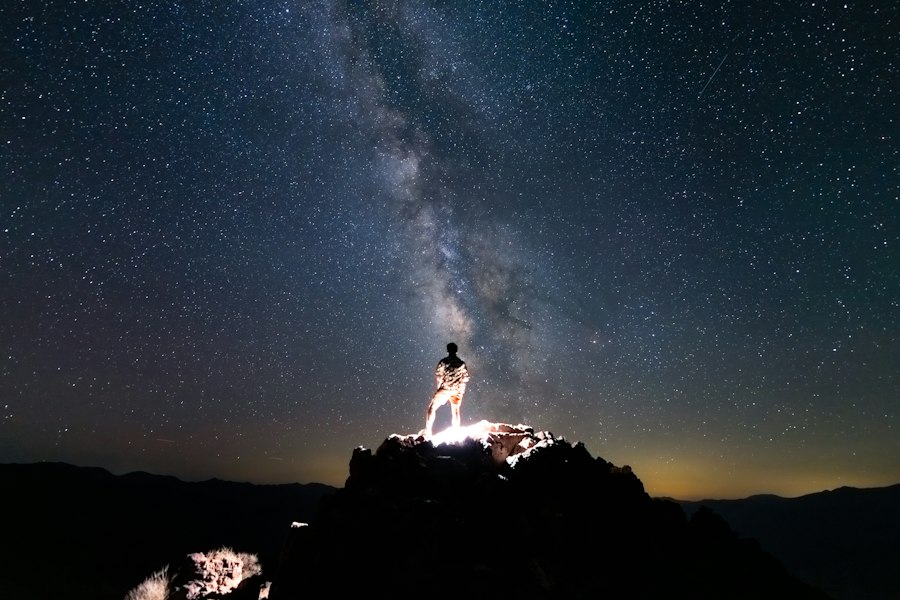
Welcome to your ultimate Death Valley astrophotography 2026 guide, where I will help you capture the majestic beauty of the night sky over one of the world darkest landscapes.
As a photography coach, nothing excites me more than standing under a canopy of millions of stars with a camera set up on a tripod. Death Valley National Park is a certified International Dark Sky Park, making it a sacred ground for night photographers. Whether you are aiming for the core of the Milky Way or long star trails over salt flats, your photos will look truly out of this world once you master a few fundamental skills.
Why 2026 is the Ultimate Year for Death Valley Astrophotography
First, let us look at why planning a trip for 2026 is so special. Celestial alignments, combined with the extreme topography of the valley, offer incredible framing opportunities. From the cracked earth of Badwater Basin to the ripples of the Mesquite Flat Sand Dunes, Death Valley provides natural leading lines that direct the eye straight into the cosmos.
Astrophotography can feel overwhelming at first because it requires you to push your digital camera to its absolute limits. But do not worry. The secret is knowing how to balance your camera settings to gather as much faint light as possible without creating excessive digital noise or blurry stars.
Before we dive into technical details, let me share a personal story about a failed photo shoot I had years ago. I spent three hours under a crystal clear sky, completely convinced I was taking the best images of my life. When I got back to my hotel room and opened the files, every single shot was ruined. The stars looked like little blurry worms instead of sharp points of light, and the foreground was completely pitch black with ugly color specks. I had left my focus on automatic and shot in the wrong image format. Learning from that mistake changed everything for me, and I am going to make sure you avoid those exact traps on your 2026 trip.
Essential Equipment and Camera Formats
To succeed with Death Valley astrophotography 2026 scenes, you need to bring the right toolset into the field. You do not need a twenty-thousand-dollar setup, but a few key pieces of gear are non-negotiable.
Must-Have Gear List
- Full-frame camera body: A sensor with high low-light performance is ideal. Check out current camera bodies on DPReview for low-light noise comparisons.
- Fast, wide-angle lens: Look for a focal length between 14mm and 24mm with a maximum aperture of f/2.8 or faster. This wide view allows you to capture sweeping desert vistas.
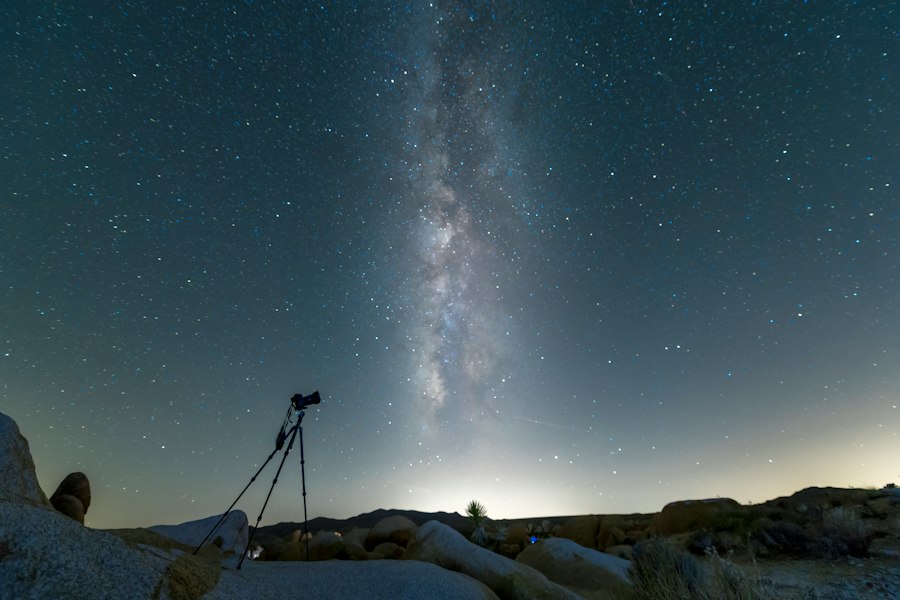
- Sturdy tripod: Wind can pick up quickly in the desert. A heavy-duty tripod keeps your camera completely still during long exposures.
- Headlamp with red light mode: Red light preserves your night vision while you adjust gear in the dark.
- Intervalometer or remote shutter release: Prevents camera shake caused by pressing the shutter button manually.
Now try this basic rule right from the start: always switch your camera from JPEG to RAW. Shooting in RAW records all the uncompressed data caught by your camera sensor. JPEG files compress that data and permanently drop faint star details and dark shadows. Learning to process RAW files in software like Lightroom or Camera Raw gives you full control over color balance and contrast. You can learn more about RAW advantages through the Adobe Tutorials library.
Understanding the Core Photography Concepts
Before jumping into our step-by-step shooting workflow, we must demystify the photography jargon you will use throughout the night.
ISO: This setting controls your camera sensor signal amplification. Higher ISO numbers make your image brighter in the dark, but setting it too high introduces digital grain or noise. For dark night skies, we often work between ISO 3200 and ISO 6400.
Bokeh: This refers to the aesthetic quality of the out-of-focus areas in an image. While bokeh is famous in portrait photography for creating smooth blurred backgrounds, in astrophotography we actually want to avoid blurry bokeh on our stars. We want point-sharp pinpricks of light from edge to edge.
Rule of Thirds: Imagine breaking your image down into nine equal rectangles using two horizontal and two vertical lines. Place your horizon line along the bottom third line to give two-thirds of your frame to the magnificent night sky.
Exposure Compensation: This feature allows you to adjust the automatic exposure light meter up or down. However, in night sky shooting, we skip automatic light meters completely and use full Manual Mode.
Cheat Sheet Tip: The 500 Rule for Sharp Stars. Divide 500 by your lens focal length to get your maximum exposure time in seconds before stars begin to trail. For example, 500 divided by a 20mm lens equals a maximum shutter speed of 25 seconds!
Step-by-Step Guide to Shooting the Desert Night Sky
Now let us walk through the exact process you should use when standing under the stars in Death Valley.
Step-by-Step Night Shooting Workflow
Step 1: Set up your tripod and compose your shot. Arrive at your spot while there is still a little twilight left. Place your tripod on firm ground. Use the Rule of Thirds to balance the foreground features, like cracked salt basin ground, with the sky above.
Step 2: Dial in your basic recommended settings. Switch your camera dial to Manual (M) mode. Set your lens aperture to its widest option, such as f/1.8 or f/2.8.
Step 3: Master manual focus. Switch your lens from Auto Focus (AF) to Manual Focus (MF). Turn on Live View on your camera screen, zoom in digitally on a bright star, and slowly turn your focus ring until that star becomes a crisp, tiny point of light.
Step 4: Take a test shot and evaluate. Use your remote shutter to take a photo. Check your display screen and zoom in close. Are the stars pinpoint sharp? Is the composition balanced? If the scene is too dark, raise your ISO or extend your shutter speed slightly.
Don't forget to double-check your focus every hour or whenever you move your tripod setup!
Recommended Settings for Beginners
- Mode: Full Manual (M)
- Image Format: RAW
- Aperture: f/1.8 to f/2.8
- Shutter Speed: 15 to 25 seconds (based on the 500 Rule)
- ISO: 3200 (adjust to 6400 if the sky is too dark)
- White Balance: Kelvin mode set around 3800K to 4200K for natural blue skies
A Real Before and After Scenario
Let us picture a real-world scenario so you can see how proper technique transforms an image.
Before: You hike out to Zabriskie Point. You leave your camera on Auto, shoot in JPEG, set your lens focus to infinity mark blindly, and hand-hold your shot for 2 seconds. The result is a blurry, dark image filled with black shadows, muddy colors, and streaky star smears. It looks disappointing and nothing like what your eyes witnessed.
After: You follow this Death Valley astrophotography 2026 guide. You lock your camera down on a solid tripod, use Manual Focus on a bright star using Live View, shoot in uncompressed RAW, and select an exposure of 20 seconds at f/2.8 and ISO 3200. The result is a breathtaking image where the Milky Way core pops with intricate dust lanes, vibrant golden and blue star colors, and pinpoint sharp details resting over the dramatic badlands foreground.
Mastering Death Valley astrophotography 2026 techniques takes patience, but the rewards are unforgettable. Practice these steps in your backyard first so you feel confident in the dark. Once you stand out in the silence of the desert, you will be ready to capture pictures that tell incredible stories for years to come. Pack your camera bags, respect the desert environment, and go capture the universe!
Matthias Weber digs into the craft of travel photography, from camera settings to editing. He explains the technical side in plain language so you can spend less time fiddling with dials and more time shooting.
💬 Comments (0)
No comments yet. Be the first!