Mont Saint-Michel photography 2026 Guide
Our Mont Saint-Michel photography 2026 guide helps you capture the historic French tidal island in the best light.
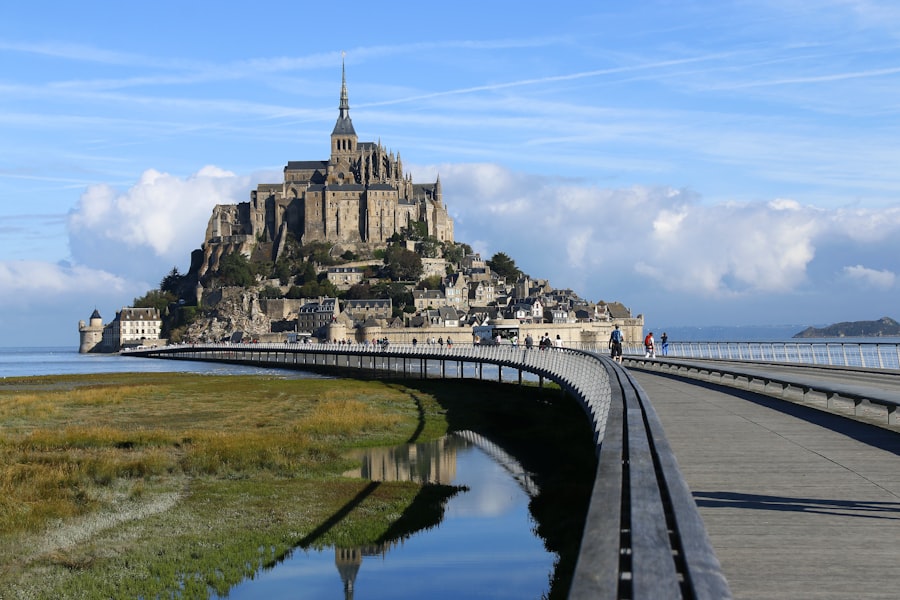
If you want to capture the ultimate medieval fantasy on camera, this Mont Saint-Michel photography 2026 guide is your roadmap to success. Rising like a mirage out of the tidal flats of Normandy, this UNESCO World Heritage site is a dream for photographers. However, it can also be a logistical nightmare if you do not plan ahead. In 2026, with changing travel patterns and new preservation efforts, getting that perfect shot requires a mix of timing, patience, and technical know-how. I am here to coach you through every step of the journey so you can bring home portfolio-worthy images.
Why Mont Saint-Michel is a Photographer's Dream in 2026
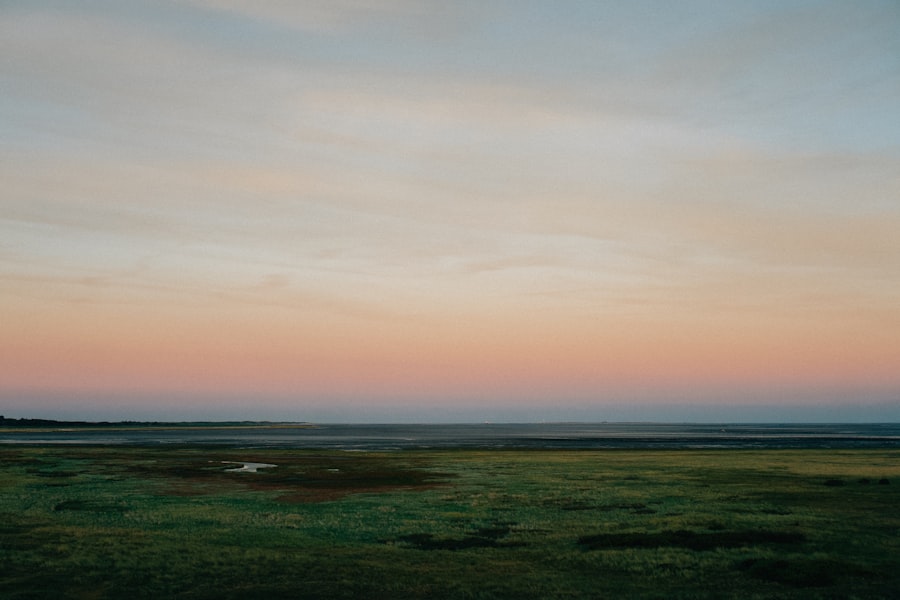
There is nothing quite like watching the sea mist wrap around the spire of the abbey at sunrise. The secret is knowing how to handle the extreme contrast between the dark stone walls and the bright coastal sky. Because the bay experiences some of the highest tides in Europe, the landscape changes completely every few hours. One moment you have vast, textured sand patterns; the next, you have a perfect watery mirror reflecting the fortress.
To make the most of your trip, you need to understand how light interacts with this unique structure. The way the sun hits the granite walls at golden hour can turn a cold, gray fortress into a warm, glowing castle. But to capture that magic, you must move beyond basic auto settings and take control of your camera manual settings.
The Gear You Need for Mont Saint-Michel Photography 2026
Before we talk about camera settings, let us make sure your camera bag is packed correctly. You do not need to carry heavy gear, but a few specific tools will make a massive difference in your final images.
- A Sturdy Tripod: The wind in the bay can be incredibly strong, especially during high tide. A shaky tripod will ruin your long exposures.
- A Wide-Angle Lens (16-35mm): Essential for capturing the vastness of the bay and the towering height of the abbey from the causeway.
- A Telephoto Lens (70-200mm): Perfect for compressing the distance when shooting from the mainland curves, making the mount look massive against the background.
- Circular Polarizer (CPL): This filter helps cut down on glare from the wet sand and water, making your skies pop and revealing the textures of the mudflats.
For high-quality gear recommendations and body specifications, you can check the latest camera details on DPReview to see which sensors handle dynamic range best for high-contrast scenes like this.
The Golden Rule of Coastal Photography: Always prioritize protecting your gear from salt water and fine sand. Wipe down your tripod legs with fresh water immediately after shooting in the tidal flats, or the salt will corrode the joints by the end of your trip.
Essential Camera Settings Explained Simply
Let us demystify the photography jargon so you can set up your camera with confidence. First, let us look at RAW vs JPEG. Always shoot in RAW format. A JPEG is a compressed file where the camera makes the creative decisions for you. A RAW file saves all the data captured by your sensor, giving you the power to rescue dark shadows and bright highlights later during editing in programs like Adobe Photoshop or Lightroom.
Next is ISO, which measures your camera sensor's sensitivity to light. Keep your ISO as low as possible (usually ISO 100) to avoid digital noise, which looks like ugly grain in your shadows. Only raise your ISO when the light fades and you do not have a tripod.
Now try this: use a wide aperture like f/2.8 to create a shallow depth of field. This produces beautiful Bokeh, which is the soft, blurry out-of-focus background that makes your subject stand out. However, for landscape shots of the entire mount, you will want a narrower aperture like f/8 or f/11 to keep everything sharp from the foreground to the horizon.
Recommended Settings Cheat Sheet
- File Format: RAW
- Shooting Mode: Manual (M) or Aperture Priority (A/Av)
- ISO: 100 (increase only if hand-holding in low light)
- Aperture: f/8 to f/11 for grand landscapes; f/2.8 to f/4 for detail shots
- Focus Mode: Single-point autofocus
My Failed Shot: A Before and After Story
During my first trip to the bay, I wanted to capture the mount reflected in a small pool of water on the sand. I arrived at sunset, set up my tripod, and let the camera choose the settings. The result? A complete disaster. The bright sky tricked my camera light meter, resulting in a completely black silhouette of the abbey with no detail in the stone, while the sky was a washed-out white blob.
The secret is using Exposure Compensation. This tool tells your camera to make the image darker or brighter than what its automatic brain thinks is correct. To fix my failed shot, I switched to Manual mode, lowered my ISO to 100 to keep the image clean, set my aperture to f/9 for maximum sharpness, and used exposure compensation to dial the exposure down by one full stop (-1 EV). This preserved the colorful sunset colors in the sky. Back home, because I shot in RAW, I was easily able to lift the shadows on the medieval walls in editing, creating a balanced, breathtaking image with rich details from edge to edge.
Step-by-Step Guide to Capturing the Perfect Sunset Shot
Follow these steps to master your Mont Saint-Michel photography 2026 session during the evening golden hour.
Step 1: Scout Your Location Early
Do not show up right at sunset. Arrive at least two hours early to walk the wooden bridge and the banks of the Couesnon River. Look for leading lines, like the curve of the bridge or patterns in the mud flats, to guide the viewer's eye toward the abbey. This classic composition technique is called the Rule of Thirds, where you place the abbey along the imaginary grid lines of your frame rather than dead center.
Step 2: Set Up Your Tripod and Compose
Once you find your spot, lock your camera onto your tripod. Compose your shot using the Rule of Thirds. If the sky is dramatic, give it the top two-thirds of the frame. If the reflections in the water are spectacular, let the foreground dominate the bottom two-thirds.
Step 3: Dial in Your Settings
Switch your camera to Manual mode. Set your ISO to 100 for maximum image quality. Choose an aperture of f/11 to ensure the entire landscape is sharp. Adjust your shutter speed until the light meter indicates a balanced exposure, keeping an eye on your histogram to make sure you are not clipping your highlights.
Step 4: Use a Remote Shutter or Timer
Don't forget to use a 2-second self-timer or a remote shutter release. When you press the shutter button with your finger, you cause tiny vibrations that can blur your image. A timer ensures your camera is perfectly still when the shutter opens.
Advanced Composition Tips for Mont Saint-Michel Photography 2026
Now that you have the technical basics down, let us elevate your creative vision. The bridge leading to the mount is a perfect leading line. Try placing your camera very low to the ground to make the wooden planks look massive, guiding the viewer's eye directly to the castle in the distance.
Another great technique is to look for framing opportunities. Use the branches of trees along the river banks or the stone archways inside the abbey itself to frame the distant horizon. This adds depth and a sense of scale to your Mont Saint-Michel photography 2026 portfolio, making your photos look three-dimensional.
Finally, do not pack up the moment the sun dips below the horizon. The blue hour, which occurs about twenty to thirty minutes after sunset, is when the abbey lights turn on. The contrast between the deep blue sky and the warm golden lights of the fortress is absolutely magical and highly rewarding for night photography enthusiasts.
Frequently Asked Questions
What are the best times of day for photographing Mont Saint-Michel in 2026?
The golden hours just after sunrise and before sunset provide magical lighting, making them ideal for photography.
Which lenses are recommended for capturing Mont Saint-Michel?
A wide-angle lens is great for full-mont views, while a telephoto lens is perfect for detailed shots of the abbey.
Are there any specific rules for drone photography in 2026?
Drones are prohibited over the monument itself; check for designated areas nearby.
Camille Bernard shares travel photography tips for every kind of traveller, from phone snapshots to full kits. She breaks down light, composition and timing so you come home with photos that actually capture how a place felt.
💬 Comments (0)
No comments yet. Be the first!