Milky Way Photography Settings for Travel
Master milky way photography settings for travel with this step-by-step guide. Capture stunning night skies using your camera or smartphone in 2026.
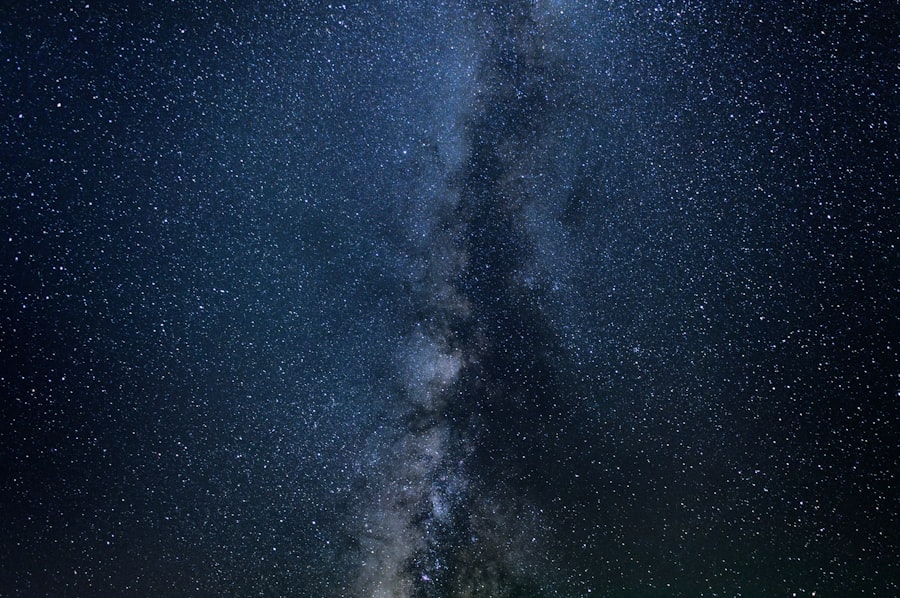
Finding the right milky way photography settings can feel overwhelming, but I'm here to walk you through it step by step. In 2026, capturing the Milky Way is more accessible than ever thanks to better cameras and lenses, but the fundamental approach remains the same. I remember my first night under a starry sky in the Atacama Desert — I was so excited that I rushed to set up my tripod, cranked up the ISO to 12800, and fired away. The result? A grainy, purple mess with blurry stars that looked like tiny comets. That night taught me the hard way that you can't just point and shoot; you need to master a handful of core settings. After years of trial and error, I've distilled everything into a simple workflow that works for any travel photographer. By the end of this tutorial, you'll know exactly which milky way photography settings to use, how to dial them in, and how to avoid the mistakes that ruined my early attempts.
Understanding the Basics: ISO, Aperture, and Shutter Speed
Before we dive into specific numbers, let's quickly revisit the exposure triangle. Your camera records light through three interdependent controls — ISO, aperture, and shutter speed. For astrophotography, each one plays a critical role in letting enough light hit the sensor while keeping the stars sharp.
ISO — The Sensitivity Dial
ISO measures your sensor's sensitivity to light. Higher ISO values (like 3200 or 6400) make the sensor more sensitive, which helps you capture faint stars. But there's a trade-off: too high and you'll introduce digital noise (grain). For the Milky Way, I typically start at ISO 3200 and adjust up to 6400 depending on the camera. Modern cameras from Sony, Canon, and Nikon handle high ISO remarkably well. If you're using a camera like the Sony A7 IV reviewed by DPReview, you can push to 12800 and still get usable results. The secret is to test your own camera's noise ceiling at home before your trip.
Aperture — The Light Bucket
Aperture controls the size of the lens opening. A wider aperture (smaller f-number like f/1.4 or f/2.8) lets in more light — crucial for stars. Your goal is to use the widest aperture your lens allows. Most astrophotographers recommend at least f/2.8. If you have a lens like a 24mm f/1.4, you're golden. But even an f/4 zoom can work if you boost your ISO and use a longer shutter speed within the limits of the 500 rule (which I'll explain below). The wider the aperture, the more bokeh you get from foreground elements — though for stars you want minimal bokeh, so you focus at infinity.
Shutter Speed — The 500 Rule
Shutter speed determines how long the sensor is exposed to light. For sharp stars, you need to keep the exposure short enough that Earth's rotation doesn't cause star trails. The classic formula is the 500 rule: divide 500 by your lens's focal length (in full-frame terms). For example, with a 24mm lens, your maximum shutter speed is 500 / 24 = about 20.8 seconds. Round down to 20 seconds. If you're using a crop sensor camera (like APS-C), use the effective focal length — for a 16mm lens on APS-C (16 x 1.5 = 24mm equivalent), that also gives you 20 seconds. This rule gives a good balance between light gathering and star sharpness.
Recommended Milky Way Camera Settings
Now let's put it all together. Below is my go-to checklist for milky way photography settings that work in most dark-sky locations. Remember, these are starting points — you'll fine-tune based on your specific gear and conditions.
- Shoot in RAW — Never JPEG. RAW files give you enormous flexibility to adjust white balance, exposure, and recover detail from shadows. Your final Milky Way image will look flat straight out of camera, but you'll bring it to life in post-processing.
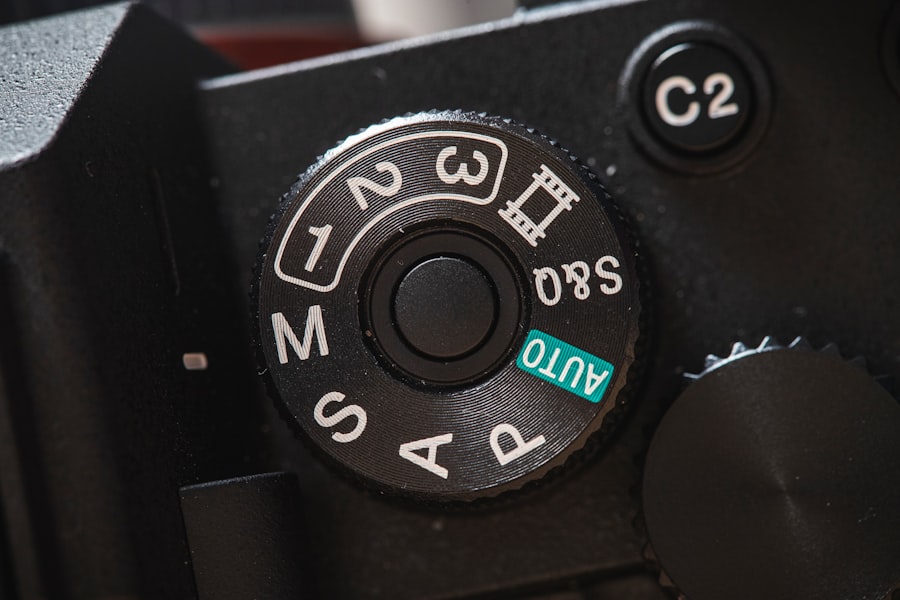
- Manual Exposure Mode — Set your camera to M (manual). Auto modes will overexpose the sky.
- ISO — Start at 3200. If your camera is older or has more noise, use 1600 and compensate with a faster lens.
- Aperture — Wide open. f/2.8 or wider is ideal. If you have a lens that's f/4 or f/5.6, consider renting or buying a faster lens for astro work.
- Shutter Speed — Apply the 500 rule. For a 24mm lens: 20 seconds. For a 14mm lens: about 35 seconds. Always round down.
- White Balance — Set to Daylight or Kelvin around 4000K. Don't rely on Auto WB — it makes the sky look greenish. Some photographers prefer 3300K for a natural purple-blue Milky Way.
- Focus — Manual focus only. Use Live View to find a bright star, zoom in digitally (10x), and turn the focus ring until the star is a tiny pinprick. Then tape the ring or lock it. I've missed too many shots because the focus drifted.
- Long Exposure Noise Reduction — Turn it OFF while shooting, then process noise in editing. LENR doubles your capture time and can ruin the flow of a sequence.
Step-by-Step Guide to Capturing the Milky Way
Step-by-Step: Setting Up Your Shot
Let me walk you through the process I use every time I travel to a dark sky location. This step-by-step assumes you have a tripod, a camera with manual controls, and a lens that goes to at least f/2.8.
- Scout your location during daylight. Look for interesting foreground elements — a rock, a tree, an abandoned building. Use the Rule of Thirds to place the Milky Way along one of the grid lines. Remember, the galactic center rises in the southern sky (if you're in the northern hemisphere) between April and September. Use an app like Stellarium or PhotoPills to plan where the Milky Way will be.
- Set up your tripod and level it. Use a bubble level or your camera's built-in virtual horizon. Even a slight tilt will throw off your composition when you stack images later.
- Compose your shot in Live View. Dial in a high ISO (like 6400) temporarily so you can see the stars on the rear screen. Adjust your composition. Don't forget to leave room for the Milky Way arc if you want a wide-angle view.
- Focus to infinity. Use the Live View zoom method I described. If your lens has an infinity mark, double-check it — many are off. For extra precision, use a Bahtinov mask or manually focus on Jupiter if it's visible.
- Set the exposure. Use the recommended milky way photography settings from the list above. Take a test shot. Zoom into the image on the LCD — check for star sharpness and exposure. If the stars are too dim, increase ISO or speed up the lens (if possible). If they're blown out, reduce ISO or use a faster shutter.
- Start your sequence. Use a remote shutter release or the 2-second self-timer to avoid vibration. For travel, I often shoot a single frame and later stack it with others for noise reduction. But if you want the highest quality, take 4-8 consecutive frames at the same settings. You'll align and stack them in software like Sequator or Starry Landscape Stacker.
- Review and adjust. After the first capture, check the histogram (it should be a hump in the middle-left, not touching the edges). Re‑adjust your settings if needed. The sky is dynamic — moon phase, light pollution, and even atmospheric haze change your exposure. Now try this: if the sky looks too dark, increase ISO by one stop (from 3200 to 6400) but watch for noise.
Cheat Sheet: The Golden Rule for Star Sharpness
The 500 Rule is your best friend. But remember: if you're using a high‑megapixel camera (like a 50MP sensor), use the 300 Rule to get even sharper stars. For a 24mm lens on a 50MP body: 300/24 = 12.5 seconds. Sacrificing a little exposure time can save you from oblong star shapes.
Common Mistakes and How to Fix Them
Now let me share a story that still makes me cringe. In 2023, I was in New Zealand's Lake Tekapo region — one of the darkest skies in the world. I had my tripod set perfectly, used the milky way photography settings I'd memorized, and spent an hour capturing 30 frames. Back at the hotel, I imported them and found every single image had star trails. Why? Because I had accidentally left my lens's image stabilization turned on. The lens was hunting even on a tripod, causing micro‑vibrations. I learned to always turn off IS when using a tripod for long exposures.
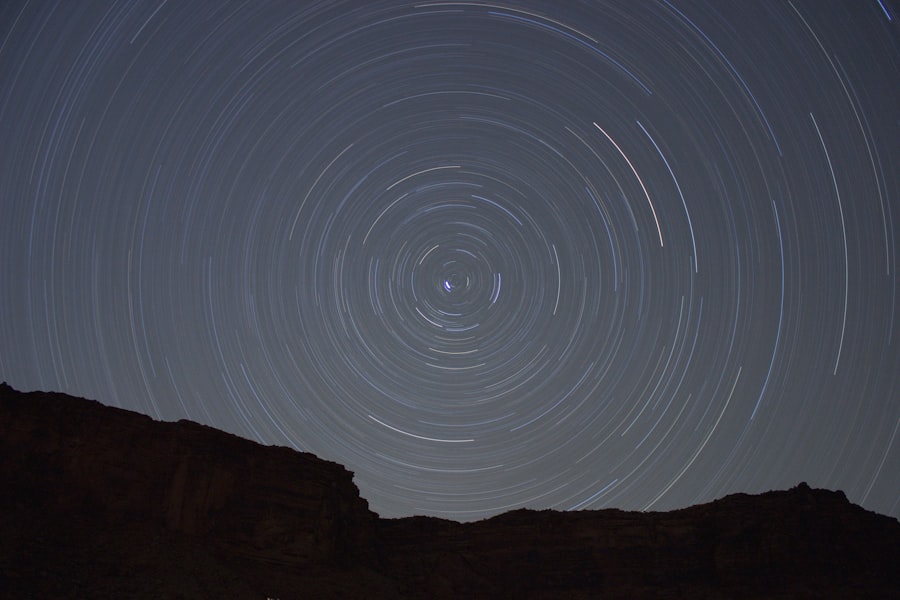
Mistake #1: Star Trails (but you didn't want them)
If your stars look like short dashes, your shutter speed is too long. Double‑check the 500 Rule or reduce your exposure by 2‑3 seconds. Also, ensure your tripod is stable — spread the legs wide and hang your camera bag from the center hook for extra weight. Wind can cause trails even with a short shutter.
Mistake #2: Soft, Bloated Stars
Out‑of‑focus stars are the most frustrating. Re‑focus using the Live View method. If you wear glasses, use your diopter adjustment on the viewfinder — don't trust your eyes. Some lenses suffer from focus shift; take a test shot at high ISO and zoom in on the LCD to confirm sharpness.
Mistake #3: Too Much Noise
Grainy images often come from too high an ISO or underexposure. The fix: use a wider aperture if possible, or reduce your ISO and increase shutter speed (but stay under the 500 Rule). In post‑processing, apply noise reduction carefully — Adobe's Lightroom Noise Reduction tutorial shows you how to preserve detail while smoothing grain.
Post‑Processing Your Milky Way Image
Getting a great shot in camera is only half the journey. Because you shot in RAW, you can adjust exposure compensation in Lightroom to brighten the core of the Milky Way without blowing out the stars. I often increase the Contrast and Texture sliders, and add a small S‑curve to boost the midtones. For the sky, lower the Highlights and lift the Shadows slightly. Don't forget to correct the white balance — a little cool (around 4000K) usually looks more natural. If you want the Milky Way to pop, use the Radial Filter to darken the edges of the frame, drawing the eye to the center. But be subtle — over‑processing makes the photo look artificial.
Remember the Rule of Thirds even in editing: place the brightest part of the Milky Way band on a third line. And if you're wondering about bokeh — that dreamy background blur — it's rarely used in astro shots because you want everything sharp from foreground to infinity. However, if you're shooting a close foreground subject (like a silhouette), a wide aperture can create a nice bokeh effect in the stars, but it's a stylistic choice.
To get the most out of your gear, check the official specs of popular astro cameras. For example, Nikon's D850 page highlights its low‑light performance and high dynamic range — perfect for Milky Way shots. Pair it with a fast wide lens, and you'll produce stunning travel images every time.
Your milky way photography settings are now a toolbox you can rely on. The next time you're under a starry sky in 2026, you'll know exactly what to dial in. Trust the process, take test shots, and don't be afraid to experiment. Your photos will capture the awe of the cosmos — and that's the whole point of travel photography.
Frequently Asked Questions
What is the best aperture for milky way photography?
Use the widest aperture available, typically f/1.4 to f/2.8, to let in maximum light.
What ISO should I use for milky way shots?
Start at ISO 3200 or 6400, adjusting based on your camera's noise performance.
How do I set shutter speed for the milky way?
Use the 500 rule: 500 divided by your focal length gives the max seconds before star trails appear.
Should I focus manually for milky way photos?
Yes, switch to manual focus and use live view to zoom in on a bright star until sharp.
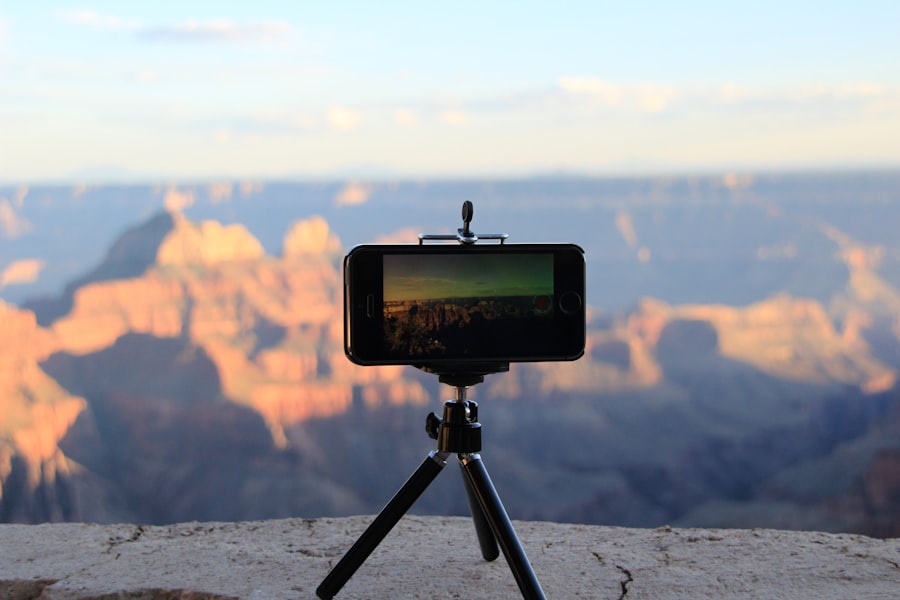
Do I need a tripod for milky way photography?
Absolutely, a sturdy tripod is essential to keep the camera perfectly still during long exposures.
💬 Comments (0)
No comments yet. Be the first!