How to Use Negative Space in Travel Photos
Discover how to master negative space in travel photography for stunning, minimalist images. Step-by-step guide with examples.
Negative space can transform your travel photos from cluttered snapshots into stunning, minimalist compositions that tell a story. In this tutorial, I’ll show you how to wield negative space like a pro, whether you’re shooting sweeping landscapes or intimate street scenes. By the end, your travel images will feel cleaner, more intentional, and far more memorable.
What Is Negative Space?
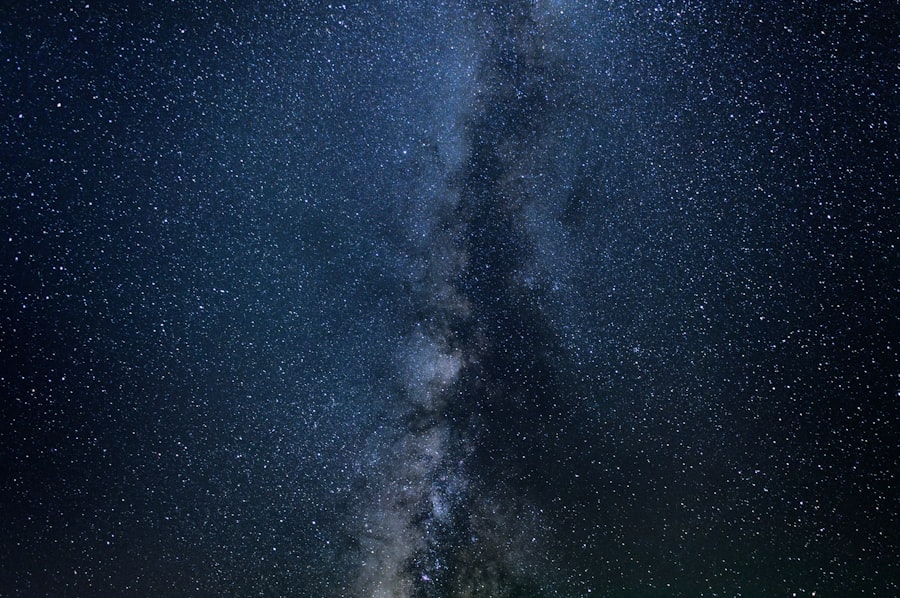
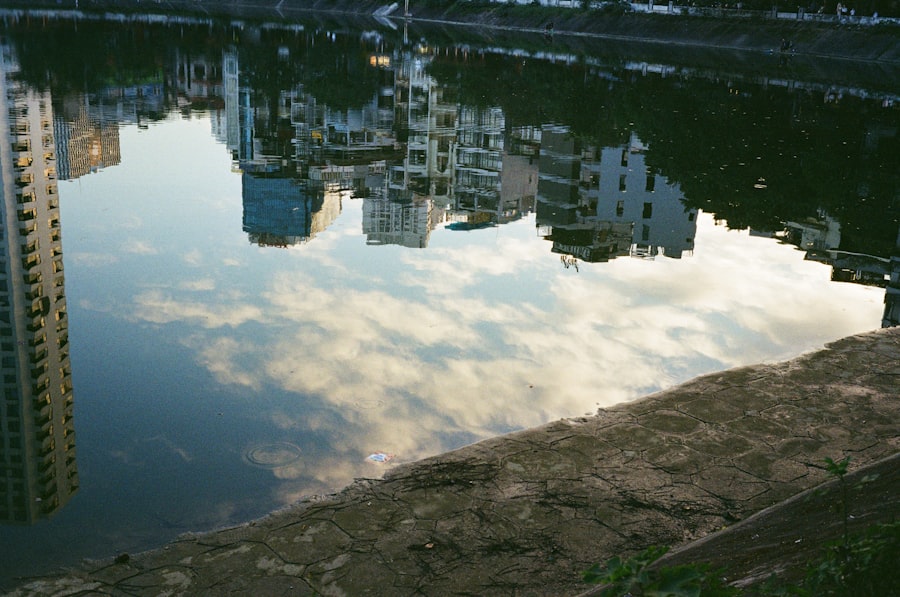
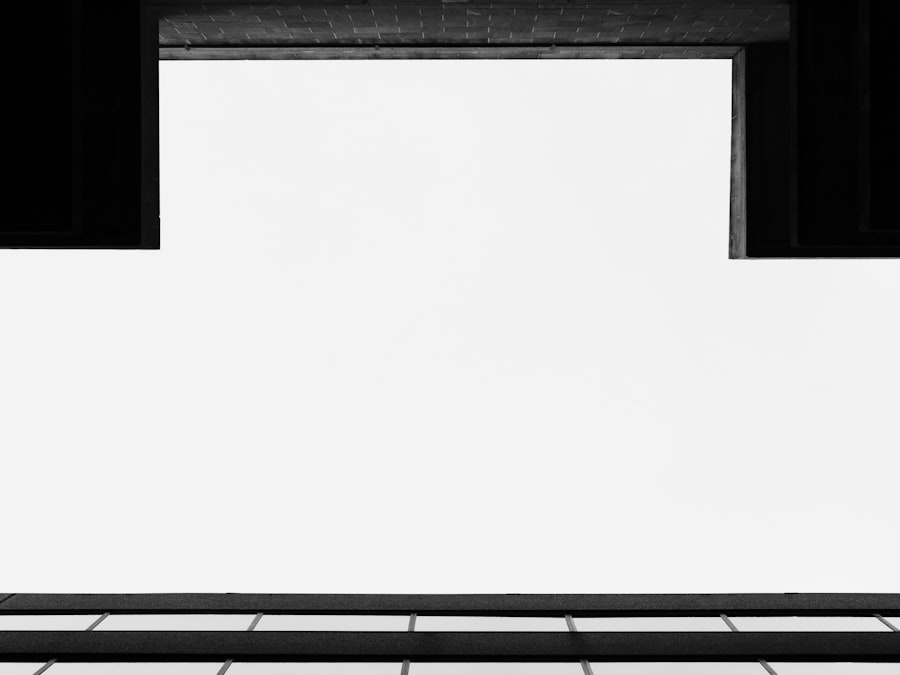
Negative space is the empty area around your main subject. Think of a lone tree against a vast sky, a single figure on an empty beach, or a silhouette framed by a soft gradient of clouds. That breathing room isn’t “wasted” – it draws the eye straight to your subject and evokes a sense of scale, solitude, or calm. Unlike positive space (the subject itself), negative space gives the viewer a mental pause. It’s one of the most powerful compositional tools in travel photography, and once you start looking for it, you’ll see it everywhere.
Understanding the Balance
The secret is not filling every corner with details. A common mistake is trying to include everything – the temple, the crowd, the sky, and the foreground all at once. Instead, choose one strong subject and let negative space do the heavy lifting. Your photos will look more polished, and you’ll start attracting compliments from editors and followers alike. For example, the Rule of Thirds works beautifully with negative space: place your subject on a third-line intersection, then let two-thirds of the frame be empty sky, water, or a clean wall.
Why Negative Space Works in Travel Photography
Travel often means chaos – busy markets, tangled tuk-tuks, flocks of tourists. Negative space cuts through the noise. It tells the viewer exactly what matters. It also makes your images more versatile for social media, prints, and even album covers. Plus, it’s easy to achieve if you know a few camera tricks. Don’t forget to use Exposure Compensation when shooting bright skies – dial it down by -0.7 or -1 to keep highlights from blowing out. Shooting in RAW (not JPEG) gives you more latitude to recover shadow and highlight detail in post-processing, which is crucial when you’re balancing a dark subject against a bright negative space background.
- Recommended Settings for Capturing Negative Space
- ISO: Keep it low (100–400) to avoid noise, especially in large areas of uniform color like sky or sand.
- Aperture: Use f/8 to f/11 for maximum sharpness across the frame. For a soft, dreamy background, open up to f/2.8 or f/4 – that creates beautiful bokeh in the negative space behind your subject.
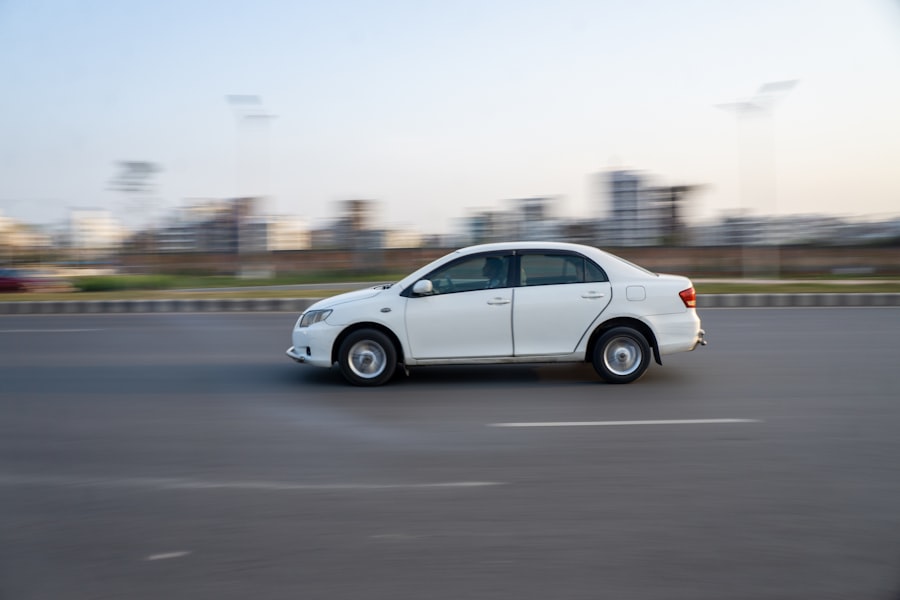
- Shutter Speed: Adjust to freeze motion (e.g., 1/500s for a walking person) or to blur it (e.g., 1/15s for moving water, making the negative space feel smooth).
- Metering Mode: Use spot metering on your subject to avoid the camera exposing for the bright empty area and underexposing your main point.
My Failed Photo and How Negative Space Saved It
Last summer I was in Iceland, standing in front of a massive black sand beach. I saw a tiny figure with a red jacket walking near the water. I snapped a dozen shots trying to “get everything” – the waves, the basalt columns, the mountains in the distance, the person. The result? A messy, confusing image. The person got lost, the composition had no focus. I almost deleted the whole set.
Then I remembered negative space. I zoomed in slightly, waited until the person was about one-third from the left edge, and tilted my camera down to include more of the black sand and less of the busy horizon. Suddenly the red jacket popped against the dark, uniform sand. The image became about scale – a single human against the vast, empty beach. That one change turned a failure into my most-liked travel photo in 2026. Your photos will look similarly powerful once you apply this concept.
Step-by-Step: How to Compose with Negative Space
- Identify your subject – it can be a person, a building, a tree, or even a shadow. Keep it simple and isolated.
- Scan the background – look for large areas of uniform color or texture: sky, water, sand, a blank wall, fog, or snow. Avoid patterns that distract.
- Position your subject – use the Rule of Thirds or a centered placement. For a dramatic feel, put the subject near the bottom edge and let the majority of the frame be empty above them.
- Maximize the empty area – move closer or farther, change your angle, or zoom to exclude visual clutter. Tilt your camera up to include more sky, or down to include more ground.
- Check the exposure – use Exposure Compensation if the bright negative space tricks your camera. Shoot in RAW so you can fine-tune later.
- Breathe and release – wait for the right moment (a passing cloud, a gust of wind, the subject stepping into the right spot). Then take the shot.
Cheat Sheet: Golden Rule of Negative Space
If you can’t clearly describe your photo in three words (e.g., “lone tree, sky”), you probably have too much clutter. Remove elements until only the subject and the emptiness remain. Less is always more.
Practical Tips for Using Negative Space on the Go
Now try this: the next time you’re in a crowded plaza, look up. The sky might be washing out in your viewfinder – that’s perfect negative space. Or find a blank wall and wait for someone in bright clothing to walk past. Use a wide aperture (like f/2.8) to blur busy backgrounds even further. If you’re shooting people, ask them to stand still and look into the distance; the empty space around them will emphasize their emotion.
Don’t forget to experiment with negative space on both horizontal and vertical frames. A vertical composition with lots of sky can make a subject feel heroic or lonely. Horizontal with lots of water can feel tranquil. And always review your histogram – a gentle bell curve that’s slightly shifted toward the bright side often indicates a healthy amount of negative space.
Bonus: Editing Negative Space in Post-Processing
Your work doesn’t end in the camera. In software like Lightroom or Photoshop, you can enhance negative space by increasing clarity slightly in the subject and reducing it in the empty areas. Vignettes work wonders: darken the edges of the frame to push attention inward. Also, consider converting to black and white – it strips away color distractions and makes negative space even more dramatic. If you shot RAW, you can recover highlight details in the sky or deepen shadows in the empty ground. For a full guide on post-processing, check out Adobe’s official negative space photography tutorial.
- Must-have Gear for Negative Space Photography
- Prime lens (e.g., 35mm f/1.8 or 50mm f/1.4) – wider apertures give you smooth, creamy negative space backgrounds.
- Circular polarizer filter – deepens the blue in sky and water, making negative space more saturated and dramatic.
- Tripod – essential for long exposures of water or clouds, turning chaotic textures into calm negative space.
- Camera with good dynamic range – modern bodies like the Sony A7 IV or Canon EOS R6 Mark II handle high contrasts between bright sky and dark subject without losing detail.
Embrace the Emptiness
Negative space isn’t about doing less – it’s about choosing exactly what belongs in your frame. Start small: pick one subject tomorrow and deliberately leave 70% of the image empty. Review the result. I promise your travel photos will look more professional, more artistic, and more shareable. In 2026, negative space is the secret weapon of every travel photographer who wants to stand out. Now grab your camera, find that empty wall, and let the magic happen.
Frequently Asked Questions
What is negative space in photography?
Negative space is the empty area around and between the subject of an image, which helps direct attention and create a sense of scale or tranquility.
How can I use negative space in travel photos?
Include large, plain areas like a clear sky, calm water, or an empty landscape to emphasize your main subject.
Why is negative space important for travel photography?
It simplifies compositions, highlights the subject, and evokes a mood of openness or isolation in distant locations.
What types of travel scenes work best with negative space?
Deserts, beaches, mountains, and open fields provide natural negative space around lone trees, people, or landmarks.
How do I compose travel photos using negative space?
Place your subject off-center using the rule of thirds, leaving the remaining area plain and uncluttered.
💬 Comments (0)
No comments yet. Be the first!