Panning Photography Travel Guide 2026
Master panning photography travel to capture sharp motion in your travel photos. Use our step-by-step guide for stunning results.
Welcome to the 2026 Panning Photography Travel Guide by Visualtravelspots.com, where I'll show you how mastering panning photography travel can transform your vacation snaps into dynamic works of art. Whether you're chasing race cars in Monaco, cyclists in Amsterdam, or runners in a local park, the ability to freeze motion while blurring the background creates a sense of speed and energy that flat, static photos just can't match. In this tutorial, I'll coach you through every step—from gear choices to camera settings to the exact body movement that makes or breaks a shot. By the end, your panning photography travel images will stand out on any feed.
What Is Panning Photography Travel?
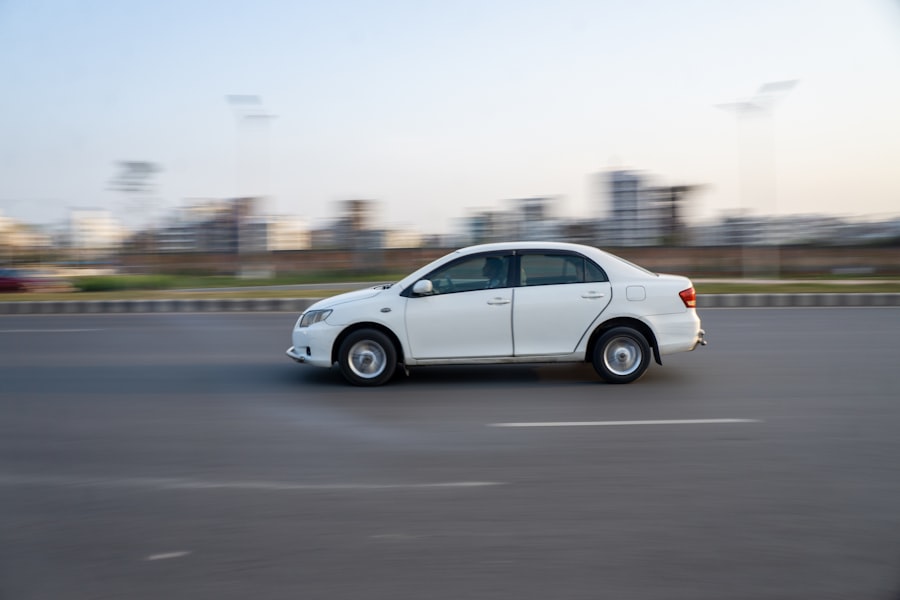
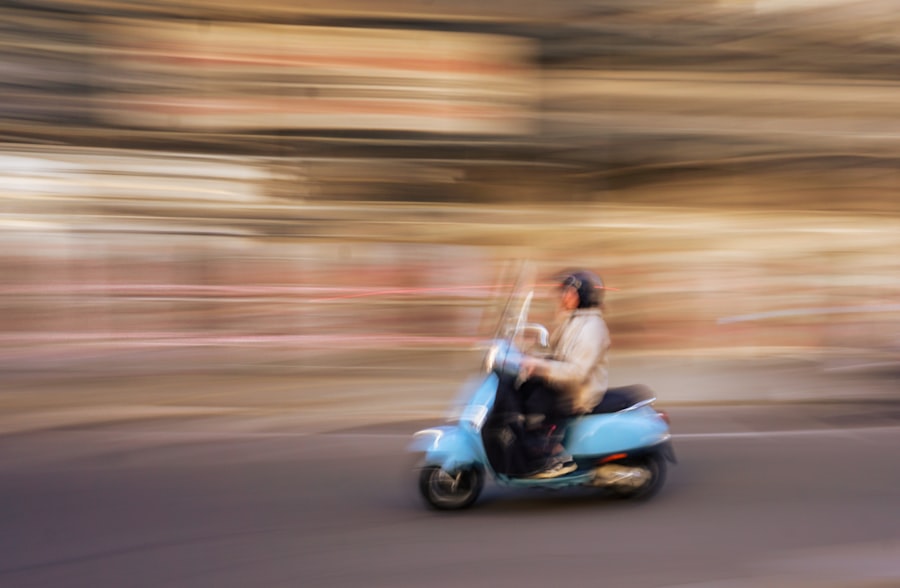
First, let's look at the core idea. Panning means moving your camera to follow a moving subject, then releasing the shutter while still in motion. The subject stays sharp, while the background turns into silky, directional blur. That blur conveys speed and tells a story of movement, which is what makes panning photography travel so powerful for travel storytelling. I remember my first attempt in Tokyo: I was photographing a Shinkansen bullet train. I stood still, pressed the shutter, and got a perfectly sharp train against a boring, sharp background. It looked like a parking lot snapshot. The secret is that without panning, you lose the feeling of motion entirely.
Your photos will look completely different once you start panning. The technique works with any moving subject—cars, bikes, skateboarders, even animals on the run. The key is matching your camera movement to the subject's speed. If you move too fast or too slow, you'll either freeze the background (defeating the purpose) or blur the subject (the dreaded "failed pan").
Essential Gear for Panning Photography Travel in 2026
You don't need a professional rig to start, but the right gear makes learning easier. Here's what I recommend for your panning photography travel kit.
Must-Have Gear
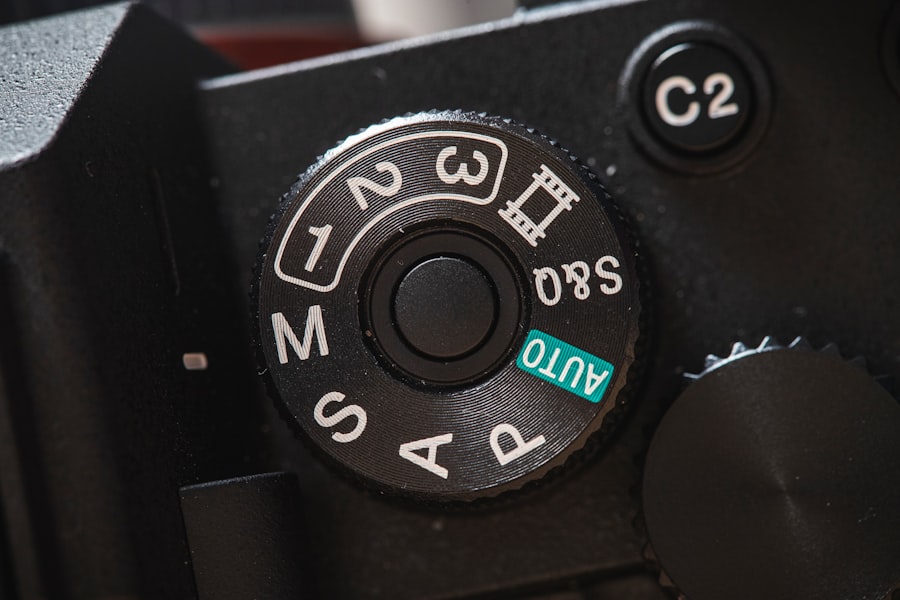
- Camera with manual mode — Any modern DSLR or mirrorless body lets you control shutter speed, aperture, and ISO. I use a Sony A7 IV (check its official specs here), but a Canon R6 or Nikon Z6 II works just as well.
- Lens with image stabilization — A 24-70mm f/2.8 or 70-200mm f/4 is ideal. Stabilization in the lens or body helps smooth your panning motion. Avoid ultra-wide lenses because they exaggerate camera shake.
- Monopod (optional) — Great for beginners. It stabilises your movement along a single axis, preventing vertical wobbles.
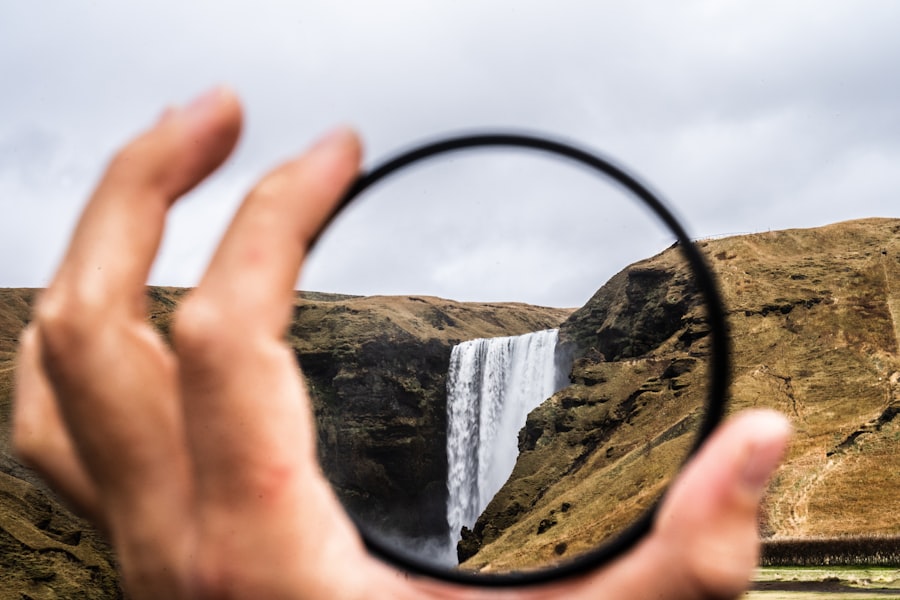
- Neutral density (ND) filter — If you're shooting in bright daylight and want a slower shutter speed, an ND filter cuts light without changing exposure.
Recommended Camera Settings for Panning Photography Travel
- Shutter speed — Start at 1/30 sec for cars moving at moderate speed (30–50 km/h). For faster subjects like Formula 1 cars, try 1/125 sec. For slow bicycles, 1/15 sec.
- Aperture — f/8 to f/11 gives enough depth of field to keep a moving subject sharp. Avoid wide apertures like f/2.8 unless your subject stays perfectly parallel to your sensor.
- ISO — Keep it as low as possible (100–400) to minimise noise. If your shutter speed forces a dark image, raise ISO to 800–1600, but know that high ISO reduces sharpness.
- Shooting mode — Use Shutter Priority (S or Tv) or Manual (M). I prefer Manual for full control over exposure.
- Drive mode — Set continuous high-speed burst. This gives you multiple frames per second, increasing your chance of a sharp keeper.
- Autofocus — Use continuous AF (AI Servo / AF-C) with a single central point or a small zone. Pre-focus on the area where you expect the subject, then track it.
- RAW vs JPEG — Shoot RAW. You'll have more latitude to fix exposure or white balance later. JPEG is fine for quick sharing, but RAW preserves shadow and highlight detail.
Step-by-Step Guide to Perfect Panning Photography Travel
Now try this step-by-step approach. I'll break it down into simple moves you can practice anywhere.
Step-by-Step: How to Execute Panning Photography Travel
- Find a location with a clear background. Avoid cluttered backdrops where the blur becomes messy. A road with uniform trees or a long wall works best.
- Set your shutter speed. Start at 1/30 sec. Adjust based on your subject's speed. Don't forget to compensate exposure if your camera brightens or darkens the preview.
- Plant your feet. Stand with your feet shoulder-width apart, perpendicular to the direction of motion. Twist your upper body, not your whole body — this keeps your movement smooth.
- Track the subject. As the subject approaches, start moving your camera to follow it. Keep the subject in the same spot in your viewfinder. Use your hips and shoulders, not just your arms.
- Press the shutter halfway. Let the autofocus lock on. Many cameras struggle with fast lateral movement, so try back-button focus if your camera supports it.
- Release the shutter while still moving. Don't stop panning when you hear the click. Follow through like a golfer swinging a club. A sudden stop creates a jittery blur.
- Burst and review. Shoot a burst of 3–5 frames, then check the result. If the subject is blurry, increase shutter speed. If the background is too sharp, slow it down.
Cheat Sheet: The Golden Rule of Panning Photography Travel
Your panning speed must match the subject's speed exactly. If your motion is faster or slower than the subject, you get subject blur. Practice by tracking moving cars in a parking lot before hitting a busy street. And remember: the best panning shots happen when the background is a uniform pattern, like a row of trees or a colorful wall.
Common Pitfalls and How to Overcome Them
Even after years of practice, I still mess up. Let me share a personal story. In 2026, I was in Barcelona photographing the vibrant La Mercè parade. I wanted to capture a traditional 'gegant' (giant figure) walking through a crowd. I set my shutter to 1/15 sec, started panning — and got a blurry mess. The giant was in focus, but the background had no motion blur at all. My panning was too jerky because I was using only my arms. I felt frustrated. So I stepped back, repositioned my feet, and this time locked my elbows against my chest. I practiced on a few slow-moving floats. The second round? Sharp figure, beautiful streaks of colour from the crowd. The secret was using my entire torso to pivot.
Here are three more common mistakes in panning photography travel and how to fix them:
- Too much subject blur. Your shutter speed is too slow, or your panning is uneven. Raise the shutter speed by one stop (e.g., 1/30 to 1/60) and practice a smoother follow-through.
- Background too sharp. You're panning too slowly or not following the subject through the full exposure. Slow your shutter speed by one stop and increase your panning speed.
- Horizon tilted. You're twisting your camera while panning. Keep your camera level by using the electronic level in your viewfinder or a hot-shoe bubble level.
Don't forget to check your exposure compensation. When panning, especially with a bright sky behind a dark subject, the camera might underexpose the subject. Use exposure compensation or spot metering to dial in +0.7 to +1.0 EV.
Advanced Tips for 2026: Bokeh, Composition, and Post-Processing
Once you've got the basics, let's talk about making your panning photography travel images truly artistic.
Composition Tactic: The Rule of Thirds
Place your subject on one of the vertical lines, leaving space in front of it (the direction of travel). This creates a sense of forward momentum. For example, if a cyclist moves from left to right, position them on the left third so they have room to "ride into" the frame. It's a simple adjustment that makes your photo feel cinematic.
Bokeh in Motion
Bokeh isn't just for still portraits. In panning shots, if you shoot at a wider aperture like f/4, distant lights or leaves become soft, blurred circles. This works beautifully at dusk or in urban settings with street lamps. Just be aware that a wider aperture reduces depth of field, so your subject must be perfectly tracked. The trade-off can be worth it for that dreamy feel.
Post-Processing
Shoot RAW so you can adjust white balance and exposure without losing detail. In Lightroom or Photoshop, increase clarity slightly to bring out the subject's texture, and add a touch of vibrance to the background colors. If the background blur looks too uniform, try a local adjustment mask to add contrast to the subject. Adobe's online tutorials (like this one on RAW editing) offer great guidance.
Your Next Step: Practice on the Road
I've taught this technique to dozens of travel photographers, and the ones who improve fastest are the ones who practice daily. Next time you're at a train station, airport, or even a busy intersection, spend 15 minutes panning. Start slow, review your shots, and tweak your settings. In 2026, with modern cameras offering amazing autofocus and burst rates, there's never been a better time to master panning photography travel. Your images will capture not just what you saw, but the feeling of being there—the rush of a passing tram, the blur of a bustling market, the speed of a marathon runner.
For deeper reading, check out DPReview's guide on panning here. And remember: every out-of-focus frame is a lesson, not a failure. Now grab your camera and start panning.
Frequently Asked Questions
What is panning photography, and how is it useful for travel?
Panning photography captures moving subjects in sharp focus while blurring the background, emphasizing speed and motion for dynamic travel shots.
What camera settings work best for panning in travel conditions?
Use a shutter speed between 1/30 and 1/125 second, low ISO, and continuous autofocus with burst mode to track subjects smoothly.
How can I stabilize my camera for effective panning while traveling?
Stand with your feet shoulder-width apart and pivot your upper body smoothly, using a monopod for extra stability if space allows.
What travel subjects are ideal for panning photography?
Fast-moving trains, cyclists, cars, runners, and animals in motion are great panning subjects that add a sense of speed to your travel photos.
Should I use a tripod for panning photography on trips?
A lightweight monopod is preferable; full tripods are often too bulky for on-the-go panning but can be used with a fluid head if needed.
💬 Comments (0)
No comments yet. Be the first!