5 Polarizing Filter Tips for Travel 2026
Discover how a polarizing filter transforms travel photos. Simple tips to reduce glare, deepen skies, and enhance colors.
If you want to take your travel photography to the next level in 2026, mastering the polarizing filter is a game-changer. I’ve lost count of how many flat, washed-out travel shots I regretted before I finally understood this simple glass tool. Now I’ll show you how a polarizing filter can cut reflections, deepen skies, and make your travel photos pop – without expensive editing software. By the end of this tutorial, you’ll have five actionable tips to use in the field, starting today.
Tip #1: Eliminate Unwanted Reflections on Water and Glass
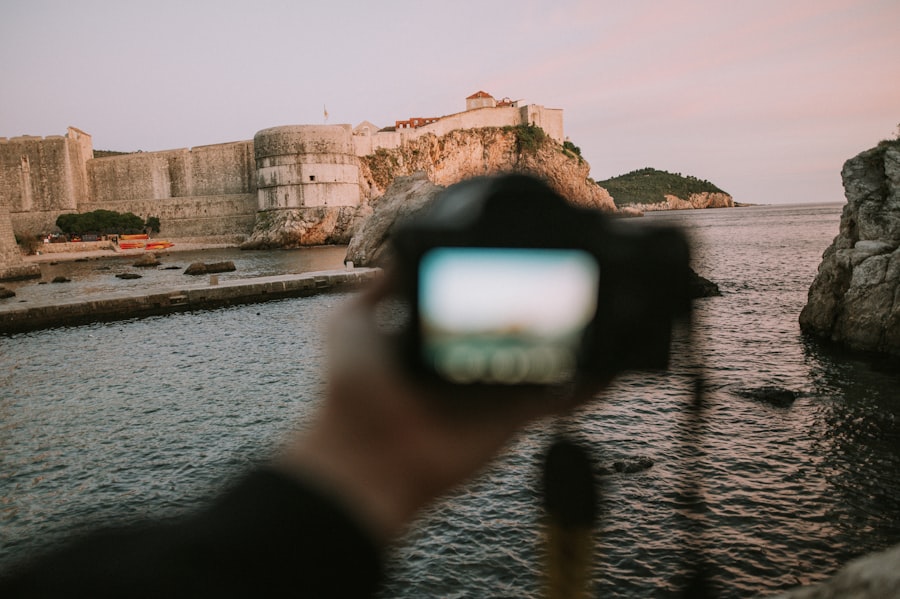
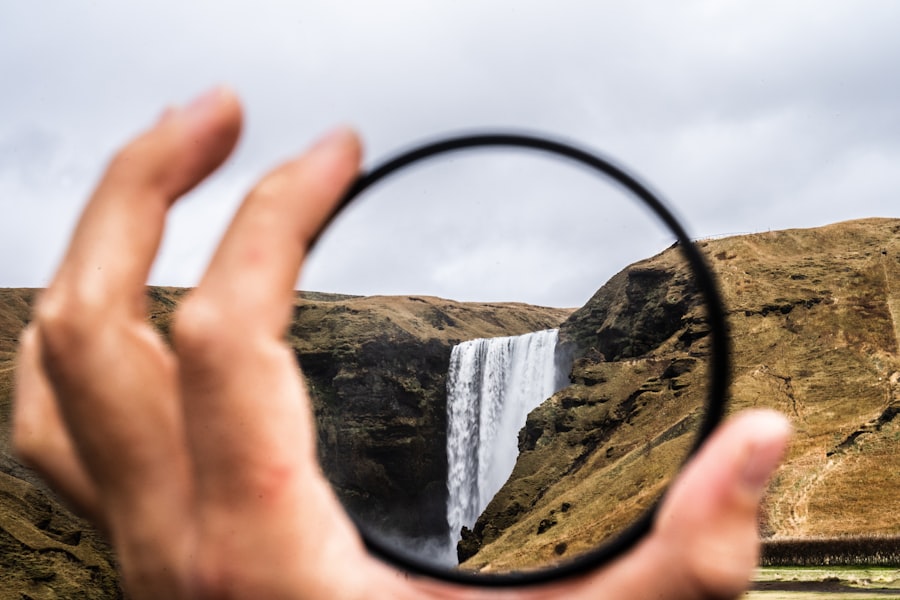
The most immediate win with a polarizing filter is removing reflections. Think of a lake or a shop window. Without the filter, the water reflects the sky and hides the rocks below. Your photos look muddy. With a twist of the filter, those reflections vanish, revealing the clarity beneath. I once shot a beautiful canal scene in Venice – the water turned into a mirror of grey clouds. It was a total fail. I came back the next day, attached my polarizing filter, rotated it slowly, and suddenly the green algae and submerged bricks appeared. The difference was night and day. Here’s the trick: look through your viewfinder and turn the front ring until the reflections darken or disappear. Don’t forget to check the angle – the effect is strongest when your lens is at 30-40 degrees to the reflective surface.
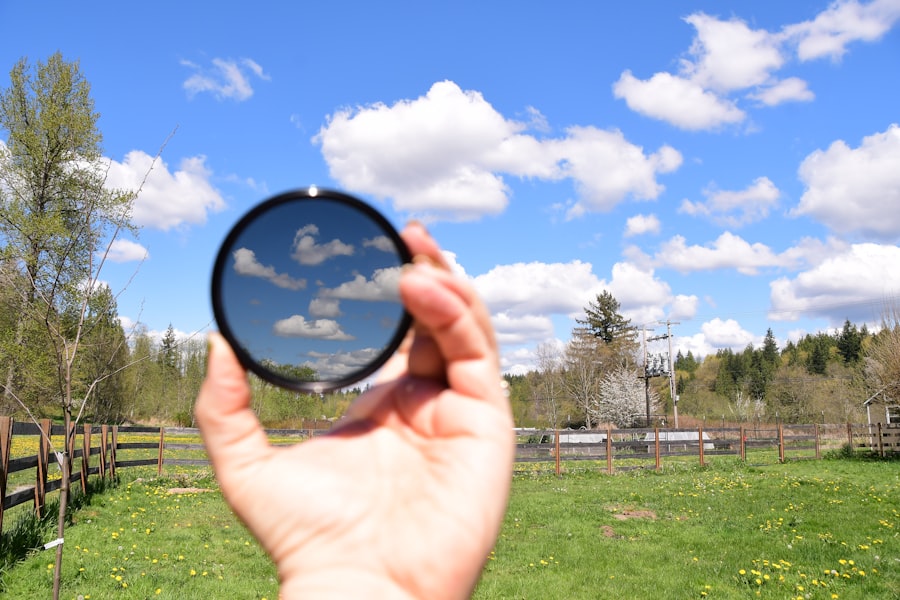
Tip #2: Deepen Blue Skies and Make Clouds Pop
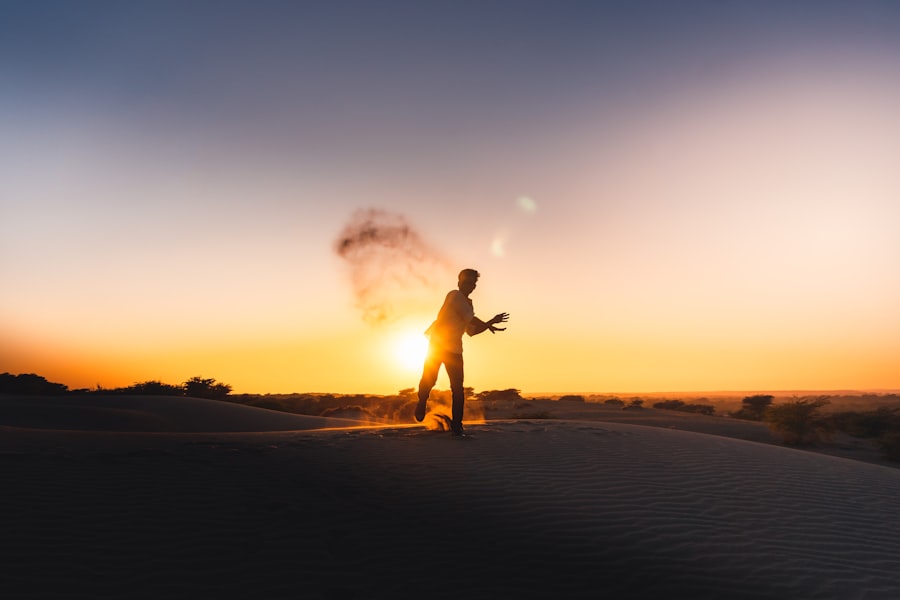
Your travel photos from 2026 deserve dramatic skies. A polarizing filter selectively cuts scattered light, which saturates the blue and makes clouds look three-dimensional. First, let’s look at the technique: point your lens toward the sun at a 90-degree angle for maximum polarization. Rotate the filter until the sky darkens exactly where you want it – usually the upper portion. The secret is not to overdo it. A sky that’s too dark can look unnatural. Use the rule of thirds to place the horizon low or high, letting the creamy clouds contrast against the deep blue. I recommend shooting in RAW so you can fine-tune the saturation later, but the filter does 90% of the work. Your photos will look like they belong in a magazine.
Tip #3: Cut Through Haze for Sharper Landscapes
Haze is the enemy of landscape photography, especially in humid or coastal areas. A polarizing filter reduces atmospheric haze by filtering out scattered blue light. Now try this: on a misty morning overlooking a valley, attach your filter and rotate it. You’ll notice distant mountains gaining clarity and contrast. The effect is subtle but real. Combine it with a narrow aperture (f/8 to f/11) for maximum depth of field. This is where understanding ISO and shutter speed matters – because the filter blocks 1-2 stops of light, you may need to raise ISO to 400 or 800 to keep shutter speed fast enough to avoid motion blur. For travel landscapes, I often dial in +0.3 or +0.7 exposure compensation to keep the overall image bright while the darkens the highlights.
Step-by-Step Guide: How to Use a Polarizing Filter Correctly
Let me walk you through a quick field procedure so you never mess it up:
- Attach the filter – screw it onto your lens (make sure you have the right thread size, e.g., 67mm or 72mm).
- Compose your shot – decide on your subject and frame it using the rule of thirds.
- Rotate the filter slowly while looking through the viewfinder (or live view). Watch for reflections to darken, sky to deepen, or glare to disappear.
- Lock in the effect – stop rotating when you see the desired result. Remember that the effect changes if you change your camera’s angle to the sun, so re-adjust if you recompose.
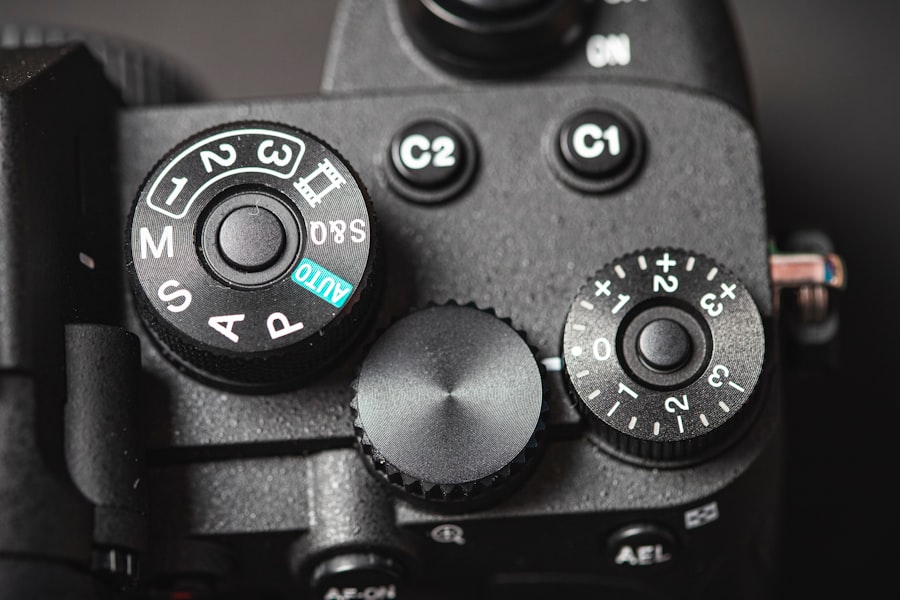
- Check exposure – because the filter reduces light, your camera’s meter may underexpose. Switch to aperture priority or manual mode and adjust ISO or shutter speed. Use exposure compensation if needed.
- Shoot in RAW – even with perfect polarization, RAW gives you more latitude to tweak white balance and shadows later.
Tip #4: Enhance Foliage and Forest Colors
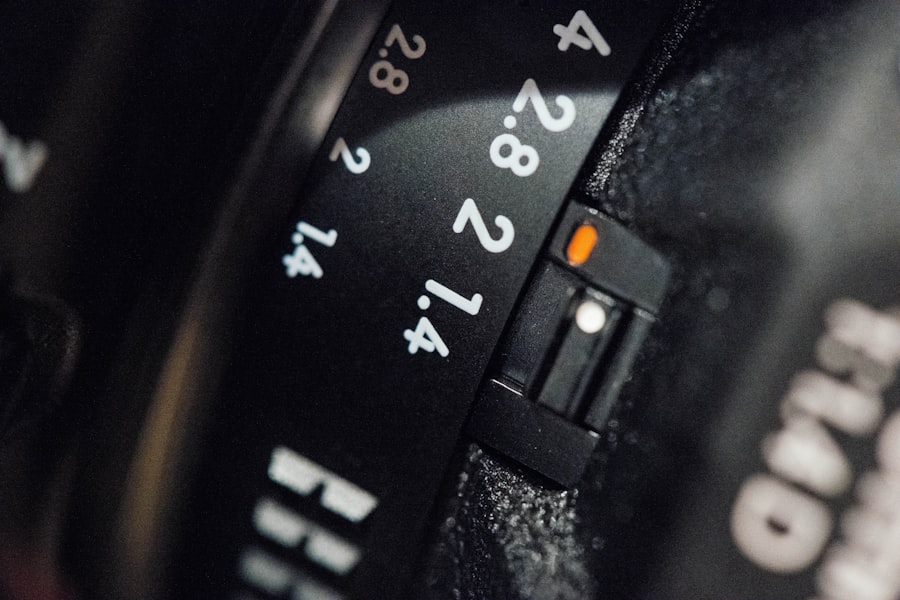
Green leaves and brown bark often look dull due to random reflections from waxy surfaces. A polarizing filter removes those micro-reflections, boosting saturation and contrast. The result? Richer greens, more vibrant autumn oranges, and deeper browns. This works brilliantly in rainforests, parks, or even urban gardens. The secret is to aim your lens so that the sun is behind you or to your side – then rotate the filter until the leaves “pop.” I used this tip in a Japanese temple garden in 2026 and the mossy rocks looked like velvet. Don’t forget to watch for bokeh: the filter doesn’t affect the blur quality, but the reduced reflections let the out-of-focus areas feel cleaner. For best results, shoot at a wide aperture like f/2.8 to separate your subject from the background.
Tip #5: Control Exposure and Use Exposure Compensation
Many travelers avoid polarizing filter because it cuts light by 1-2 stops. That’s actually an advantage. In bright sunlight, you can use the filter to keep your shutter speed at a manageable level – say 1/125s – while staying at your base ISO (100-200). This prevents blown-out highlights. I recommend a “Must-have Gear” checklist before your 2026 trips:
- A circular polarizing filter (CPL) – size matches your lens thread
- A lens hood to avoid flare when rotating the filter
- A microfiber cloth – filters get dusty fast
- A small notebook to write down angles that gave the best effect
When using a polarizing filter, your camera’s light meter might underexpose because it reads the darkened scene. That’s why you should dial in +0.3 to +0.7 exposure compensation, or shoot in manual mode and check the histogram. Remember, you can always recover shadows in post, but you cannot recover blown highlights. If you shoot JPEG, the filter’s effect is baked in – so get it right in-camera. If you shoot RAW, you have more breathing room, but the filter still gives you a superior starting point.
Recommended Camera Settings for 2026 Travel Photography
Here’s a quick cheat sheet to keep in your camera bag:
- ISO: 100-400 for daytime landscapes; increase if filter causes slow shutter speed.
- Aperture: f/8 to f/11 for maximum sharpness; f/2.8 for bokeh portraits with polarized sky.
- Shutter speed: 1/125s or faster for handheld; use tripod if slower.
- File format: RAW + JPEG fine – RAW for flexibility, JPEG for instant sharing.
- Exposure compensation: +0.3 to +0.7 when using polarizing filter.
Golden Rule of Polarizing Filters – “Rotate, don’t guess. Turn the ring while looking through the viewfinder until the effect appears. If the sky looks uneven, change your angle to the sun. Never use a polarizing filter with a wide-angle lens without checking for uneven darkening across the frame.”
Final Thoughts: Practice Makes Perfect
Your travel photos in 2026 can stand out because you understand how a polarizing filter shapes light. Start with one tip today – maybe reducing reflections on a puddle or a storefront. Then experiment with skies and foliage. The more you practice, the more intuitive it becomes. I still remember my failed canal shot; now every trip I pack my CPL and never leave home without it. For deeper technical details, check out the Sony Alpha 7R V specs (if you shoot Sony) or read this comprehensive guide on DPReview. Now go grab your camera, attach that filter, and see the difference for yourself.
Frequently Asked Questions
What is a polarizing filter and why use it for travel?
A polarizing filter reduces glare and reflections from water, glass, and non-metallic surfaces, enhancing color saturation and contrast. It's ideal for travel to capture vivid landscapes and clear skies.
Can I use a polarizing filter with any camera lens?
No, you need a polarizing filter that matches your lens filter thread size, typically checked on the lens cap or barrel. It's also effective primarily on DSLRs and mirrorless cameras.
What's the effect of rotating a polarizing filter and when should I adjust it?
Rotating the filter controls the polarization angle and intensity of glare reduction. Adjust it while viewing through the camera to achieve the desired sky, water, or leaf effects.
Does a polarizing filter reduce the light entering the lens?
Yes, it blocks large amounts of light, typically requiring 1-3 stops slower shutter speed at the strongest polarization setting. Use a tripod or higher ISO at night.
Can I stack a polarizing filter with an UV filter for full protection?
It's not recommended because stacking may cause vignetting and color casts, especially at wide angles. A single polarizing filter with a shade or permanent UV by itself are better options.
💬 Comments (0)
No comments yet. Be the first!