Master Aperture Priority Mode 2026
Master Aperture Priority Mode for travel photos. Control depth of field and exposure easily. Ideal for beginners.
What is Aperture Priority Mode?
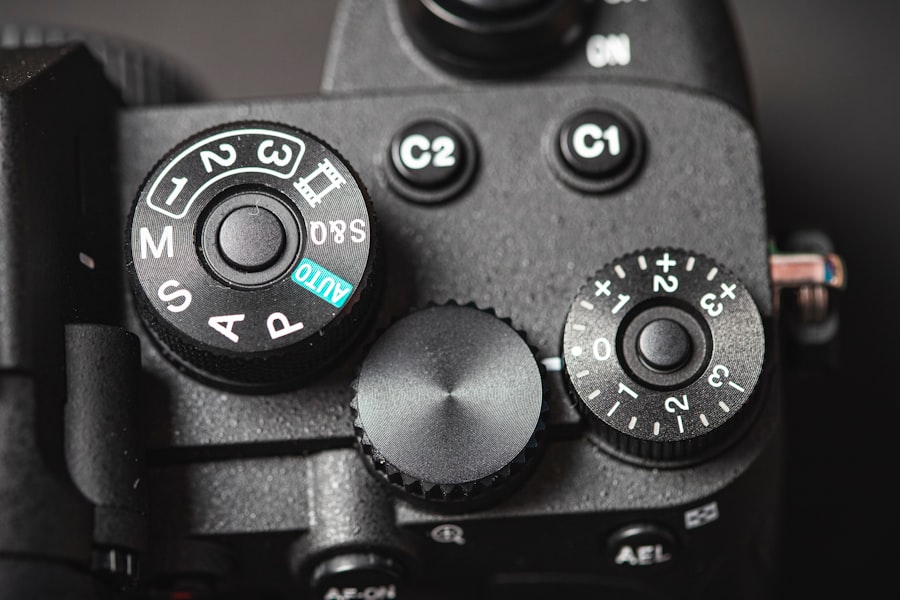
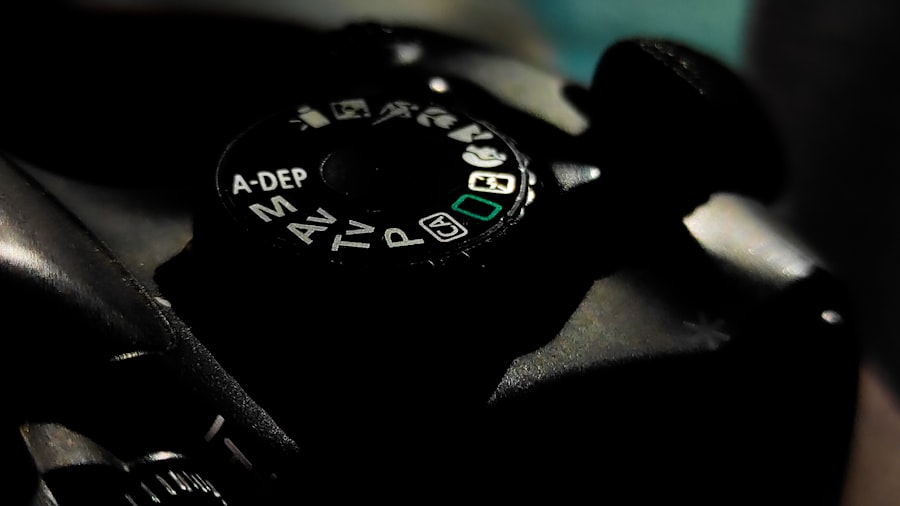
Aperture Priority Mode is the very first setting I recommend to any photographer who wants to break free from "Auto." In 2026, modern cameras are powerful computers, but they still struggle to understand your creative vision. When you switch to Aperture Priority Mode (Av on Canon, A on Nikon and Sony), you tell the camera one thing: "I choose the depth of field." The camera then handles the shutter speed automatically. This is the single best way to control the story your photo tells. A wide-open aperture blurs distractions, while a narrow aperture keeps everything in sharp focus.
Why Master Aperture Priority Mode in 2026?
Camera technology in 2026 has evolved dramatically. Sensors handle high ISO noise better than ever, which means shooting in Aperture Priority Mode is safer today than it was five years ago. If you set a wide aperture to blur a background in low light, the camera will pick a slower shutter speed. Thanks to modern IBIS (In-Body Image Stabilization) in cameras like the Sony A7 V or Canon EOS R6 Mark III, you can hand-hold shots at 1/15th of a second. This makes Aperture Priority Mode incredibly versatile. The secret is trust: you trust the camera for speed while you focus on composition and light.
While mastering Aperture Priority Mode in 2026 is easier thanks to technology, the artistic rules remain the same. The goal is to take control of your exposure triangle without overcomplicating things. If you let the camera handle everything, your photos will look technically perfect but emotionally flat. Let me show you how to use this mode to inject feeling into every image.
Depth of Field and Bokeh
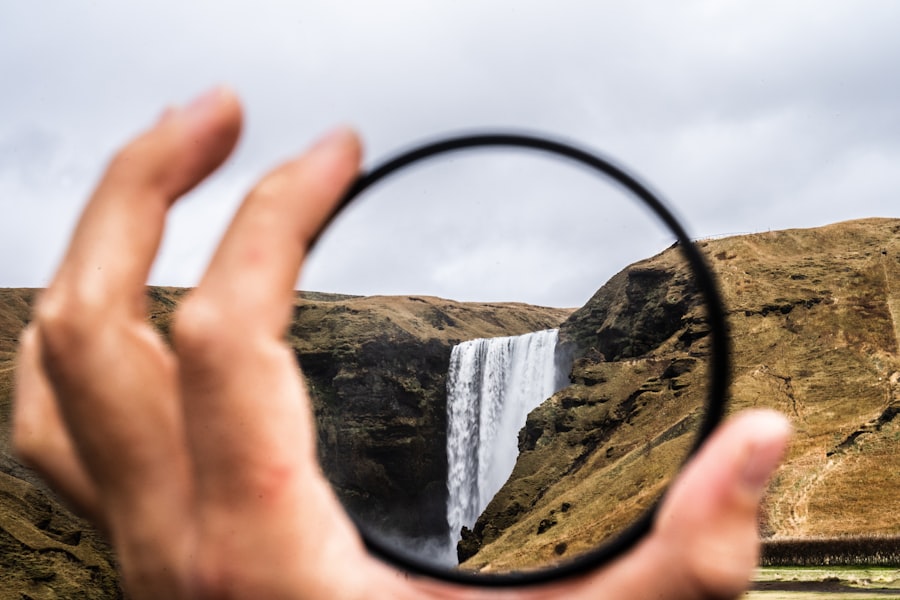
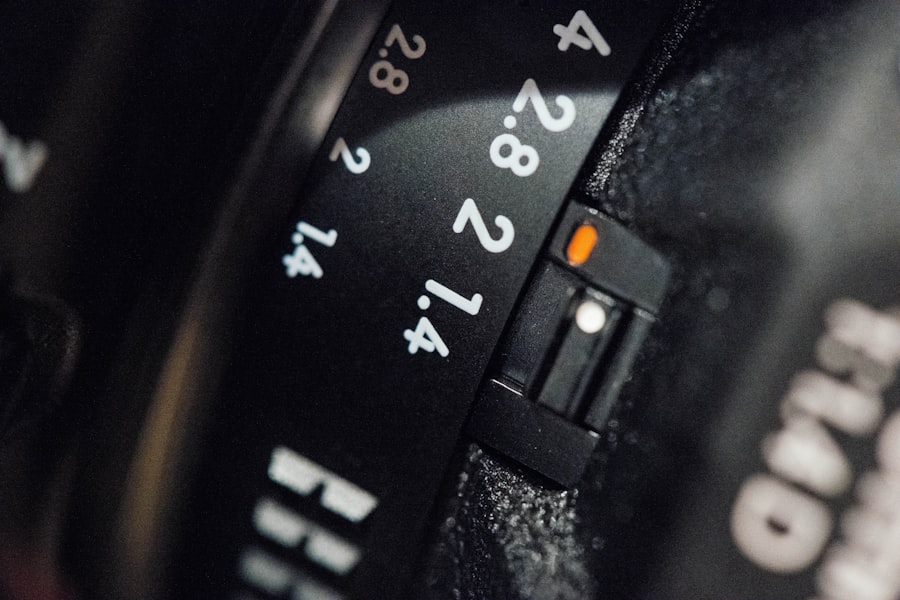
The heart of Aperture Priority Mode is depth of field. A low f-stop like f/1.4 or f/2.8 creates a shallow depth of field. This is where "bokeh" lives—those creamy, dreamy background blurs. Portrait and wildlife photographers love this because it isolates the subject. A high f-stop like f/11 or f/16 creates deep focus. Everything from the foreground rock to the distant mountain is sharp. This is ideal for landscape photography. First, let's look at your subject. If you want to separate them from a messy background, open that aperture wide.
The Exposure Triangle (ISO and Shutter Speed)
When you select the aperture, the camera picks the shutter speed. But you still control the ISO. In Aperture Priority Mode, I highly recommend setting your ISO to "Auto" with a maximum limit (e.g., Auto ISO capped at 3200 or 6400). This gives the camera flexibility to choose a fast enough shutter speed while you lock in your desired depth of field. If your shutter speed drops too low (below 1/60th for still subjects), increase the minimum ISO limit or open your aperture wider. The camera does the math, but you are the director.
Exposure Compensation
This is the "secret weapon" of Aperture Priority Mode. Your camera's meter tries to make everything gray. If you shoot a snowy landscape or a bride in a white dress, the camera will underexpose it (making it look dirty gray). Don't forget to use Exposure Compensation. Dial it up (+1 or +2) for bright scenes to keep whites white. Dial it down (-1 or -2) for dark scenes to keep shadows deep and moody. This simple trick separates beginners from pros.
Step-by-Step: How to Master Aperture Priority Mode
Now try this exercise. Go outside with your camera and follow these steps to lock in the concept.
- Set your dial to Av or A. This activates Aperture Priority Mode. Look at your screen or viewfinder, and you will see the f-stop number.
- Choose your aperture. For a portrait with a blurred background, set f/2.8 or lower. For a group shot, set f/5.6 to ensure everyone is sharp. For a landscape, set f/8 to f/16.
- Set Auto ISO. Go into your menu and set the maximum ISO to 6400 (or 12800 if you have a full-frame camera from 2026). Set the minimum shutter speed to 1/125s if you are shooting people.
- Half-press the shutter. The camera will show you the shutter speed it has chosen. If it is too slow (blurry zone), you need to open the aperture more or increase the ISO limit.
- Use Exposure Compensation. Take a test shot. Look at the histogram. If it is too dark, dial in +0.3 or +0.7. If it is too bright, dial it down.
Recommended Settings for Aperture Priority Mode in 2026
- For Portraits: f/1.8 - f/2.8, Matrix/Evaluative Metering, Face/Eye AF, RAW format.
- For Landscapes: f/8 - f/11, Spot Metering on the horizon, ISO 100, Tripod (if slow shutter), RAW format.
- For Street Photography: f/5.6 - f/8, Auto ISO (Max 6400), Center-Weighted Average Metering, JPEG (for fast workflow) or RAW.
- Must-have Gear: A lens with a fast aperture (f/1.8 or f/2.8), a sturdy tripod for landscapes, and an ND filter if you want to use a wide aperture in bright daylight.
Cheat Sheet: The Golden Rule of Aperture Priority
"Aperture controls your light AND your story. Wide open (f/1.4) is for one subject. Stopped down (f/5.6) is for a few subjects. Small (f/11) is for everything." Always check your focus, because a shallow depth of field means you have zero margin for error.
My Biggest Mistake (And How Aperture Priority Saved Me)
I was hired to shoot a family portrait in a beautiful golden wheat field. I was obsessed with bokeh. I set my camera to Aperture Priority Mode, selected f/1.8, and started shooting. The images on the back of the camera looked amazing—soft, dreamy, artistic. However, when I got home and looked on my computer, the disaster was clear. In a family of five, only one person's face was in focus. The dad's nose was sharp, but his eyes were soft. The kids in the back row were completely blurry. It was a total failure.
I learned the hard way that Aperture Priority Mode is not just about "blur." You have to match the aperture to the subject distance. The secret is that depth of field shrinks as you get closer to the subject. I was standing too close to the family with a too-wide aperture. The fix? I went back the next weekend (luckily, the family was understanding) and shot at f/5.6. I increased my ISO a bit to keep the shutter speed fast. The result was a perfectly sharp family where everyone looked crisp, but the background still had a beautiful, soft texture. Your photos will look professional when you understand that controlling the aperture is about controlling the plane of focus.
Level Up: Shooting RAW and Composition
Once you are comfortable with Aperture Priority Mode, you need to take the training wheels off. First, switch from JPEG to RAW. A RAW file contains much more data than a JPEG. If you accidentally blow out the sky or underexpose a shadow, RAW gives you enormous latitude to fix it in Lightroom or Capture One. You can adjust exposure by 2 stops without destroying the image quality. This is crucial when using Aperture Priority Mode because while the camera sets the correct exposure for the average light, it doesn't know that you want to save the highlights for a dramatic sky.
Second, combine this technical control with the Rule of Thirds. Don't just place your subject in the center. Use the grid lines on your camera to place them on the left or right third. Because you are in Aperture Priority Mode, you are thinking less about shutter speed and more about composition. This is where your photography transforms from snapshots into art. Adobe offers an excellent guide on RAW vs JPEG that explains why you need the extra data. Nikon's official tutorial on Aperture Priority Mode is also a great resource for understanding different metering patterns.
Mastering Aperture Priority Mode is the single best step you can take in 2026 to improve your photography. It forces you to think about depth and focus without drowning you in manual exposure settings. You retain creative control over the story (what is sharp and what is blurry) while the camera handles the technical drudgery of calculating the correct brightness. Remember the golden rule: wide aperture for isolation, narrow aperture for scenery. Use Exposure Compensation to fix the camera's mistakes. Shoot in RAW for safety. And most importantly, practice. Go out tomorrow, put your camera in Aperture Priority Mode, and shoot 100 frames. You will be amazed at how quickly your eye develops for light and depth.
Frequently Asked Questions
What is Aperture Priority Mode?
Aperture Priority Mode is a semi-automatic camera setting where you choose the aperture, and the camera automatically selects the shutter speed for proper exposure.
When should I use Aperture Priority Mode?
Use it when you want control over depth of field, such as for portraits with blurred backgrounds or landscapes with sharp detail throughout.
How do I set the aperture in Aperture Priority Mode?
On most cameras, rotate the command dial or use the manual aperture ring to choose the desired f-number (e.g., f/2.8 for shallow depth of field).
What does a lower f-stop do in Aperture Priority Mode?
A lower f-stop (like f/1.8) creates a shallow depth of field, blurring the background and isolating the subject.
Can I use exposure compensation in Aperture Priority Mode?
Yes, exposure compensation lets you brighten or darken the image by overriding the camera's automatic shutter speed selection.
💬 Comments (0)
No comments yet. Be the first!