Metering Modes for Travel Photography
Mastering metering modes for travel photography ensures correct exposure. Learn evaluative, center-weighted, and spot metering.

Metering modes for travel photography are the secret weapon that turns your camera from a guess-and-check tool into a reliable storytelling machine. I know because I learned this the hard way in 2026 during a trip to Morocco. I was photographing a spice seller in a busy Marrakech market. The light was dramatic—bright sun streaming through a crack in the awning, casting deep shadows. I trusted my camera's default mode, snapped the shot, and got a muddy, underexposed mess. The seller's face was lost in darkness. I felt like a failure. Then I discovered the power of metering modes for travel photography, and everything changed. Today, I will coach you through exactly what these modes do, how to pick the right one for any scene, and how to avoid my mistakes. Your photos will look dramatically better by the time you finish reading.
What Are Metering Modes? A Simple Breakdown for Travelers
Think of your camera as a small computer that measures light. A metering mode tells it where to look for that light. Is it measuring the whole scene? Just the center? A tiny spot? The wrong choice can ruin a beautiful travel photo. The secret is knowing which mode matches the scene in front of you. Most cameras offer three main options: Evaluative (or Matrix), Center-Weighted, and Spot. Let's break them down so you can use them with confidence.
Evaluative (Matrix) Metering — Your All-Purpose Travel Companion
Evaluative metering divides the frame into multiple zones, reads the light in each zone, and then calculates the best average exposure. It is smart. It tries to balance highlights and shadows. For 90% of travel shots — landscapes, street scenes, monuments on a sunny day — this is your go-to mode. First, let's look at how it handles a typical scene: a blue sky, a white temple, and green grass. Evaluative will expose so the grass is green, the temple is white, and the sky is blue. It works well. However, it can be fooled by large areas of very bright or very dark tones. For example, if you shoot a snow-covered mountain, the camera may underexpose because it sees all that white and tries to make it gray. You can fix that with exposure compensation (more on that later).
Center-Weighted Metering — Perfect for Portraits on the Go
Center-weighted metering reads the entire frame but gives extra importance to the center roughly 60-80% of the image. This is ideal when your subject is in the middle and the background is much brighter or darker. Imagine you are in a Florence piazza, and your partner is standing in front of a sunlit cathedral. Center-weighted will prioritize the face in the center, ignoring the bright stone behind. Now try this: switch to center-weighted when you photograph friends or locals in front of interesting backdrops. It reduces the chance of a silhouette by accident. Don't forget to keep your subject centered, or you will need to lock exposure and recompose.
Spot Metering — The Precision Tool for High-Contrast Travel Scenes
Spot metering reads light from a very small area — usually 1-5% of the frame — around the active focus point. This is your surgical instrument. Use it when the contrast between light and dark is extreme: a sunset silhouette, a person in a shaft of light inside a cathedral, or a backlit rice terrace. The secret is to point the spot at the exact thing you want to be perfectly exposed — typically your main subject's face or a highlight you want to preserve. I used spot metering to capture that spice seller in Morocco after my failure. I aimed at his cheek, locked exposure, recomposed, and suddenly his skin tones were rich and alive. Metering modes for travel photography saved that shot.
How to Choose the Right Metering Mode for Travel Photography — A Decision Framework
You don't need to memorize every situation. Instead, build a simple mental checklist. When you raise your camera, ask: "What is the most important thing in the frame for exposure?" If the light is even across the scene, use Evaluative. If your subject is in the center with a tricky background, use Center-Weighted. If you have a high-contrast situation and need precise control, use Spot. These are the four words to remember: even, center, spot, adjust.
Metering modes for travel photography also work hand-in-hand with exposure compensation. After you choose your mode, take a test shot. Check the histogram on your camera. If the histogram is clipped to the left (too dark) or right (too bright), dial in + or - exposure compensation. For example, when shooting a snowy landscape with Evaluative metering, I usually add +1 or +1.3 stops of exposure compensation to keep the snow white, not gray. This combination — the right mode plus compensation — gives you professional control without breaking your creative flow.
Step-by-Step Guide: Using Spot Metering for a Sunset Portrait in 2026
Let's walk through a real scenario. You are on a beach in Bali at sunset. The sky is blazing orange and purple, but your friend's face is in shadow. You want both the sky and their face visible. Here is the step-by-step method:
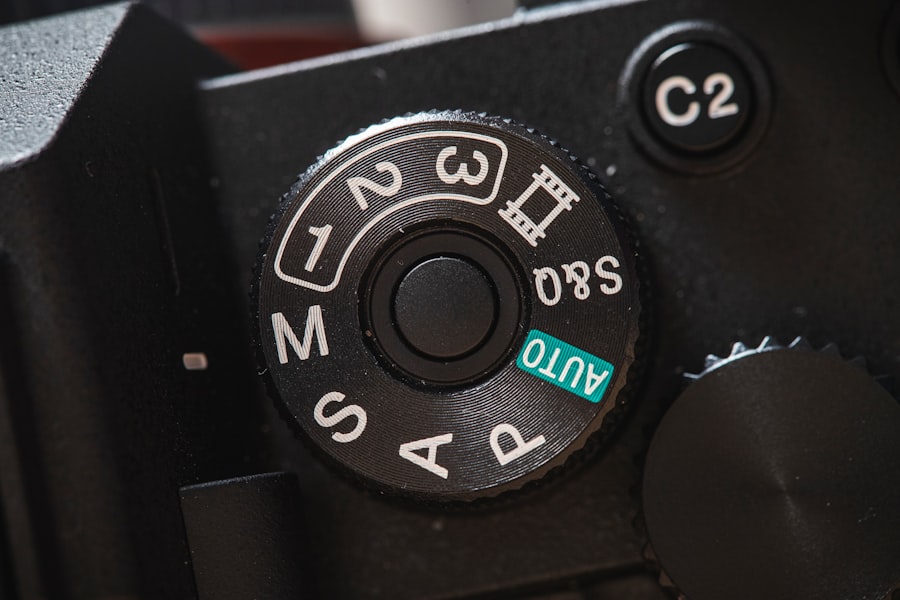
- Step 1: Set your camera to spot metering mode. On most cameras, this is found in the metering menu or a button on the top dial. Check your manual for the exact location.
- Step 2: Switch your autofocus to a single point, and place that point directly on your friend's face. The camera will both focus and meter from that small area.
- Step 3: Half-press the shutter button to lock exposure. You will see the exposure value (e.g., 1/125, f/4, ISO 400). Many cameras show a lock indicator (often an asterisk or AE-L). Release the shutter half-press.
- Step 4: Recompose the shot so your friend is not centered if you prefer the Rule of Thirds. The exposure stays locked on their face. Now press the shutter fully to capture the image.
- Step 5: Check the histogram. If the sky is blown out (clipped to the right), try decreasing exposure compensation by -0.7 stops. If the face is still too dark, increase compensation by +0.3. Shoot again. This method gives you a perfectly exposed subject while keeping the sunset drama.
Now try this with different subjects — a market vendor under an awning, a child in a doorway, a flower backlit by the sun. You will see how metering modes for travel photography transform your results from flat to fabulous.

Common Metering Mistakes and How to Fix Them (With a Personal Before & After)
Let me share a before-and-after scenario that still haunts me. Before: In 2026, I was in a Japanese temple garden at dawn. The sun was just hitting the moss-covered stones, and the shadows under the trees were deep. I used Evaluative metering because I was lazy. The camera averaged the bright stones and dark shadows, producing a dull mid-tone that looked nothing like the mood I felt. The stones were gray, the shadows were muddy, and the whole image was lifeless. After: I switched to spot metering, aimed at the brightest patch of moss, locked exposure, and recomposed. Suddenly the moss glowed gold, the shadows stayed rich and dark, and the photo had contrast and emotion. The difference was night and day. I learned that metering modes for travel photography are not just technical details — they are creative tools that let you capture the feeling of a place.
Another common mistake is forgetting to reset your metering mode after a special situation. You shoot a dramatic silhouette using spot metering, then the next morning you try to photograph a group of friends in even light — and the spot metering underexposes everyone because it's measuring a tiny bright area. Don't forget to switch back to Evaluative when the scene changes. Make it a habit: every time you change locations, check your metering mode.
Golden Rule Cheat Sheet: "When in doubt, use Evaluative, check your histogram, and dial in exposure compensation. For high-contrast subjects, trust spot metering on your subject's face. Your camera is guessing — you are the one who decides what is important."
Recommended Settings for Travel Photography (Based on Scene)
Below is a quick-reference list of metering mode suggestions for common travel scenarios. Use this as a starting point, then fine-tune with exposure compensation and your own creative eye.
- Sunlit landscape (mountains, beaches, fields): Evaluative metering. If there is bright sand or snow, add +0.7 to +1.3 exposure compensation to keep whites white.
- Portrait with bright background (e.g., person in front of a window or sunset): Spot metering on the face. Lock exposure, recompose, and shoot. If the face is still dark, add +0.7 compensation.
- Street photography in mixed light (shadows and sun patches): Center-weighted metering. Expose for the main subject in the center, then crop later if needed.
- Silhouettes at sunrise/sunset: Spot metering on the brightest part of the sky (not the sun itself). That will darken the foreground naturally.
- Low-light or night scenes (city lights, temples): Evaluative metering with a negative exposure compensation (e.g., -0.7 to -1.3) to preserve the dark atmosphere and prevent blown-out lights.
- Backlit leaves or flowers (macro travel shots): Spot metering on the translucent part of the leaf or petal. This creates beautiful bokeh and rich colors.
Always shoot in RAW format when using metering modes for travel photography. RAW files give you far more latitude to recover highlights and shadows if your meter guesses wrong. JPEG compresses and discards that data. Think of RAW as a safety net for your exposure experiments. And learn to read your histogram — it is your best friend. A well-exposed histogram looks like a smooth mountain with no peaks jammed against the left or right edges.
Final Thoughts for Your 2026 Travel Adventures
Metering modes for travel photography are not complicated once you practice them in real situations. I promise that spending ten minutes with your camera today — switching between modes and comparing the results — will save you hours of frustration on your next trip. Start with Evaluative for general use, then challenge yourself to use Spot metering for one subject every day. Watch how the exposure changes. Notice the mood. You are not just capturing light; you are telling a story with light. In 2026, make metering modes part of your travel toolkit, and your photos will finally look exactly like the memories you carry home.
For further reading, I recommend checking out Adobe's official tutorial on camera metering modes for a visual explanation, and DPReview's in-depth article on metering modes explained to understand the technology behind each mode. Now go out and shoot with confidence — your camera is ready, and you are too.
Frequently Asked Questions
What is the best metering mode for landscape shots?
Evaluative or matrix metering works well for evenly lit landscapes to balance exposure across the scene.
When should I use spot metering?
Use spot metering for high-contrast scenes, like a subject against a bright sky, to expose correctly for the main subject.
How does center-weighted metering help with portraits?
Center-weighted metering prioritizes the center area, ideal for portraits to ensure proper exposure on the face.
Can I use partial metering for travel photography?
Yes, partial metering covers a larger spot area and works for medium contrast scenes like street photography.
What metering mode do travel photographers recommend?
Most recommend starting with evaluative/matrix for general use, then switch modes based on lighting conditions.
💬 Comments (0)
No comments yet. Be the first!