How to Blur Background Aperture Guide 2026
Learn to blur backgrounds like a pro. Our 2026 step-by-step guide works for phones and cameras, helping you create stunning travel portraits.

Mastering the blur background aperture technique is your gateway to professional-looking photos in 2026. I'll show you how this single setting can transform your images from snapshots into storytelling art. Your photos will look more focused, more dramatic, and infinitely more engaging. Let's dive into the world of aperture and make that dreamy, soft background—often called bokeh—your new photographic superpower.
What Is Aperture, Really?
Think of your camera's lens as an eye. The aperture is the pupil—the hole that opens and closes to control how much light gets in. This is measured in f-stops, like f/1.8, f/4, or f/16. Here's the crucial part for our goal: a lower f-stop number (like f/1.8) means a wider opening. A wider opening creates a shallower depth of field, which is the technical term for that beautiful, creamy blur behind your subject. Understanding this relationship is the first step to controlling your blur background aperture effect.
Aperture in the Exposure Triangle
Aperture doesn't work alone. It's one-third of the exposure triangle, alongside shutter speed and ISO. Shutter speed controls how long the light hits the sensor, and ISO controls the sensor's sensitivity to light. When you widen your aperture (lower f-stop) to get more blur, you let in more light. To compensate and avoid an overexposed, white photo, you'll need to speed up your shutter or lower your ISO. This dance is where the magic happens.
The Secret Ingredients for Maximum Blur
While aperture is the star, three other factors amplify your blur background aperture results. First, lens choice: a prime lens (like a 50mm or 85mm) with a wide maximum aperture (e.g., f/1.4) is a bokeh champion. Second, distance: get physically closer to your subject, and have your subject stand farther from the background. Third, focal length: zooming in with a telephoto lens (like a 70-200mm) compresses and blurs the background more. Combine all these with a wide aperture, and your subject will pop like never before.
Your 2026 Step-by-Step Guide to Perfect Blur
Let's translate theory into action. Follow these steps to consistently nail the blur background aperture look.
Step-by-Step: Capturing Creamy Bokeh
- Switch to Aperture Priority (A or Av Mode) or Manual (M Mode). This gives you direct control over the f-stop.
- Set your aperture to the lowest number your lens allows. This might be f/1.8, f/2.8, or f/4. Don't worry, we'll adjust other settings next.
- Check your exposure. In Aperture Priority, the camera picks shutter speed. If the photo is too dark or bright, use Exposure Compensation to brighten or darken it. In Manual, adjust shutter speed until the light meter is centered.
- Keep ISO as low as possible (e.g., ISO 100) to maintain image quality. Only raise it if your shutter speed gets too slow for a hand-held shot.
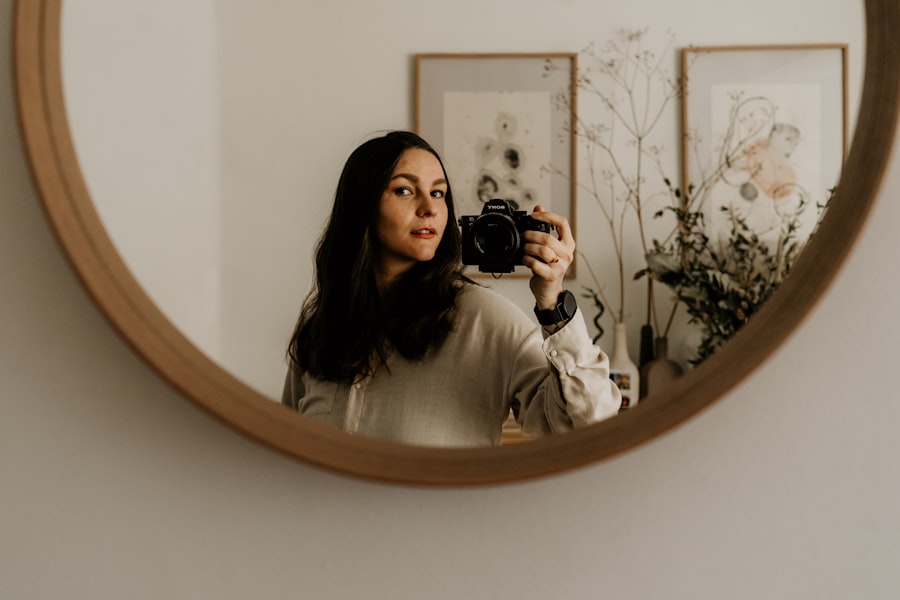
- Focus precisely on your subject's eyes. Use a single autofocus point for accuracy. With such a shallow depth of field, focus is critical.
- Compose with intent. Use the Rule of Thirds—imagining a grid over your frame—to place your subject off-center for a more dynamic image.
- Shoot in RAW format, not just JPEG. RAW files contain more data, giving you far greater flexibility to adjust the look of your blur and exposure in editing later.
Before & After: My Aperture Awakening
Let me share a humbling story. I was in a stunning garden in 2025, trying to photograph a friend. The flowers were a chaotic mess behind her. I had my camera on auto, and every shot looked busy and flat—the background fought for attention. I was devastated. The fix? I switched to Aperture Priority mode, dialed my f-stop down to f/2.8, and asked her to step away from the flower bed. Instantly, the clutter melted into soft color. That failure taught me that controlling the blur background aperture isn't just technical; it's a creative decision that directs the viewer's eye. Now, you can learn from my mistake!
Recommended Settings for Common Scenarios
These are starting points. Always tweak based on your light and vision.
- Portrait in Daylight: Aperture: f/1.8 - f/2.8, Shutter Speed: 1/200sec or faster, ISO: 100-400.
- Food or Product Photography: Aperture: f/2.8 - f/4, Shutter Speed: 1/125sec, ISO: 100-200 (use a tripod).
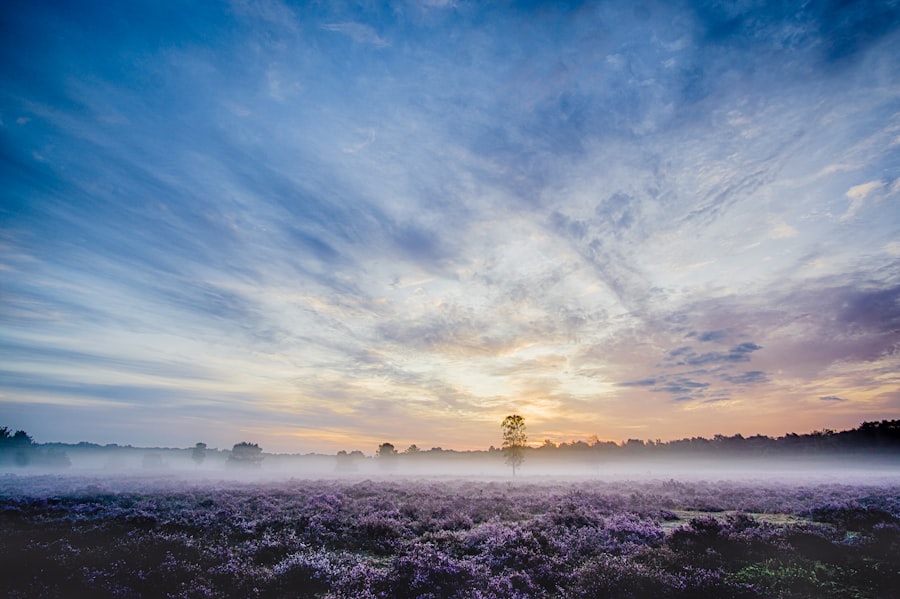
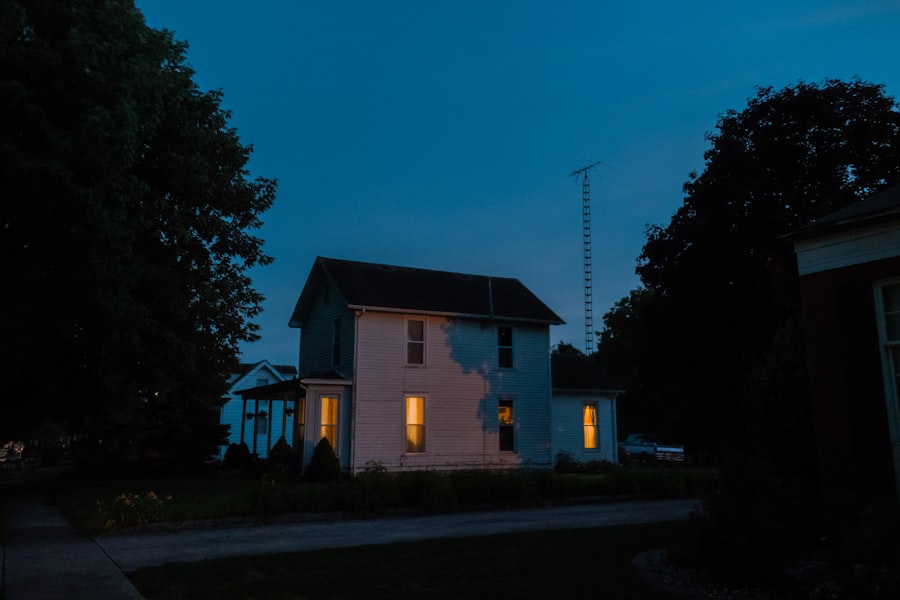
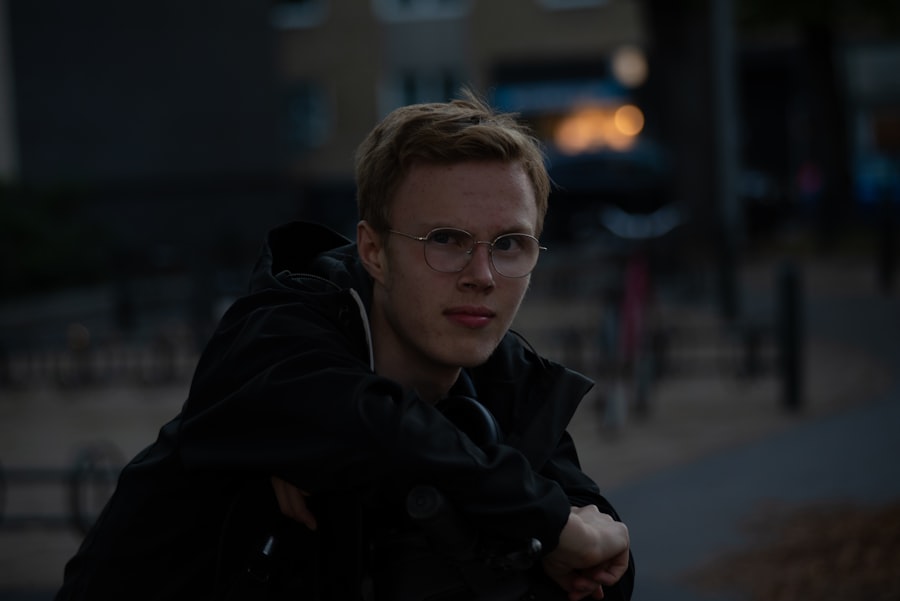
- Travel Portrait with City Lights: Aperture: f/1.8 - f/2.8, Shutter Speed: 1/100sec, ISO: 800-1600 (embrace the night atmosphere).
- Group Photo: Aperture: f/4 - f/5.6. You need a deeper depth of field to keep everyone's face sharp, so you'll sacrifice some blur.
Golden Rule Cheat Sheet: "For blur, remember LOW and CLOSE. LOW f-stop number, and get CLOSE to your subject. The rest is fine-tuning." Keep this mantra in mind every time you shoot.
Must-Have Gear for Blur Mastery in 2026
While you can create blur with any camera, the right tools make it effortless and exceptional. Here’s what I recommend.
- A Fast Prime Lens: The Nikon NIKKOR Z 50mm f/1.8 S or Sony FE 85mm f/1.8 are incredible for portraiture and low light. Check the latest Nikon and Sony lens specs for 2026 updates.
- A Camera with Robust Manual Controls: Any modern mirrorless or DSLR from Canon, Sony, or Nikon will do. The key is easy access to Aperture Priority and Manual modes.
- Editing Software: To polish your RAW files. Adobe Lightroom remains a powerhouse for refining your bokeh and overall tone. I often reference Adobe's official tutorials for new techniques.
Beyond the Basics: Creative Control in 2026
Now that you're comfortable, let's explore further. Your creative use of the blur background aperture can define your style.
Using Bokeh as a Storytelling Element
Bokeh isn't just blur; it's the quality of the blur. Points of light become soft, glowing orbs. You can use this to suggest fairy lights, a sparkling cityscape, or sun filtering through leaves. The shape of these orbs can even be modified with creative aperture diaphragm blades, adding a unique signature to your work.
When to Break the "Wide Open" Rule
Shooting at f/1.8 all the time isn't always best. If you're photographing a person in profile, an extremely shallow depth of field might blur their far eye. Sometimes, stepping down to f/4 gives you enough blur while keeping your entire subject sharp. This is where knowing your desired blur background aperture outcome is key.
Your Next Assignment: Go and Practice!
Don't forget to take your camera out today. Find a simple subject—a cup, a person, a flower. First, take a photo at f/16. Then, take one at your lens's widest aperture. See the dramatic difference? That's you taking control. The journey to mastering the blur background aperture is one of practice and play. In 2026, with these techniques in your toolkit, your visual travel spots will captivate everyone who sees them. Now, go create something beautiful.

Matthias Weber digs into the craft of travel photography, from camera settings to editing. He explains the technical side in plain language so you can spend less time fiddling with dials and more time shooting.
💬 Comments (0)
No comments yet. Be the first!