5 Tips for Sharp Night Photos on iPhone
Get sharp night photos on your iPhone with these 5 proven tips for travelers. Learn to stabilize, use Night mode, and edit for clarity to capture stunning low-light scenes.
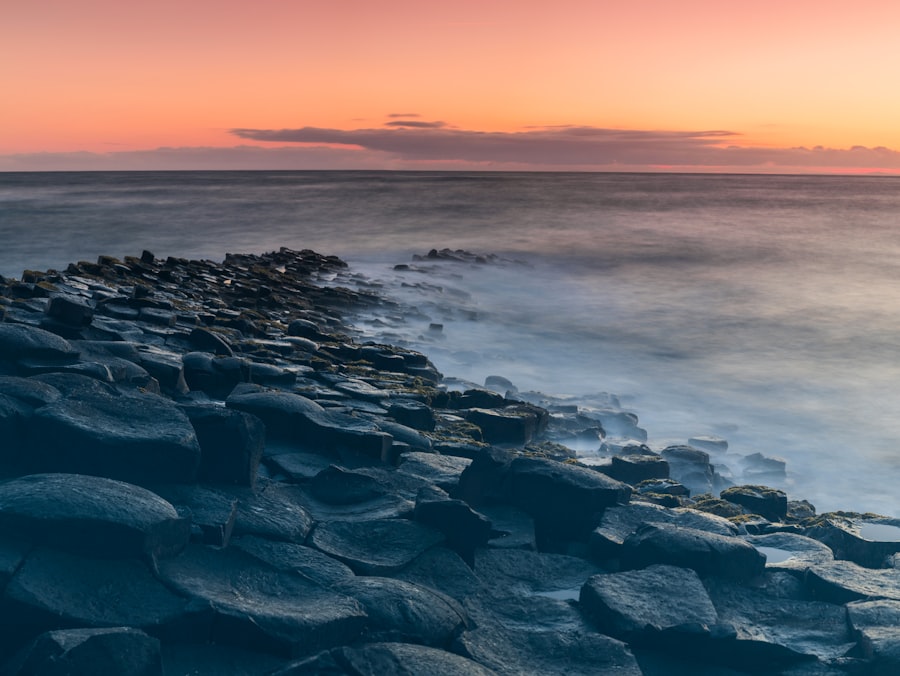
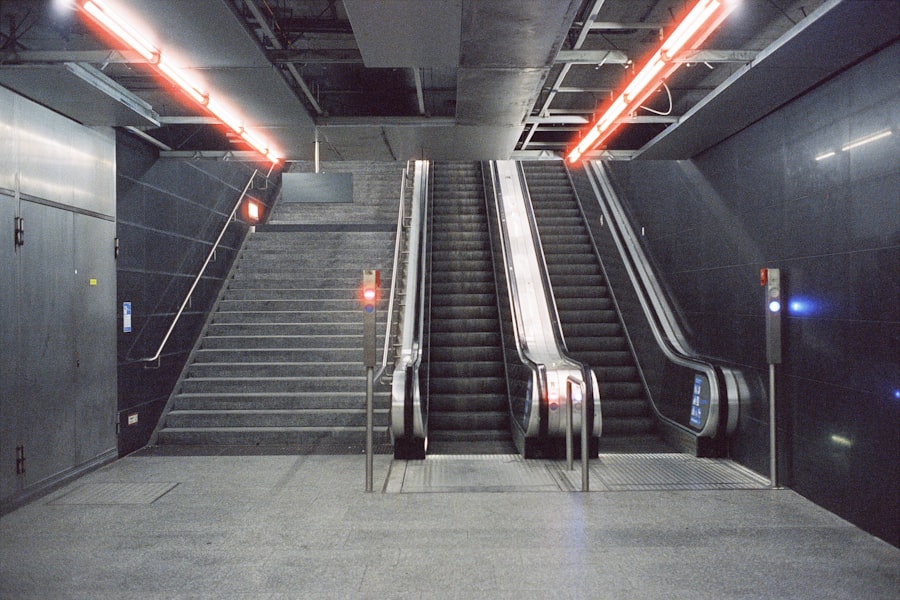
If you have ever struggled to take sharp night photos with your iPhone, you are not alone. I remember a cold night in the desert, trying to capture the Milky Way, only to end up with blurry, noisy messes. My hands were shaking, the autofocus kept hunting, and I had no idea why the stars looked like smudged paint. After months of trial and error, I cracked the code. I'll show you how to consistently produce tack-sharp night photos that will make your friends ask, "Did you use a DSLR?" Let's dive into five actionable tips that transformed my nighttime shots.
1. Master Stability: Your Tripod Is Your Best Friend
The number one enemy of sharp night photos is camera shake. When the light fades, your iPhone automatically lengthens the exposure time to let in more light. Any movement — even your pulse — turns a promising shot into a blurry disaster.
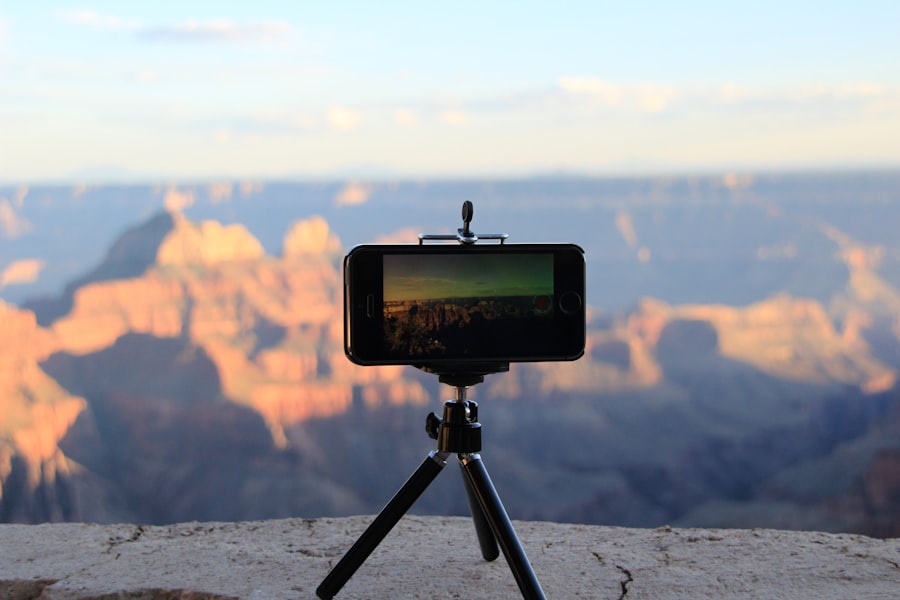
First, let's look at gear. You don't need a professional rig. A simple pocket tripod or even a sturdy rock will do. Place your iPhone on a solid surface. Use the self-timer (3 seconds is perfect) or connect your Apple Watch as a remote shutter. This eliminates the tiny jolt when you tap the screen.
Don't forget to turn off optical image stabilization if your iPhone model allows it, as it can sometimes overcompensate on a tripod. A fixed phone is a sharp phone.
Golden Rule for Sharp Night Photos: If your phone moves, your photo won't. Stabilize first, then compose.
2. Harness Night Mode and Control Exposure
Your iPhone's Night mode is a wizard, but you need to guide it. When the camera detects low light, it automatically activates Night mode — you'll see a timer (like 3, 10, or even 30 seconds) at the top of the screen. The secret is to give it enough time. For sharp night photos, the longer the exposure, the more light captured, but also the greater the risk of shake. That's why stability (Tip 1) is essential.
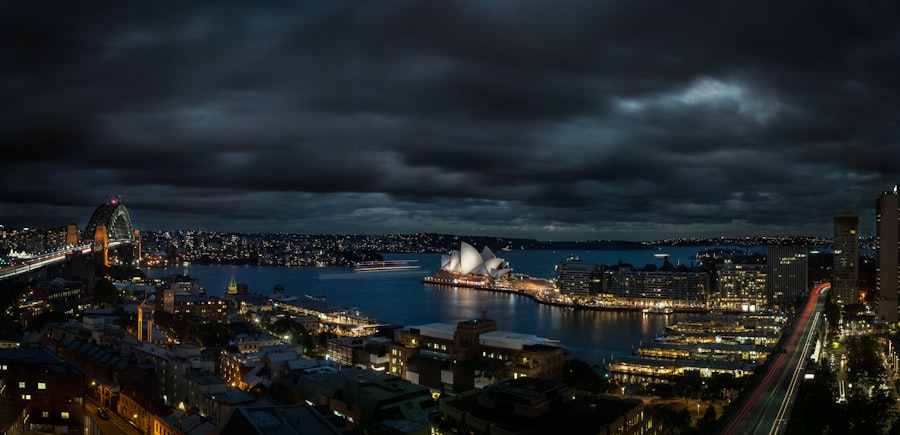
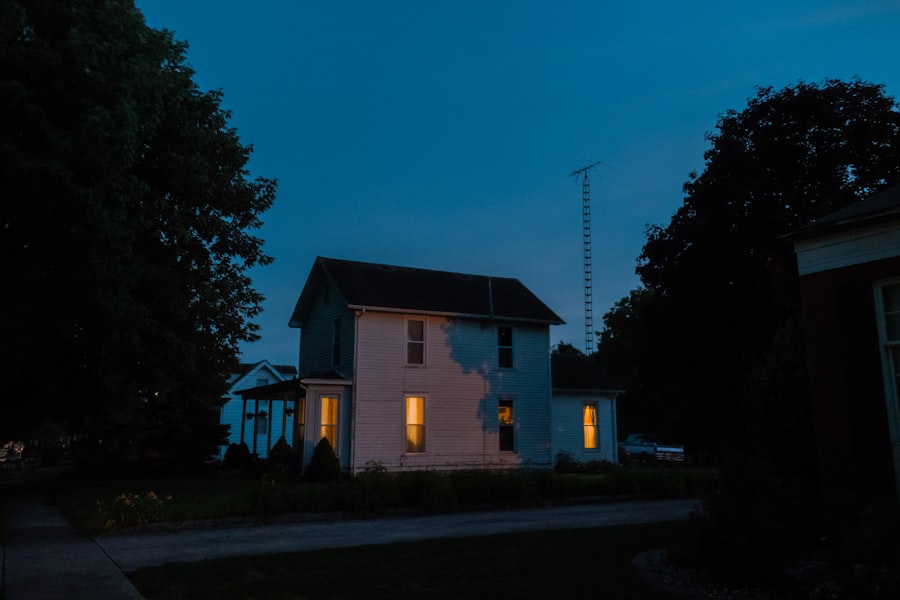
Now try this: tap the Night mode icon, then swipe up on the slider to manually set the exposure. Start with the maximum recommended time. If your scene is very dark, increase it. For cityscapes with ambient light, keep it shorter (2–5 seconds). The iPhone will process the image to reduce noise, but you'll get a cleaner result than a rushed shot.
Also, consider Exposure Compensation. In the camera app, tap the screen, then slide the sun icon down by -0.3 or -0.7 to prevent highlights from blowing out. This preserves detail in bright streetlights and lets you recover shadow data later.
3. Keep ISO Low — Embrace the Noise Trade-off
ISO is the sensitivity of your camera sensor to light. High ISO (e.g., 3200) makes the sensor very sensitive, but it introduces grain — that ugly speckled noise. Low ISO (e.g., 100 or 200) produces cleaner images but requires more light. For sharp night photos, always aim for the lowest possible ISO.
Your iPhone will try to boost ISO in the dark, but you can override it with a third-party app like Halide or Lightroom Mobile, which allow manual ISO control. Set ISO to 100 and let the shutter speed run long. Yes, your photo will be darker in the preview, but you'll capture a much cleaner file to edit later. This is where shooting in RAW (see Tip 4) really pays off.
Recommended Settings for Sharp Night Photos (iPhone)
- ISO: 100–200 (use manual app if possible)
- Shutter speed: 5–30 seconds (use tripod)
- Focus: Manual, locked at infinity for landscapes or tap-lock on your subject
- Format: Apple ProRAW or RAW (maximum dynamic range)
- White balance: Set manually to avoid weird color casts from streetlights
4. Lock Focus and Shoot in RAW
Autofocus can drift on a dark scene, especially if a car headlight sweeps by. For sharp night photos, you need to lock focus. Tap and hold on your main subject until you see "AE/AF Lock" at the top of the screen. This freezes both focus and exposure, so your shot stays consistent.
Step-by-Step: Setting Manual Focus for Sharp Night Photos
- Open the Camera app (or a manual camera app).
- Aim at a bright part of your scene (a streetlamp or moon) and tap to focus.
- Tap and hold until "AE/AF Lock" appears.
- Now recompose your shot — the focus stays locked at that distance.
- For landscapes, focus on something about 20–30 feet away to maximize depth of field.
Why RAW? Because JPEG compresses data, losing shadow and highlight detail that you need to recover in editing. RAW files (Apple ProRAW on newer iPhones) capture every bit of sensor data. You can lift shadows, reduce noise, and tweak white balance without destroying detail. Adobe's official Lightroom tutorial explains exactly how to edit RAW night photos for maximum sharpness.
5. Edit with Purpose: Clarity, Noise Reduction, and Sharpening
Your final sharp night photos will look even better after a few targeted edits. Use an app like Lightroom Mobile or Snapseed. First, adjust exposure and contrast to bring out the mood. Then apply Noise Reduction sparingly — too much will smudge details. Increase the Sharpening slider (start at 20–30) and use the Masking option to sharpen only edges, not smooth areas like the sky.
Here's a personal trick: use the Clarity slider (around +15) to enhance midtone contrast. It adds a crisp pop that makes buildings and stars look razor-sharp. Avoid over-saturating; a slight desaturation often yields a more natural night look.
Cheat Sheet for Editing: Sharpen only the main subject. Add a subtle vignette to darken edges, drawing the eye to the sharp center. Export as high-quality JPEG.
Common Mistakes That Ruin Sharp Night Photos
- Holding the phone in your hands — always use a support.
- Letting autofocus hunt — lock it manually.
- Using digital zoom — it destroys detail. Move closer or crop later.
- Ignoring wind — even a gentle breeze shakes your tripod. Weigh it down.
- Shooting in JPEG — RAW gives you a second chance at sharpness in editing.
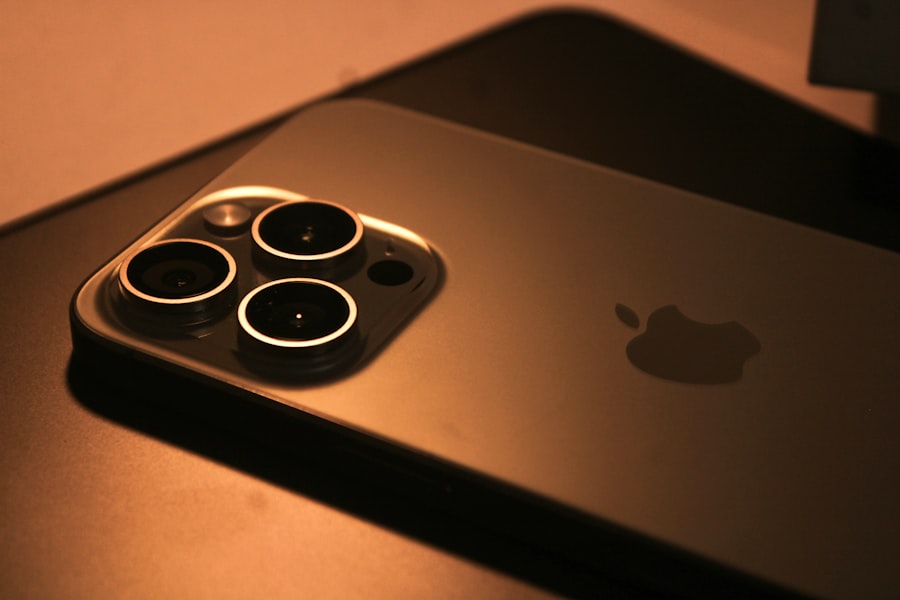
Now you have everything you need. Remember, sharp night photos are not about luck — they are about preparation. Use a tripod, keep ISO low, lock focus, shoot RAW, and edit with care. Your next night shot will be the one you proudly print and frame. For even more detail on your iPhone's camera capabilities, check out Apple's official iPhone camera specs to see how Night mode and ProRAW work across models.
Go out tonight, test these tips, and tag me in your results. I can't wait to see your sharp night photos lighting up the world.
Frequently Asked Questions
Why are my iPhone night photos blurry?
Blurriness often comes from camera shake; use a tripod or brace your phone on a stable surface to hold still during the long exposure.
How can I manually focus on night shots?
Tap and hold on the screen to lock focus on a bright area, then adjust exposure with the slider to prevent fuzziness.
Does Night mode on iPhone make photos sharper?
Yes, Night mode combines multiple frames to reduce noise and capture detail, but keeping your phone still is still essential.
Can editing apps improve sharpness in night photos?
Use editing tools carefully to increase clarity or contrast, but avoid over-sharpening which introduces artifacts.
What is the best setting for sharp night photos on iPhone?
Set focus to infinity for distant objects or use AE/AF lock on a mid-tone area to maintain sharp details throughout.
Camille Bernard shares travel photography tips for every kind of traveller, from phone snapshots to full kits. She breaks down light, composition and timing so you come home with photos that actually capture how a place felt.
💬 Comments (0)
No comments yet. Be the first!