5 Tips for Black and White Travel Photos 2026
Get 5 tips for black and white travel photos in 2026. Learn to use contrast, texture, and light for stunning monochrome photos.
If you want to master black and white travel photos in 2026, you have come to the right place. I'll show you how to turn ordinary travel scenes into stunning monochrome masterpieces. Your photos will look professional and timeless. Let's dive into the five essential tips that will transform your approach to monochrome photography.
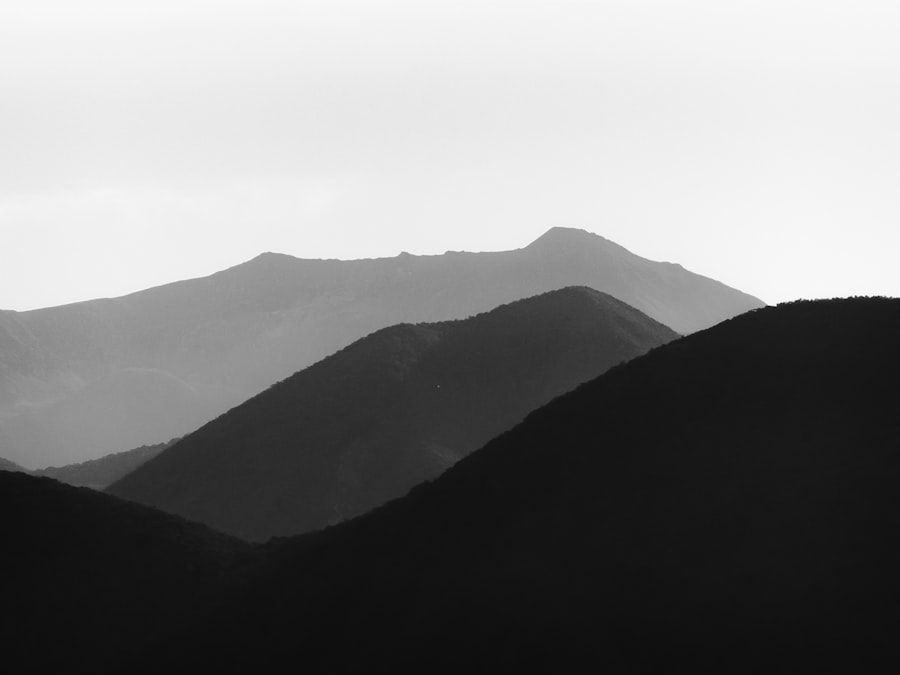
Tip 1: Look for Contrast and Texture
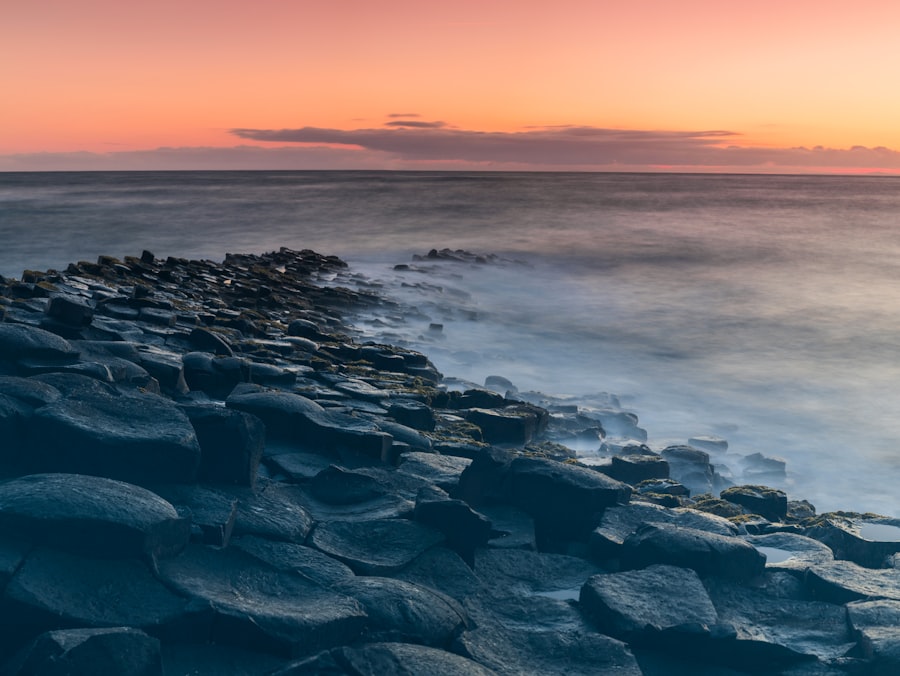
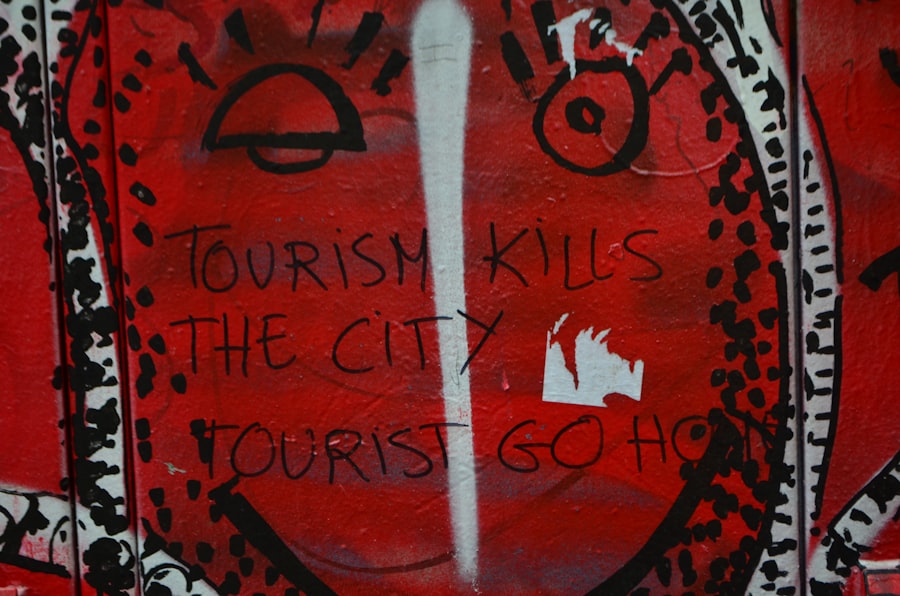
The secret to great black and white travel photos is to seek out scenes with high contrast. Unlike color photography, where hues grab attention, black and white relies entirely on the difference between light and dark tones. The texture of rough stone, the grain of weathered wood, or the sharp shadows of a narrow alley — these elements become your brushstrokes. I once photographed a bustling market in Morocco and ended up with a flat, muddy image. Why? The colorful spices and fabrics looked dull in black and white because there was no tonal separation. Now try this: search for strong light sources, like a beam of sunlight cutting through a doorway. Use a low ISO setting (100-200) to keep the shadows clean and noise-free. Then apply negative exposure compensation — about -0.7 EV — to deepen the blacks and preserve highlight detail. Your black and white travel photos will instantly gain drama.
Step-by-Step Guide to Finding Contrast
- Step 1: Look for scenes where bright and dark areas touch — a white wall next to a black doorway, for example.
- Step 2: Wait for the "golden hour" of travel photography: midday sun creates harsh shadows that work beautifully for contrast.
- Step 3: Use a polarizing filter to cut glare on reflective surfaces like water or leaves, making textures pop.
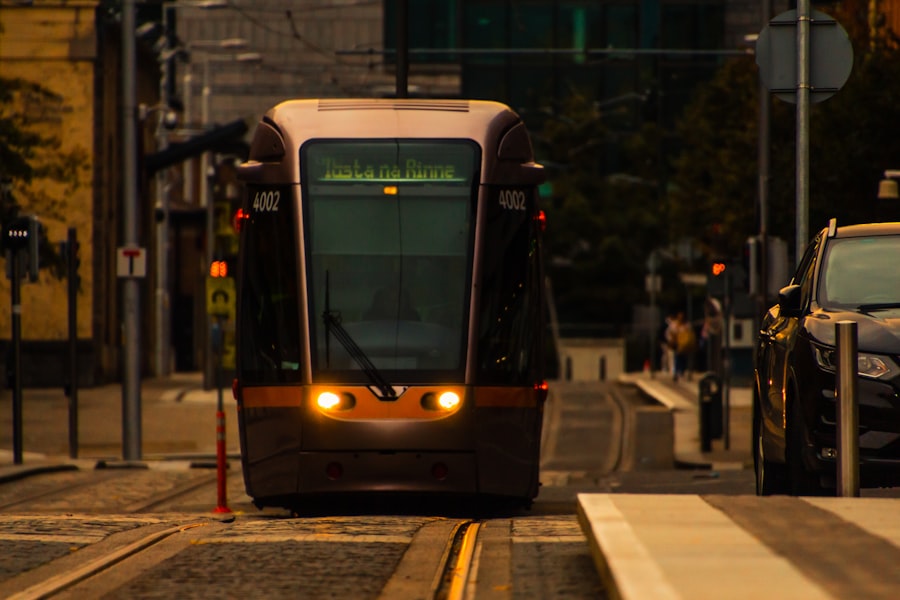
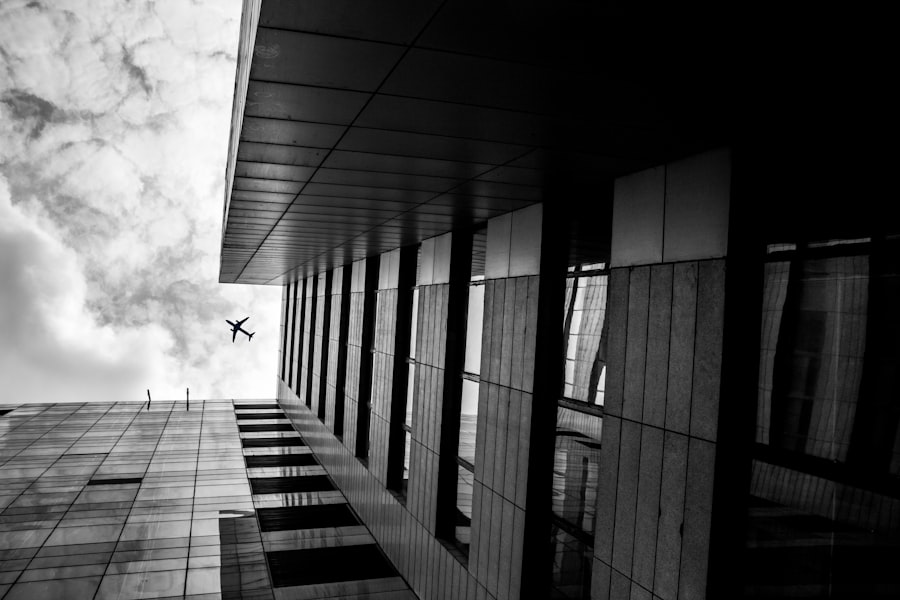
Tip 2: Compose with the Rule of Thirds and Leading Lines
Composition is the backbone of any photo, but it becomes even more critical in black and white travel photos because you can't rely on color to guide the viewer's eye. The Rule of Thirds is your starting point: imagine a tic-tac-toe grid over your frame and place key elements along those lines. Leading lines — roads, fences, rivers — draw the viewer through the image. Bokeh, the creamy background blur, can work in black and white, but use it sparingly. A blurred area of similar tones can look like a gray smudge. Instead, keep the background sharp enough to show texture. Your black and white travel photos will have a natural flow that feels intentional.
Why Bokeh Works (and When It Doesn't)
Bokeh isolates the subject by blurring the background, which is useful if the background is messy. But in black and white, a large patch of uniform blur can lack visual interest. The trick is to ensure the blurred areas still have some tonal variation — for instance, light spots and dark shadows within the bokeh. That way, your monochrome image retains depth.
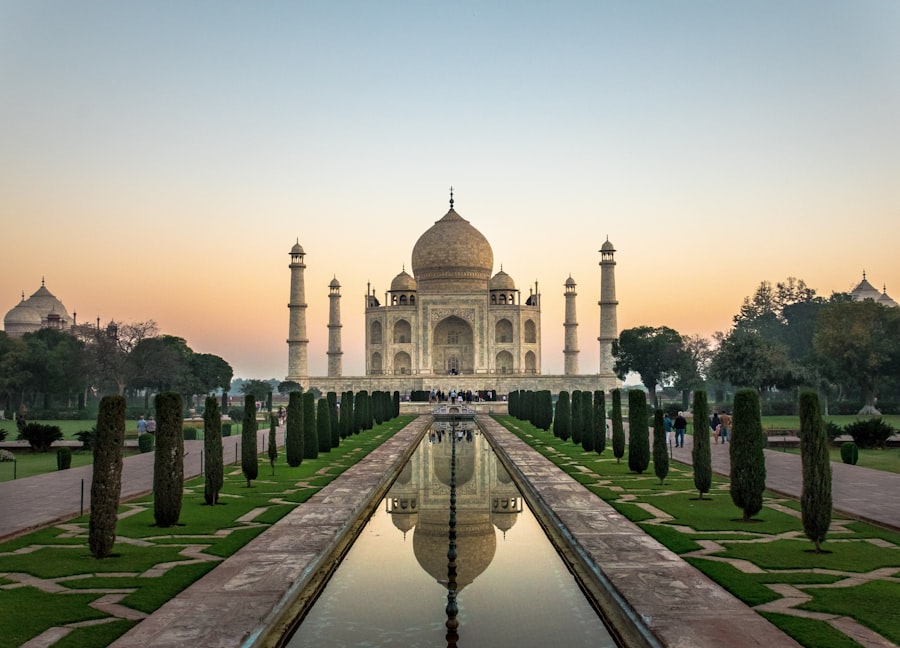
Tip 3: Shoot in RAW and Use Exposure Compensation
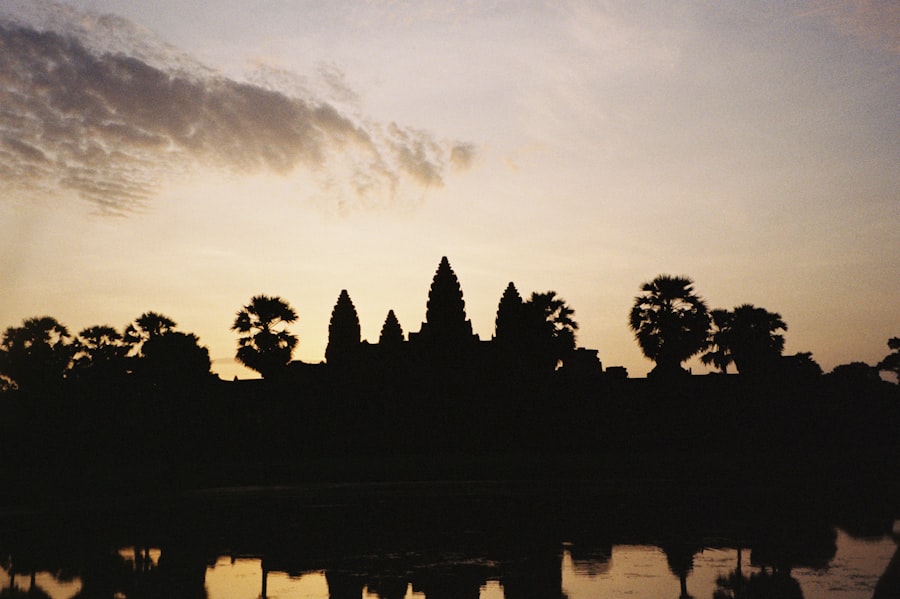
This is a non-negotiable rule for black and white travel photos. Shooting in RAW gives you a file with the maximum amount of tonal data, which is essential when you later convert to black and white. JPEG files compress that data, leaving you with less room to adjust contrast, shadows, and highlights. I learned this the hard way: I shot a stunning sunrise over Angkor Wat in JPEG mode, and the final black and white version had banding in the sky. Now I always shoot RAW. Also, use exposure compensation to protect your highlights. In bright scenes, set it to -0.3 or -0.7 EV. The result is a richer black point and a better starting point for post-processing. The best black and white travel photos come from intentional exposure management.
Step-by-Step Guide to Converting to Black and White in 2026
- Open your RAW file in Lightroom Classic or Adobe Camera Raw.
- Go to the B&W Mix panel. Do not use a simple desaturate — that flattens the image.
- Adjust individual color sliders: push reds lighter for skin tones, darken blues for dramatic skies, and tweak yellows to control foliage.
- Add clarity (+20 to +40) to enhance texture, and a subtle vignette (-5 to -10) to center attention.
- Check the histogram: ensure the tonal range spans from near black to near white without clipping at either end.
Cheat Sheet Tip: "A golden rule for black and white travel photos: always check your histogram. Keep the tones from touching the far left (shadows) or far right (highlights) unless you deliberately want pure black or pure white. This preserves detail and gives you flexibility in editing."
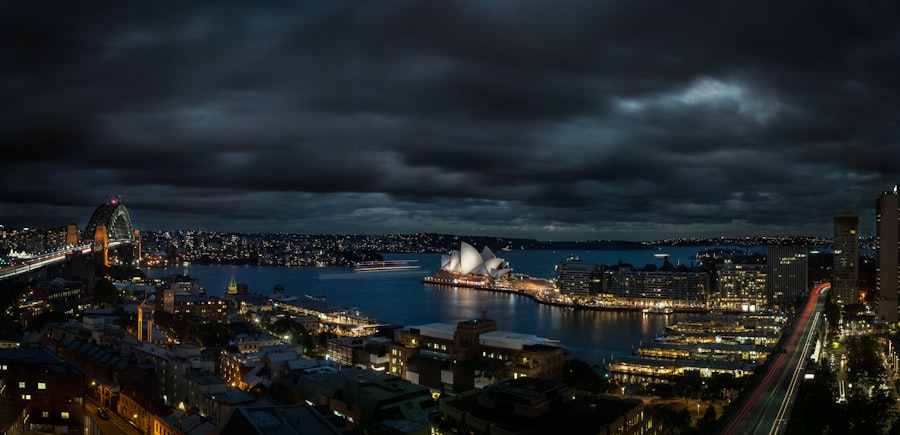
Tip 4: Use the Histogram and Avoid Blown Highlights
When shooting black and white travel photos, the histogram is your best friend. It shows you the distribution of tones from pure black (left) to pure white (right). A common mistake is to let the highlights clip — those bright clouds become featureless white blobs. To prevent this, use exposure compensation to underexpose slightly, then recover shadows in post. I also recommend setting your camera's highlight warning (the "blinkies") to alert you when highlights are blown. This is especially important if you're shooting in harsh midday light. Your black and white travel photos will retain texture in every tonal zone.
Understanding Your Camera's Settings
Modern cameras like the Sony A7R V or Canon EOS R5 offer excellent dynamic range, which is perfect for monochrome work. For detailed specs, check out DPReview's Sony A7R V review and DPReview's Canon EOS R5 review. If you're new to conversion, Adobe has a thorough tutorial on black and white photo basics. Remember, RAW vs JPEG is not a debate — RAW always gives you more control over your black and white travel photos.
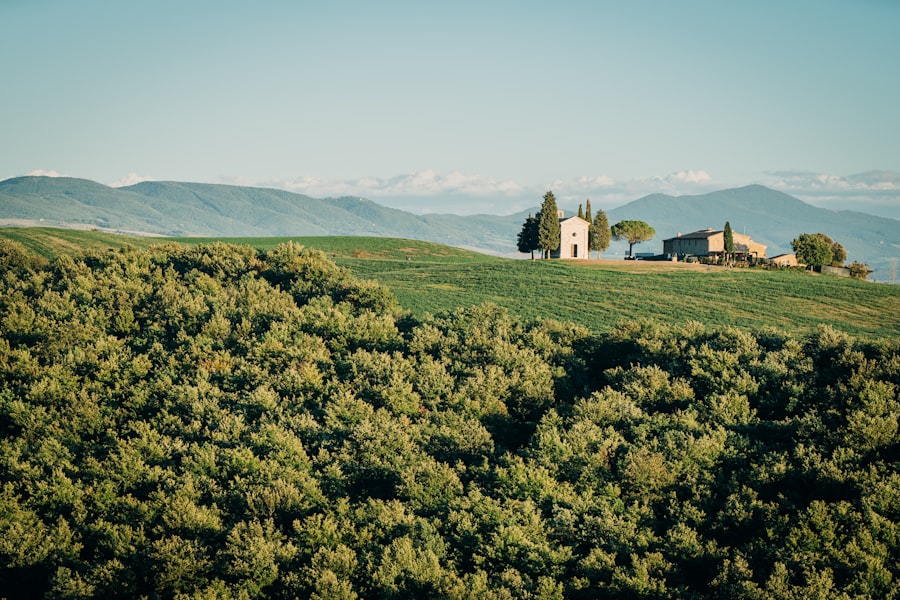
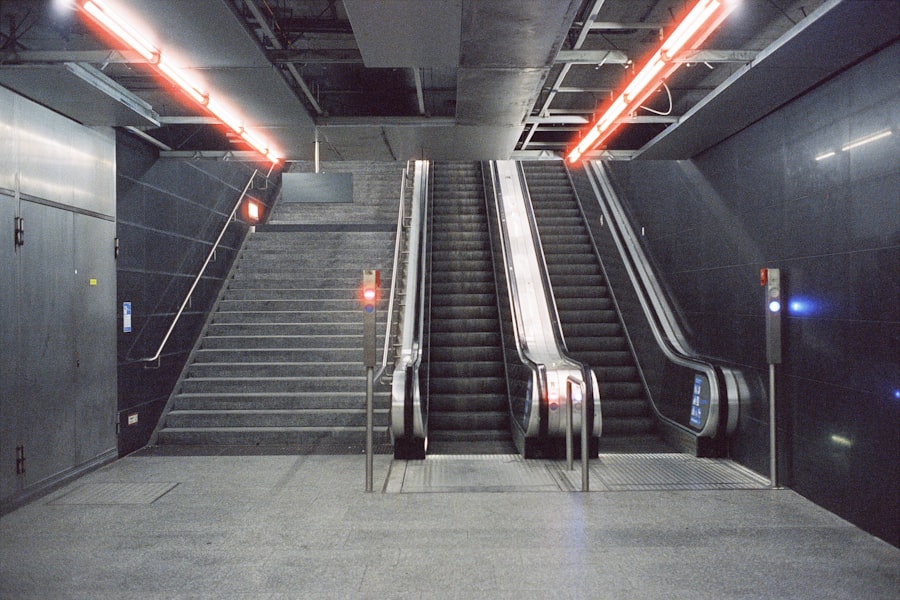
Tip 5: Embrace Minimalism and Negative Space
Your black and white travel photos will stand out when you use negative space. A lone figure on a vast empty beach, a single tree in a snowy field, or a staircase against a blank wall — these compositions rely on the power of emptiness. In color, such scenes can feel boring. In black and white, the negative space becomes a canvas for light and shadow. I recall a trip to Iceland where I photographed a solitary house against a white snowscape. The original color shot was flat, but in black and white, the contrast between the dark house and the pure white snow created a striking image. Don't forget to leave room for the eye to rest. Use a wide aperture (f/1.8 to f/2.8) to blur distracting backgrounds, but only if the bokeh maintains tonal variety. Keep your composition simple — the rule of thirds helps here — and let the mood speak.
Recommended Settings for Black and White Travel Photos
- ISO: 100-400 for clean shadows; push to 800 only in low light.
- Aperture: f/8 for maximum sharpness in landscapes; f/1.8 for isolated subjects.
- Exposure Compensation: -0.3 to -0.7 EV for contrasty scenes.
- Shooting Mode: RAW (always) + monochrome picture style for live preview.
- Focus: Use single-point AF for precise control over the main subject.
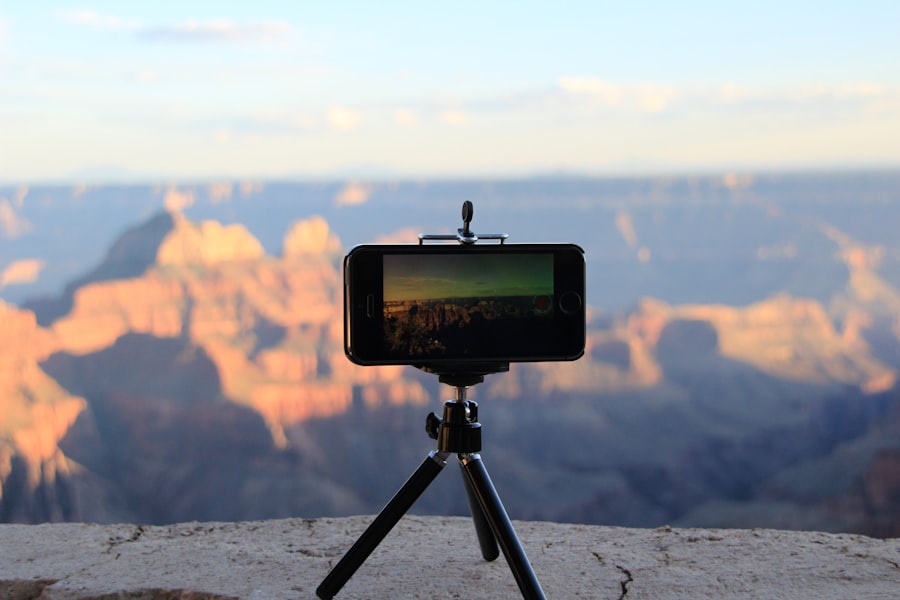
Must-have Gear for Black and White Travel Photography
- A camera with good dynamic range (full-frame sensor recommended).
- A sharp zoom lens like 24-70mm f/2.8 or a prime 50mm f/1.4.
- Circular polarizer to enhance contrast in skies and reflections.
- A neutral density filter for long exposures that smooth water and clouds.
- A lightweight tripod for stable low-light shots and intentional blur.
Now you have all the tools to create breathtaking monochrome images. Go out and practice these five tips. Your black and white travel photos in 2026 will be your best yet. Remember, every failed photo is a lesson — I still keep that flat Moroccan market image as a reminder to always look for contrast. Happy shooting!
Frequently Asked Questions
What is the best lighting for black and white travel photos?
Harsh midday sun or dramatic overcast skies create strong contrasts that work well in monochrome.
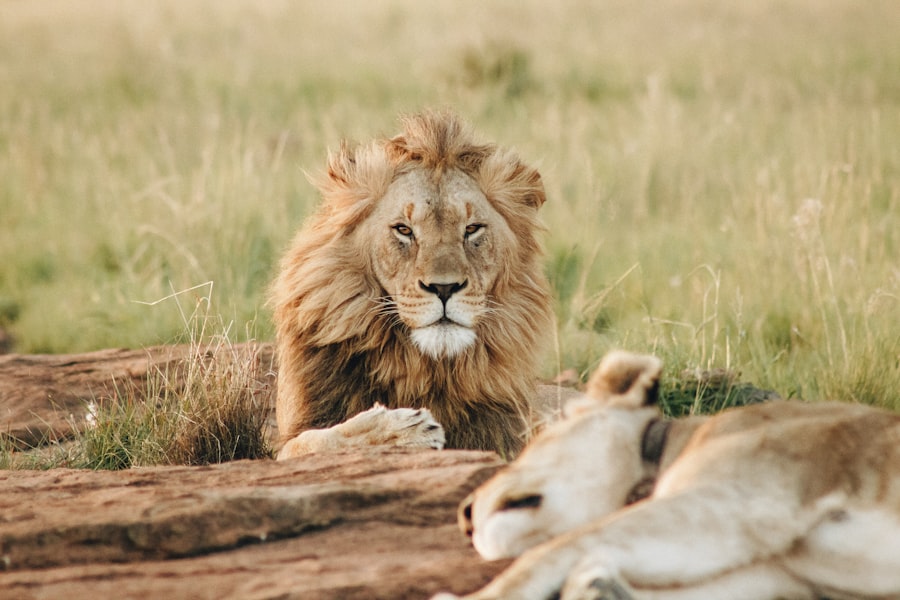
How do I choose subjects for black and white photography?
Look for textures, patterns, and bold shapes like architecture, reflections, or street scenes with strong lines.
Should I always convert color images to black and white in post-processing?
Shoot in raw and consider composing in color first, then converting later to retain control over tones and contrast.
What camera settings help with black and white travel photos?
Use a low ISO to minimize noise and shoot in high-contrast mode or black and white preview if your camera allows.
What common mistakes should I avoid in monochrome travel photography?
Avoid flat lighting that makes images look gray, and ensure your subject stands out against a similarly toned background.

Camille Bernard shares travel photography tips for every kind of traveller, from phone snapshots to full kits. She breaks down light, composition and timing so you come home with photos that actually capture how a place felt.
💬 Comments (0)
No comments yet. Be the first!