Atacama astrophotography 2026: A Pro Guide
Our guide to Atacama astrophotography 2026 helps you capture the Milky Way over Chile with perfect settings.
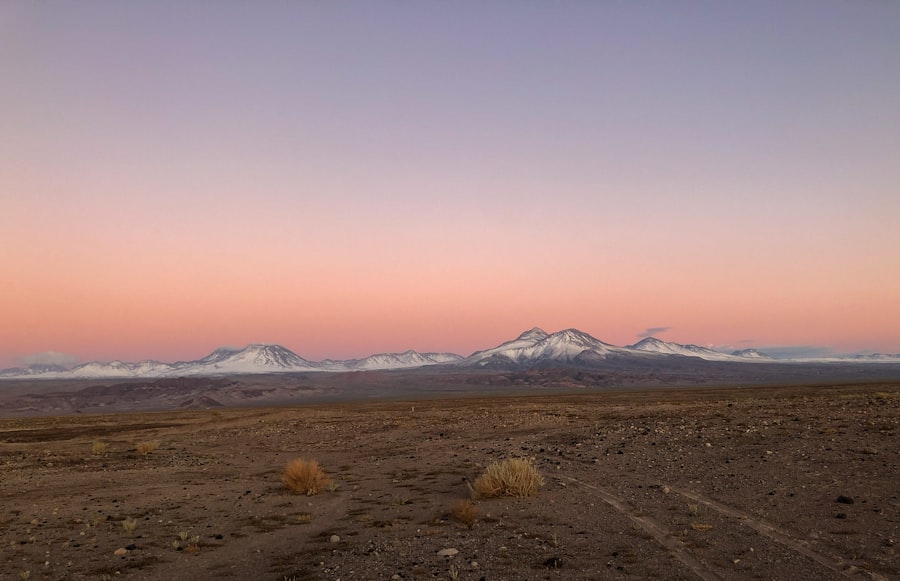
If you want to capture the universe in its most pristine, breathtaking state, then mastering Atacama astrophotography 2026 is the ultimate goal for your portfolio this year. As a professional photographer, I have traveled to some of the darkest corners of our planet, but nothing compares to the high-altitude deserts of northern Chile. In 2026, unique celestial alignments and the solar cycle peak mean we are in for an unprecedented year of night sky activity. I will show you how to transform your blurry, noisy night shots into tack-sharp masterpieces that look like they were captured by the Hubble Space Telescope.
Whether you are a seasoned pro or picking up a camera for your very first night shoot, this guide will serve as your personal coaching session. Together, we will demystify the technical jargon, unpack the gear you absolutely need, and map out the exact camera settings to make your images pop. Grab a warm cup of coffee, and let us dive into the magic of the Chilean night sky.
Why the Atacama Desert is the Ultimate Playground in 2026
The secret is simple: altitude, dryness, and zero light pollution. The Atacama Desert sits high in the Andes, with many prime shooting locations resting above 2,400 meters (8,000 feet). This high elevation means you are standing above a significant portion of the Earth's atmosphere, reducing the atmospheric distortion that makes stars look blurry. Furthermore, the cold Humboldt Current off the Pacific coast keeps the air incredibly dry, resulting in up to 300 clear nights a year.
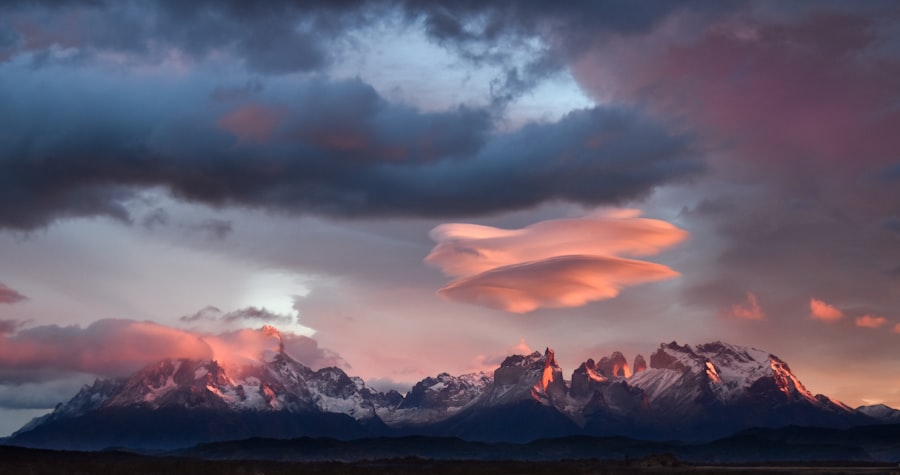
In 2026, we are also experiencing a period of heightened solar activity. This means your Atacama astrophotography 2026 expeditions might catch rare atmospheric phenomena, such as airglow or faint aurora-like displays, even at lower latitudes. When you combine these cosmic events with the otherworldly salt flats, jagged rock formations, and giant cacti of the desert, you get the perfect recipe for dramatic, fine-art landscape photography.
The Golden Rule of Astrophotography: Always shoot in RAW format, not JPEG. A JPEG file compresses your image and discards up to 80% of the shadow detail. A RAW file preserves every single photon of light your sensor captured, giving you the data you need to pull vibrant colors out of the pitch-black sky during editing.
My Epic Failure (And How to Avoid It)
Before we look at the gear, let me share a personal story of a massive failure I experienced during my early days. I had hiked for hours up to a high-altitude lagoon in the Atacama, freezing in sub-zero temperatures. I set up my tripod, pointed my camera at the majestic Milky Way core, and shot all night. When I got back to my hotel and opened the files on my laptop, every single photo was ruined. The stars looked like tiny, blurry bananas instead of crisp pinpricks of light.
What went wrong? First, I had used a cheap, flimsy tripod that vibrated in the desert wind. Second, I had set my shutter speed too slow, forgetting that the Earth is constantly rotating. This rotation causes "star trailing" if your exposure is too long. Finally, I relied on my camera's autofocus, which cannot find focus in the pitch black, resulting in a soft bokeh effect on the stars where they should have been sharp. I fixed this by investing in a heavy-duty tripod, using the manual focus assist zoom on my camera screen, and applying the "Rule of 500" to calculate my shutter speed. Your photos will look flawless from night one if you learn from my mistakes!
Your Essential Astrophotography Gear List
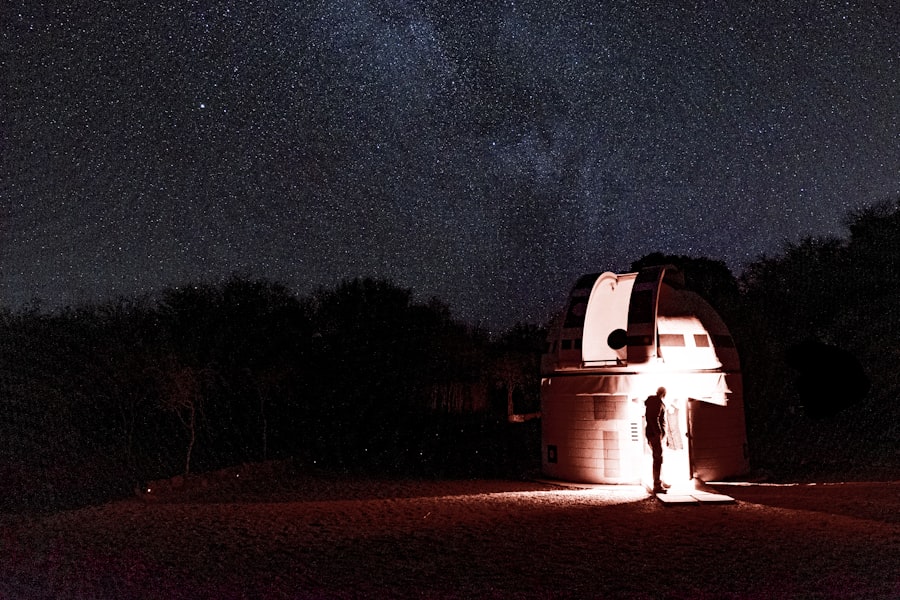
Now try this: before you pack your bags for Chile, make sure your gear kit is fully prepared for the harsh, cold desert nights. You do not need the most expensive camera on the market, but you do need gear that allows for full manual control.
Must-Have Gear for Atacama Astrophotography 2026
- A Full-Frame Camera Body: Modern full-frame sensors from manufacturers like Sony, Canon, or Nikon offer incredible low-light performance and minimal noise at high ISO settings.
- A Fast, Wide-Angle Lens: Look for a lens with a focal length between 14mm and 24mm, and a maximum aperture of f/1.8 or f/2.8. This allows the maximum amount of light to hit your sensor.
- A Sturdy Carbon Fiber Tripod: The Atacama winds can be fierce. A heavy, stable tripod is non-negotiable for long exposures.
- Headlamp with Red Light Mode: White light ruins your night vision (which takes 20 minutes to develop) and will ruin the shots of other photographers around you. Red light keeps your eyes adjusted to the dark.
- Lens Warmer / Heater: Desert temperatures drop rapidly after sunset. A simple USB-powered lens warmer prevents dew or frost from forming on your glass.
Step-by-Step: Setting Up Your Camera for the Perfect Shot
First, let's look at the step-by-step process of configuring your camera once you arrive at your dark-sky location. Do not feel intimidated by the manual settings; once you do this a couple of times, it will become second nature.
Step-by-Step Camera Configuration
- Mount and Stabilize: Set up your tripod on firm ground. Make sure your camera strap is secured so it does not flap in the wind and create camera shake.
- Switch to Manual Mode: Turn your mode dial to "M". This gives you total control over your ISO, aperture, and shutter speed.
- Open Your Aperture: Set your f-stop to the lowest possible number your lens allows (such as f/1.8 or f/2.8). This opens the physical diaphragm of the lens to let in as much starlight as possible.
- Set Your ISO: Start at ISO 3200. ISO controls the amplification of the signal from your camera sensor. While higher ISOs can introduce digital noise, modern cameras handle ISO 3200 and 6400 beautifully. You can learn more about noise reduction workflows on Adobe tutorials.
- Calculate Shutter Speed: Use the "Rule of 500" to avoid star trails. Divide 500 by your focal length. For example, if you are using a 20mm lens, 500 divided by 20 equals 25. Your maximum shutter speed should be 25 seconds.
- Manual Focus on a Star: Switch your lens to Manual Focus (MF). Turn on your camera's Live View screen, zoom in 10x digitally on a bright star, and slowly turn your focus ring until the star becomes a perfectly sharp, tiny point of light.
- Use a 2-Second Delay: Pressing the shutter button with your finger causes a tiny vibration. Use your camera's built-in self-timer set to 2 seconds, or use a remote shutter release, to ensure the camera is perfectly still when the exposure begins.
Composition and the Art of the Foreground
An amazing night photo is more than just a picture of the sky; it needs a compelling story. This is where the Rule of Thirds comes into play. Imagine your viewfinder is split into a grid of nine equal rectangles. Try placing the horizon along the bottom third of the frame, and position a dramatic foreground element, like a jagged volcano or an old abandoned adobe building, at one of the grid intersections.
Don't forget to pay attention to your Exposure Compensation if you are blending exposures. For the ultimate professional look, many photographers take two shots without moving the tripod: one short exposure focused on the stars, and one much longer, lower-ISO exposure to capture the clean details of the foreground. You can then blend these two images using layers in editing software to create a clean, noise-free masterpiece.
Recommended Settings Quick Reference
- Format: RAW (Never JPEG for night skies)
- Aperture: f/1.8 to f/2.8
- ISO: 3200 to 6400 (Adjust based on moonlight)
- White Balance: Manual / Kelvin (Set between 3800K and 4200K for cool blue skies)
- Image Stabilization: Turned OFF (Stabilization systems can actually create vibration when mounted on a tripod)
Unleashing Your Creative Potential in 2026
As you plan your Atacama astrophotography 2026 adventure, remember that patience is your most valuable asset. The desert can be cold, dry, and physically demanding, but when you look at your camera screen and see the glowing magenta and deep purple dust clouds of the Milky Way core rendered in perfect clarity, the challenges will fade away. Keep experimenting with different compositions, push your camera settings to their limits, and let the cosmic landscape inspire you. You have all the tools and knowledge you need to capture the universe—now go out there and show the world what you can create!
Frequently Asked Questions
What makes the Atacama Desert ideal for astrophotography in 2026?
Its extreme altitude, bone-dry air, and minimal light pollution create some of the darkest, clearest skies on Earth, perfect for capturing deep-sky objects.
When is the best time of year for astrophotography in Atacama in 2026?
The dry season from April to September offers the most stable weather and the Galactic core is visible, though winter months provide longer nights.
Do I need special equipment for Atacama astrophotography?
A DSLR or mirrorless camera with a fast wide-angle lens and a sturdy star tracker is recommended, but even a static tripod can capture impressive widefield shots.
What are the main challenges photographers face in Atacama?
The harsh altitude can cause altitude sickness, and the extreme dryness may affect equipment, so staying hydrated and using sealed camera bags is crucial.
Can I do astrophotography in Atacama without a guided tour?
Yes, Many sites are accessible independently, but joining a tour ensures safer night viewing and insider knowledge of the best hidden spots for clear skies.

Matthias Weber digs into the craft of travel photography, from camera settings to editing. He explains the technical side in plain language so you can spend less time fiddling with dials and more time shooting.
💬 Comments (0)
No comments yet. Be the first!