
5 Macro Photography Travel Tips 2026
Learn macro photography travel tips to capture stunning close-ups on your next trip. Professional techniques for flowers, textures, and tiny details.
5 Macro Photography Travel Tips 2026
If you want to capture stunning close-up images on your next trip, these macro photography travel tips will transform your photos. Whether you are hiking through a rainforest or exploring a city park, getting the tiny details right makes your travel album unforgettable. I have been shooting macro for years, and I have learned that the best shots often come from the smallest subjects. In 2026, the gear is lighter and smarter than ever, but the principles remain the same. Let me guide you through five essential techniques that will take your travel macro work from amateur to pro.
1. Forget the Zoom Lens – Use a Dedicated Macro Lens
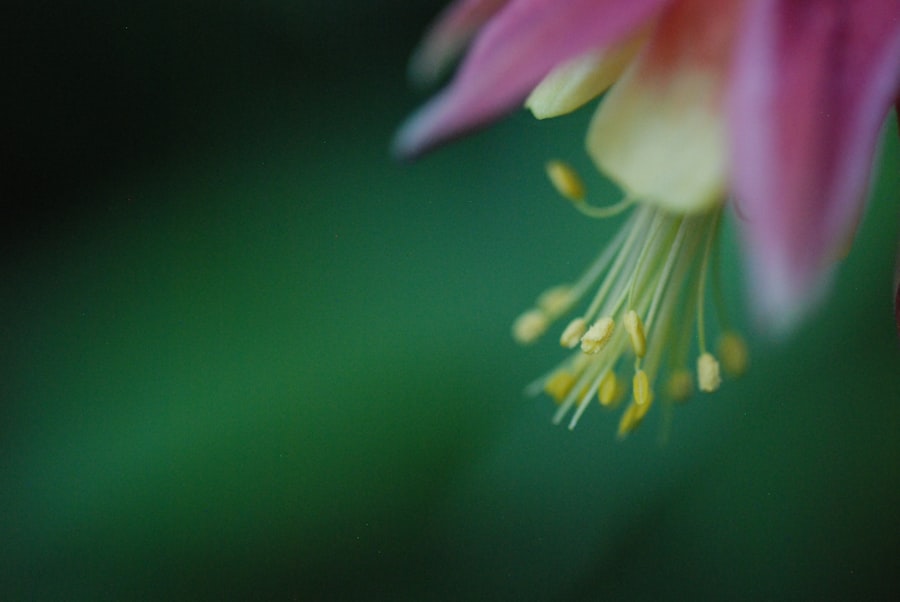
The secret is that a true macro lens gives you a 1:1 reproduction ratio, meaning your subject appears life-size on the sensor. I remember trying to photograph a tiny orchid on a trip to Costa Rica with my 18-55mm kit lens. The result was a blurry, lifeless blob. That was my "Before" moment. The "After" came when I swapped to a 60mm macro prime. Suddenly, every petal and water droplet snapped into focus. Your photos will look dramatically sharper if you invest in a dedicated macro lens. Don't forget to check the minimum focusing distance – the closer you can get, the more detail you capture.
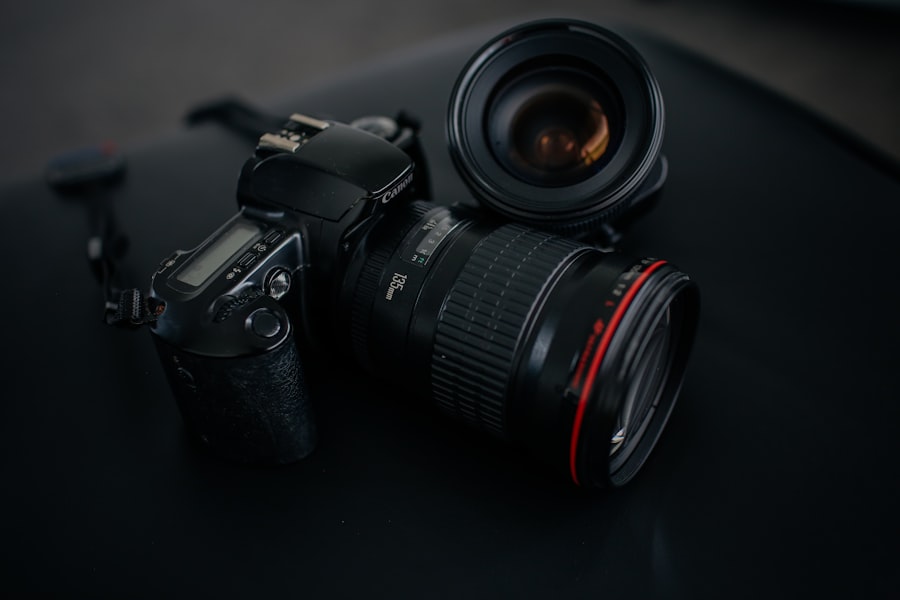
Now try this: For 2026, look at lenses like the Sony FE 90mm f/2.8 Macro G OSS or the Canon EF-M 28mm f/3.5 Macro IS STM. Both offer excellent sharpness and image stabilization, which is crucial for handheld travel macro. If you are on a budget, a set of extension tubes works too – just be ready for a narrower depth of field.
2. Master Light and Shadow for Macro
Light is everything in photography, but in macro it is even more critical. A small subject casts a tiny shadow, and uneven light ruins the texture. The best macro photography travel tips involve using natural light at specific times. I like to shoot in the golden hour – the first hour after sunrise – when the light is soft and warm. Your photos will look three-dimensional if you place the light at a 45-degree angle to the subject. Avoid harsh midday sun; it creates washed-out highlights and deep, distracting shadows.
Use a Diffuser and Reflector
First, let's look at a simple diffuser: a white piece of paper or a translucent plastic bag can soften direct sunlight. For reflectors, a small pocket-sized disk or even a white foam board will bounce light into the shadow areas. I always carry a foldable 12-inch reflector in my camera bag. During a trip to Japan, I used it to light up a caterpillar's hairs – the detail was incredible.
Step-by-Step Guide: Diffusing Hard Light
- Hold your diffuser between the sun and the subject, about 6 inches away.
- Angle it so the light passes through and lands evenly on the subject.
- Use your reflector on the opposite side to fill shadows – start with a 45-degree angle.
- Check your histogram – avoid clipping highlights (pure white areas).
- Shoot in RAW to recover shadow detail later.
Cheat Sheet: For macro, shoot at f/8 to f/16 for depth of field, but watch your shutter speed – use flash or a tripod. Otherwise, camera shake will blur your tiny details. A golden rule: if your shutter speed is slower than 1/125s, stabilize your camera.
3. Control Depth of Field with Aperture Priority
Depth of field in macro is razor thin. At f/2.8, only a millimeter of your subject will be sharp. The secret is to use a smaller aperture (higher f-number) to keep more of the subject in focus. However, a smaller aperture also means less light and potential diffraction. In 2026, modern cameras handle high ISOs better than ever, so you can push ISO up to 1600 without visible noise. Set your camera to Aperture Priority (A or Av mode), choose f/8 for most subjects, and let the camera choose the shutter speed. If the shutter speed drops too low, raise your ISO.
Your photos will look crisp when the entire insect or flower is in focus from front to back. I once photographed a damselfly in the Amazon – I used f/11 and ISO 800, and the result was a sharp image from its eye to its tail. Don't forget to use exposure compensation when shooting bright subjects; add +0.7 EV for white petals to keep them from looking gray.
Recommended Camera Settings for Macro Travel
- Mode: Aperture Priority (Av or A)
- Aperture: f/8 to f/13 for good depth of field
- ISO: 400-1600 depending on light (use Auto ISO with a max of 1600)
- Focus: Manual focus or single-point AF – avoid area AF
- Drive: Continuous high-speed burst to capture sharp frames
- File type: RAW + JPEG – RAW allows you to correct exposure and white balance later
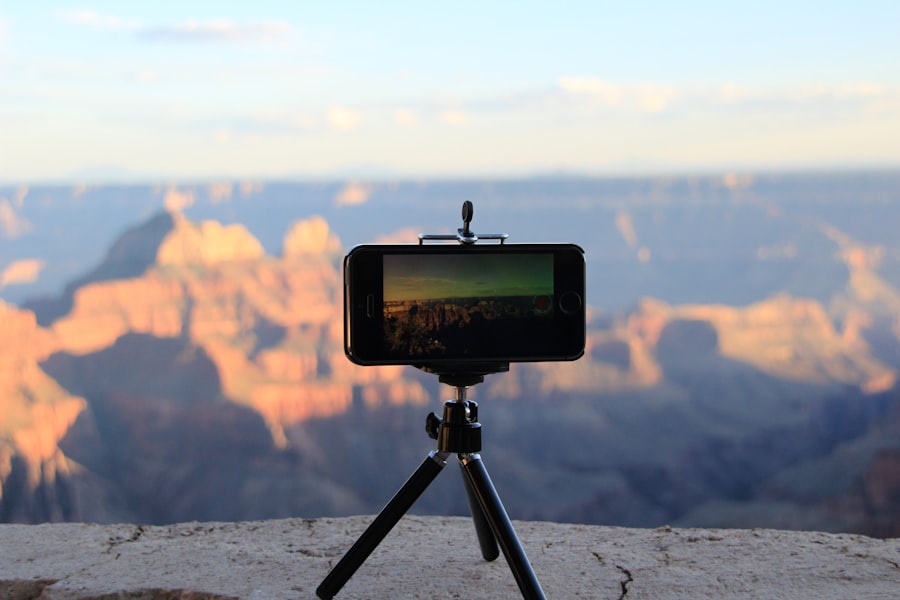
4. Use a Tripod or Monopod for Stability
Travel macro often means shooting handheld because you are on the move. But the smallest movement – even your heartbeat – can blur a close-up photo. That is why I always bring a lightweight travel tripod. My favorite is a carbon fiber model with a ball head that folds down to 12 inches. The secret is to use a remote shutter release or the camera's self-timer (2-second delay) to eliminate shake. If you do not have a tripod, a monopod works well, or even a beanbag placed on a rock. For the ultimate stability, use the camera's built-in image stabilization (if available) in combination with a monopod.
Now try this: When you find a subject, first compose your shot, then kneel down and brace your elbows against your chest. Breathe slowly and press the shutter gently. This technique saved my photo of a dewdrop on a fern in New Zealand – the resulting image had perfect sharpness and a dreamy bokeh background.
5. Master Focus Stacking for Extreme Depth of Field
Sometimes even f/16 is not enough to get everything sharp. Focus stacking is a technique where you take multiple shots at different focus distances and blend them in post-processing. This is one of the most powerful macro photography travel tips for 2026 because it lets you capture an entire flower or insect from front to back in perfect focus. First, let's look at how to do it in the field: set your lens to manual focus, start at the nearest point, take a shot, then rotate the focus ring slightly toward the distant point. Repeat until you have covered the whole subject.
In Adobe Lightroom or Photoshop, you can merge these images with a few clicks. Adobe's official tutorial on focus stacking explains the process step by step. I recommend taking 5 to 10 shots for a typical macro subject. Your photos will look unreal – tack sharp throughout, with a creamy bokeh in the background. On a trip to Brazil, I used this technique on a passionflower and the final image looked like a scientific illustration.
Step-by-Step Guide: In-Camera Focus Stacking (if your camera supports it)
- Place your camera on a tripod – stability is critical.
- Set the lens to manual focus and choose the closest focus point.
- Enable the focus stacking feature (on Sony A7RV, it is under Drive Mode).
- Set the number of shots (I start with 8) and the focus step width (fine).
- Press the shutter once – the camera automatically takes all shots.
- Import the images into Lightroom and use Photo > Photo Merge > Focus Stack.
Don't forget to use a remote trigger to avoid any movement between frames. If your camera does not have built-in stacking, you can still do it manually – just be careful to move the focus ring the same amount each time.
Putting It All Together – Your Macro Travel Workflow
Now that you have these five macro photography travel tips, it is time to practice. Start with simple subjects like leaves or dewdrops in your garden. Then bring your new skills on your next trip. Remember: the best macro travel photographs come from patience and preparation. Always scout for interesting textures – bark, moss, insect eyes, flower stamen. And never underestimate the power of a diffused flash. In 2026, external macro flashes with LED modeling lights are smaller than ever. They let you freeze motion and bring out colors even in shade.
Your photos will look professional if you combine good light, correct aperture, and stable support. I still remember that failed bee photo – it was out of focus because I was too eager and used a wide aperture. Now I know better. The macro photography travel tips I share here come from real-world trial and error. Use them, adapt them, and soon you will be creating images that make people stop and stare. For more resources, check out DPReview's comprehensive macro guide – it goes deeper into gear choices. Happy shooting in 2026!
Frequently Asked Questions
What is the best camera gear for macro photography on the go in 2026?
A lightweight mirrorless camera paired with a 90-105mm macro lens offers excellent image quality and portability for travel. Consider adding a compact LED ring light for close-up illumination.
How do you stabilize macro shots without a tripod while traveling?
Use a bean bag or your camera's strap to brace against rocks, fences, or your own body. In 2026, many cameras also feature advanced in-body stabilization that helps in handheld macro shots.
What are the top natural subjects for macro photography during travel?
Look for insects, flowers, dewdrops, and textures in local parks, gardens, or along hiking trails. Early morning hours often yield the best light and most active subjects.
How does weather affect macro photography while traveling?
Overcast days provide soft, diffused light ideal for macro shots, while rain can create interesting drops and reflections. Protect equipment with a small umbrella or water-resistant bag.
What editing tips improve travel macro photos in 2026?
Focus on sharpening small details and adjusting contrast to make textures pop. Use selective color correction on mobile apps to highlight your main subject while keeping backgrounds natural.
Matthias Weber digs into the craft of travel photography, from camera settings to editing. He explains the technical side in plain language so you can spend less time fiddling with dials and more time shooting.
💬 Comments (0)
No comments yet. Be the first!