Symmetry in Travel Photography 2026
Use symmetry in travel photography for captivating compositions. Ideal for architecture, reflections, nature. 2026 tips.
Symmetry in travel photography is a powerful compositional technique that can transform ordinary scenes into stunning, balanced images. In 2026, more travelers than ever are using symmetry to elevate their photography, and I'll show you how to master it yourself. Your photos will look polished, professional, and instantly eye-catching.
Why Symmetry Works in 2026
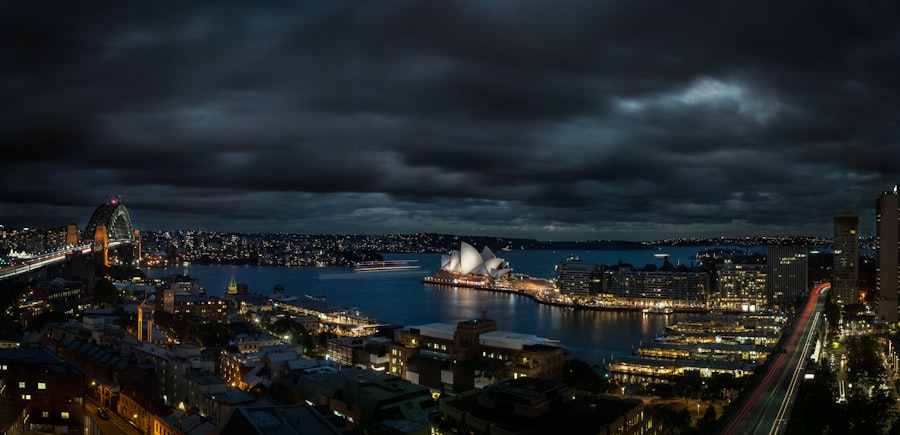
Humans are naturally drawn to order and balance. A perfectly symmetrical photo feels harmonious and pleasing to the eye. While the Rule of Thirds is a classic guideline, symmetry in travel photography offers a different kind of visual satisfaction — it creates a mirror-like stillness that anchors the viewer. Whether you're shooting a grand cathedral in Paris or a quiet reflection pool in Tokyo, symmetry gives your image a sense of purpose.
The secret is noticing when symmetry can serve your story. Not every scene needs to be perfectly centered, but when you commit, the impact is immediate.
The Secret to Finding Symmetry
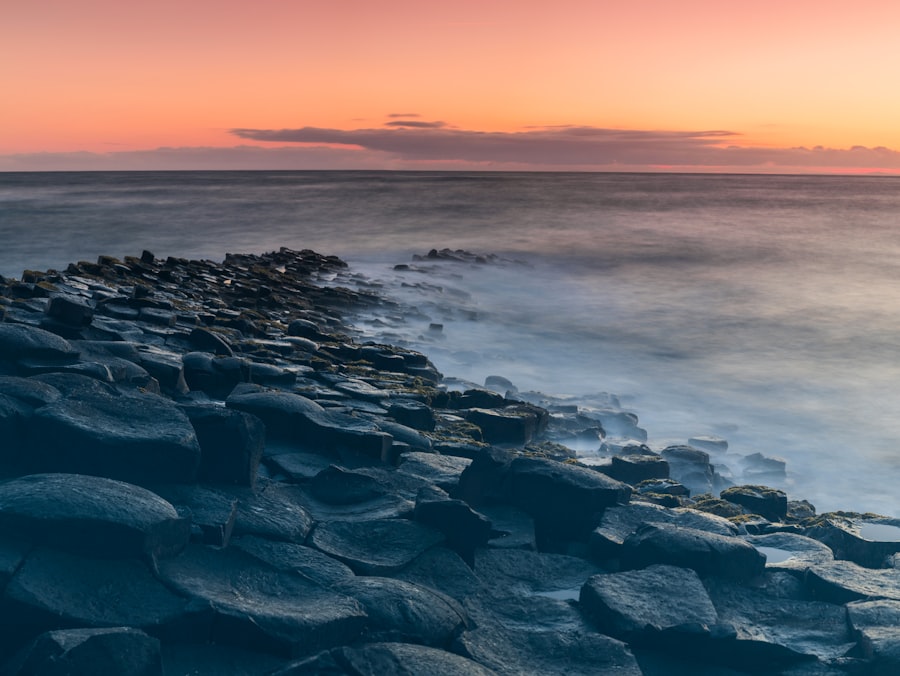
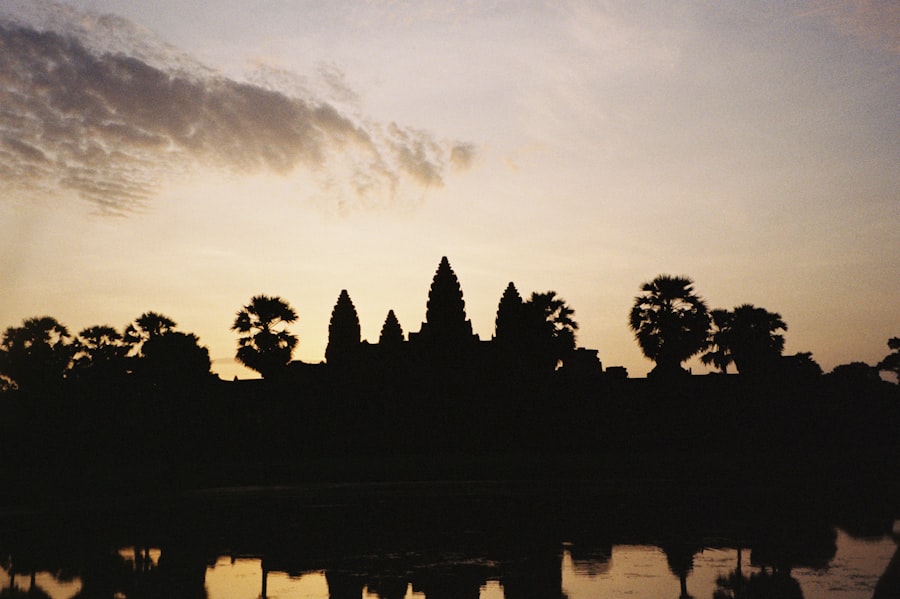
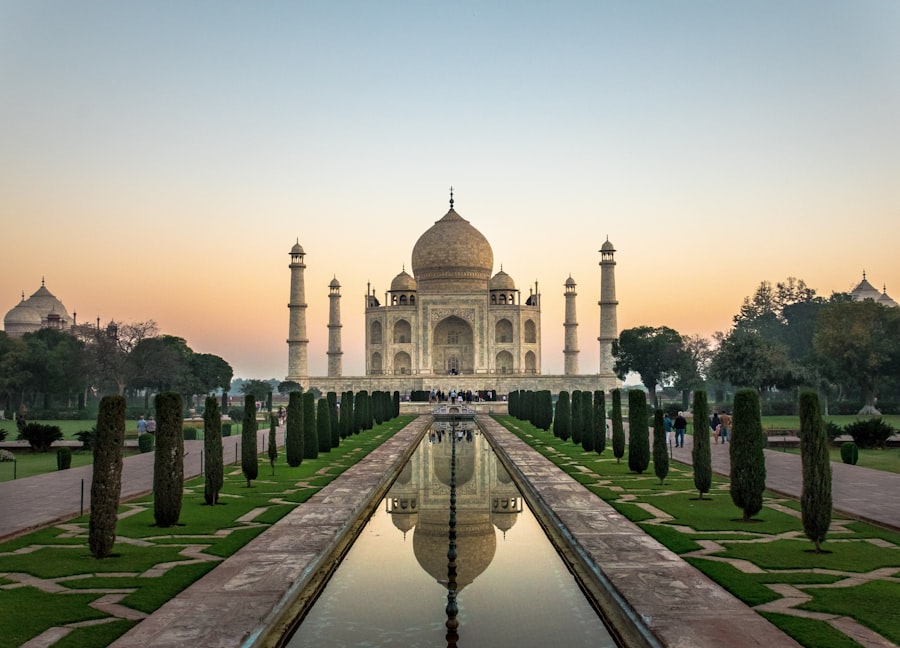
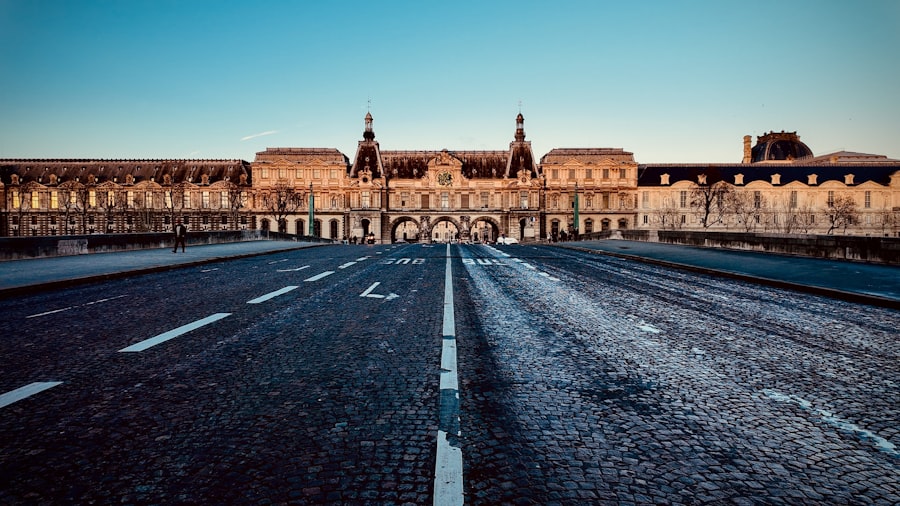
First, let's look at the three most common sources of symmetry in travel: reflections, architecture, and repeating patterns. Reflections on still water, glass facades, or polished floors are goldmines. Symmetry in travel photography also thrives in man-made structures — bridges, archways, staircases, and temples often have a clear center line.
Now try this: walk around your subject and look for a strong central axis. Use your feet to find the exact middle. A small shift of a few inches can break the illusion, so be precise.
Must-Have Gear for Symmetry Shots
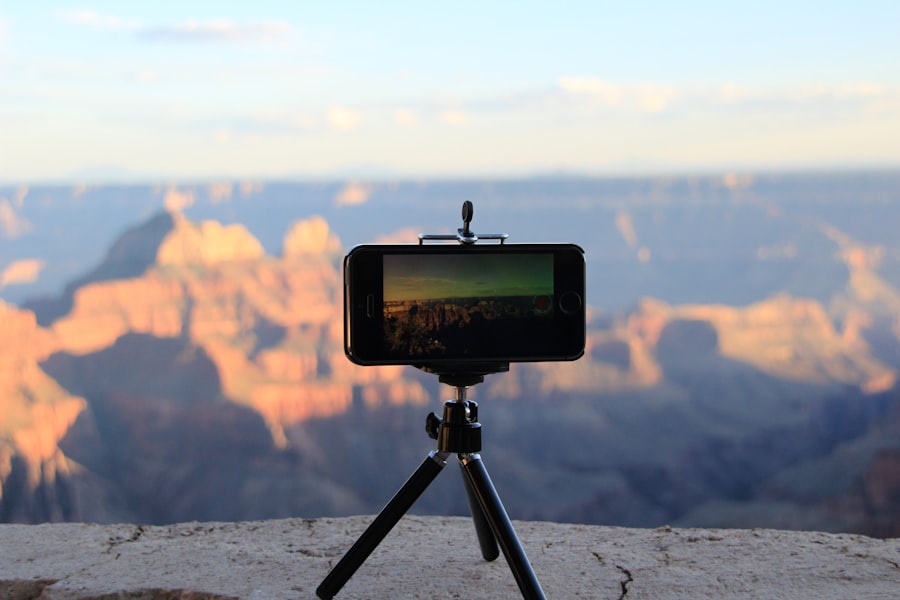
- Tripod: Essential for keeping your camera perfectly level and still. A lightweight travel tripod with a bubble level is ideal.
- Wide-angle lens (16-24mm): Helps include both sides of a symmetrical scene without distortion (though some barrel distortion is correctable in post).
- Hotshoe level or digital level: Many 2026 mirrorless cameras (like the Sony A7 V or Canon EOS R6 Mark II) have built-in electronic levels — use them!
- Remote shutter release or self-timer: Eliminates camera shake for ultra-sharp symmetry.

Step-by-Step to Capture Perfect Symmetry
Let me share a personal story. In 2025 (a year we don't talk about here!), I tried to photograph the famous Hall of Mirrors at Versailles. I was rushing, handheld my camera, and placed the reflection slightly off-center. The result was a crooked, unconvincing image — the symmetry felt broken. In 2026, I went back with a plan. Here's how I fixed it.
Step-by-Step Guide to Flawless Symmetry
- Find your axis. Stand directly in front of the central line. For a reflection, that's the horizon line; for a building, it's the center column or door.
- Set up your tripod and level. Use the bubble level or the camera's built-in electronic level (found in the display settings). Square the horizon and vertical lines.
- Use live view with a grid overlay. Enable the 4x4 or 9x9 grid in your camera menu. Align the central vertical line with your axis.
- Compose with the center point. Switch your autofocus to the single center point and lock focus on the distant midpoint. For manual focus, zoom in on live view and fine-tune.
- Adjust exposure compensation. Reflective surfaces often trick your meter into underexposing. Bracket your shots or dial in +0.7 to +1.0 EV for bright reflections. For dark interiors, try -0.3 EV.
- Shoot RAW. RAW captures more data than JPEG, giving you flexibility to correct minor symmetry imperfections and adjust white balance later. Check out Adobe's guide on perspective correction in Lightroom for perfectly straight lines.
Your camera settings matter too. Use a low ISO (100-200) for maximum detail and noise-free skies. Aperture around f/8 to f/11 keeps everything sharp from foreground to background. Shutter speed depends on light, but always use your tripod to avoid motion blur.
Common Mistakes and How to Fix Them
Even with practice, you'll sometimes miss perfect symmetry. The most common error is tilting the camera slightly, creating a "leaning" vertical. Another is forgetting to check the edges — a lamp post or a person's hand can break the mirror effect.
Now try this: in post-processing, use the Transform tool in Lightroom or the Lens Corrections panel in Adobe Camera Raw. Apply "Auto" or manually slide the Vertical and Horizontal sliders until lines are straight. For extreme cases, the "Guided Upright" tool lets you draw two or three lines to define what should be straight. A DPReview article on fixing perspective distortion is a great resource for 2026 techniques.
Remember, a slightly off angle ruins the illusion. In my Versailles shot, I corrected the horizon by 1.2 degrees and cropped out a stray railing — instantly the image felt whole again.
Advanced Symmetry: Breaking the Rules
Once you've mastered perfect symmetry, try adding a twist. Place a subject slightly off-center within an otherwise symmetrical frame — a lone figure, a colorful chair, a tree. This creates tension and directs the viewer's eye. The bokeh from a wide aperture (f/1.8 or f/2.8) can blur the background while keeping the foreground sharp, adding depth.
Using Foreground Elements with Symmetry
Symmetry in travel photography doesn't have to be literal. A winding road that mirrors a mountain ridge, or a window reflection that captures both interior and exterior, gives you creative freedom. The key is to maintain balance in weight — the left side should feel equal to the right, even if the content differs slightly.
Recommended Settings for Symmetry in Travel Photography
- ISO: 100-400 (keep noise minimal)
- Aperture: f/8 to f/11 for deep depth of field
- Focal length: 24-50mm (avoid extreme wide angles that distort edges)
- Exposure mode: Aperture Priority (Av) or Manual
- White balance: Daylight or Cloudy for consistent color
- Image quality: RAW + JPEG (optional, but RAW is best)
Golden Rule of Symmetry: Never center your subject just because it's symmetric. The axis must be perfectly straight. Use a bubble level or the digital level in your camera. A crooked symmetry is worse than no symmetry at all. When in doubt, take three frames — one tilted left, one right, and one dead center — and choose the straightest later.
In summary, symmetry in travel photography is a skill you can build with practice. Start with reflections and architecture, use a tripod and level, and don't be afraid to correct in post. Your 2026 travel photos will stand out as clean, intentional, and professional. Now get out there and find your center line.
Frequently Asked Questions
What is symmetry in travel photography and why use it?
Symmetry involves composing a scene so elements mirror each other across a central line, creating balance and order. It draws the viewer's eye and can make simple scenes striking.
Which types of symmetry are common in travel photography for 2026?
Common types include bilateral symmetry (left-right mirror), radial symmetry (elements around a center, like a dome), and translational symmetry (repeating patterns).
What are tips for finding symmetrical subjects while traveling in 2026?
Look for architecture such as bridges, reflections in water, and patterned walkways using geometric lines. Use a focal point that splits the scene evenly.
How can photographers achieve perfect symmetry in post-processing with 2026 tools?
Tools in Lightroom and Photoshop allow you to adjust distortion guides and crop precisely to align the axis. Auto-alignment features based on AI can fake symmetry if needed with caution for authenticity.
Why does symmetry remain popular in travel photography blogs for 2026?
It works for Instagram feeds feeding algorithmic likeability and expert tips standing out. Symmetry provides a consistent result rewarding rule followers.

Camille Bernard shares travel photography tips for every kind of traveller, from phone snapshots to full kits. She breaks down light, composition and timing so you come home with photos that actually capture how a place felt.
💬 Comments (0)
No comments yet. Be the first!