Rome Historic Ruins Photography 2026 Guide
Our complete Rome Historic Ruins Photography 2026 guide teaches you how to compose, expose, and capture ancient Roman temples.
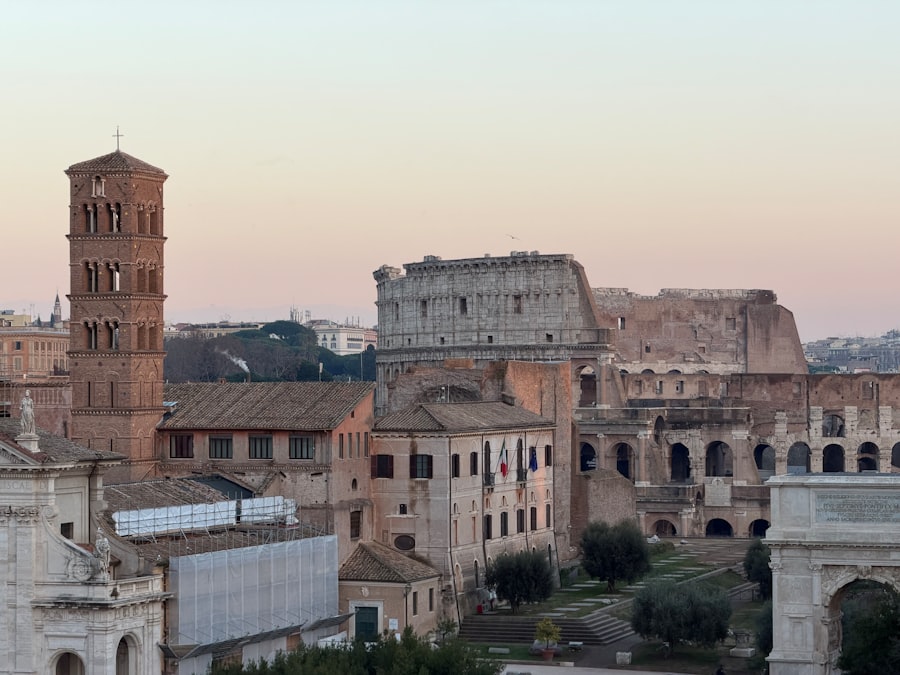
Mastering Rome Historic Ruins Photography 2026 is the ultimate dream for travel photographers, but capturing these ancient wonders without the crowds requires a smart strategy and the right techniques.
I still remember my first morning at the Roman Forum years ago. I arrived at noon, the sun was blindingly bright, and my images looked washed out and flat. Every single frame was ruined by harsh shadows and hundreds of tourists wearing bright neon jackets. It was a complete disaster! But that failure taught me exactly how to read the light, adjust my camera settings, and compose my shots to bring history to life. Today, I am going to coach you through the exact steps so your photos will look like they belong in a luxury travel magazine.
Understanding Your Camera Settings for Ancient Stone
Before we step foot onto the cobblestones, we need to set up your camera for success. The secret is knowing how to control your light when shooting highly reflective white marble and dark volcanic brick. To do this, we must master a few basic photography concepts.
First, let us look at RAW vs JPEG. Always set your camera to shoot in RAW format. While JPEG files are compressed and processed directly by your camera, RAW files save all the uncompressed data captured by your image sensor. This gives you the ultimate control when editing, allowing you to rescue details in bright white ruins or dark shadow areas that would otherwise be lost forever. If you are using a modern mirrorless system, you can learn more about file handling on the official Canon or Sony specification pages, which highlight how modern sensors maximize dynamic range in RAW mode.
Now try this: set your camera to manual or aperture priority mode and use these baseline settings to keep your images sharp and clean.
Your 2026 Recommended Settings Cheat Sheet
- ISO: Keep this at 100 to 400 for daytime shooting to avoid digital noise (graininess) in your blue skies.
- Aperture: Use f/8 to f/11 for wide landscapes to keep the entire ruin sharp from front to back. Use f/1.8 to f/2.8 for portraits to create a beautiful, blurry background.
- Exposure Compensation: Dial this to -0.3 or -0.7 when shooting bright marble in midday sun to prevent your whites from "blowing out."
- Focus Mode: Single-point autofocus so you can decide exactly which pillar or archway is the sharpest part of your frame.
The Golden Rule of Rome Historic Ruins Photography 2026: Always expose for the highlights. It is much easier to lift dark shadows in editing software than it is to recover a sky or stone wall that has been completely overexposed to pure white.
How to Use Creative Composition in Crowded Spaces
Rome is busier than ever in 2026, which means you must get creative with your composition to make the ruins look grand and isolated. We do this by mastering three key concepts: the Rule of Thirds, depth of field, and natural framing.
The Rule of Thirds involves dividing your frame into a grid of nine equal rectangles. Instead of putting the Colosseum right in the middle of your shot, try placing it along the left or right vertical grid lines. This immediately makes your image feel more dynamic and tells a better story about the surrounding environment.
If you want to hide the crowds of tourists standing right in front of you, the secret is to use a shallow depth of field to create Bokeh. Bokeh is the soft, out-of-focus background or foreground blur created by using a wide aperture (like f/2.0). By focusing tightly on a single ancient coin, a carved inscription, or a wild flower growing on a stone wall, you can blur the background crowds into a beautiful, colorful wash of light.
To master these composition rules, you can read the comprehensive guides on DPReview, which offer fantastic breakdowns of how different lens focal lengths affect your background compression and depth of field.
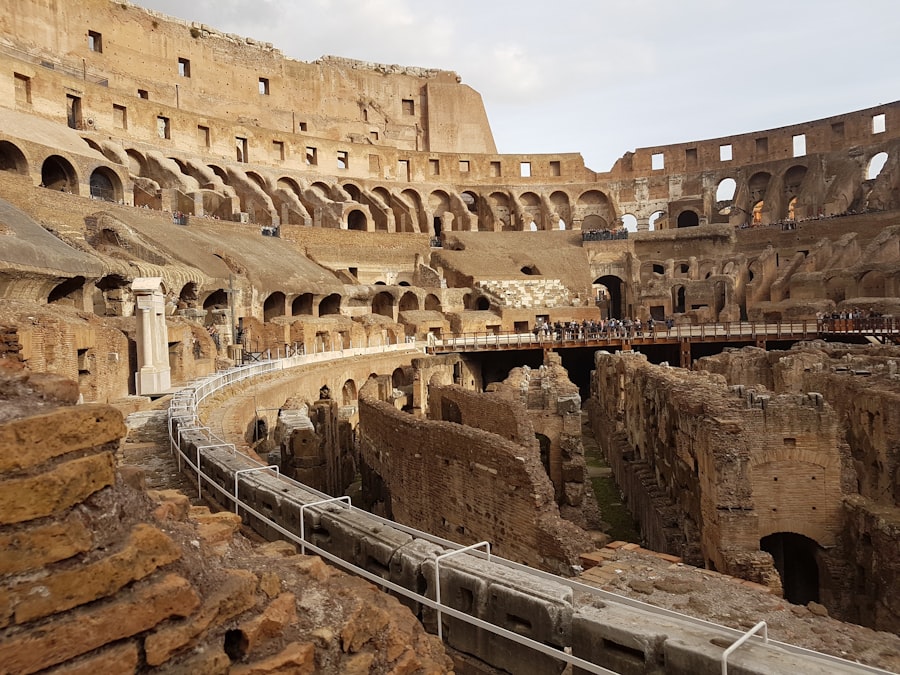
Step-by-Step Guide to Shooting the Colosseum at Sunrise
Nothing compares to the magic of the early morning light hitting the ancient gladiatorial arena. Here is your step-by-step game plan to capture the perfect sunrise image.
The Golden Hour Step-by-Step Plan
- Arrive 45 Minutes Before Sunrise: This is the "Blue Hour." The sky will have a deep, rich blue tone that contrasts beautifully with the warm streetlights illuminating the Colosseum.
- Set Up Your Tripod: Because the light is low, your camera will need a slower shutter speed to let in enough light. Use a tripod to keep your camera perfectly still and avoid blurry photos.
- Compose with Leading Lines: Find the paved pathway on the north side of the monument. Use the curve of the road as a leading line to guide the viewer's eye directly toward the Colosseum.
- Adjust Your ISO and Aperture: Set your ISO to 100 for maximum clarity, and set your aperture to f/16. This narrow aperture will turn the distant streetlights into beautiful, twinkling starbursts.
- Wait for the Golden Hour: As the sun rises, the light will turn a warm orange. Turn off your flash, use exposure compensation to balance the bright sky, and capture the golden light hitting the upper arches.
Before & After: Saving a Midday Roman Forum Photo
Let us look at a classic scenario that many travel photographers face. You are standing overlooking the Roman Forum at 1:00 PM. The sun is directly overhead, creating harsh, dark shadows under the arches and turning the sky into a bright, washed-out white sheet.
The Before Photo: You shoot in JPEG mode on auto settings. The camera tries to make the dark shadows brighter, which completely overexposes the sky and turns the historic white marble into a blinding, detail-free mess. The image looks flat, chaotic, and amateur.
The After Photo: You switch to RAW format and dial your ISO down to 100. You adjust your Exposure Compensation to -1.0 to protect the bright highlights in the stone. Next, you use the Rule of Thirds, placing a nearby olive branch in the top-left corner of the frame to block the harsh, empty sky and frame the Temple of Saturn below. When you open the RAW file in your editing software later, you easily bring back the rich blue color of the sky and gently lift the shadows on the ancient columns. The final photo looks balanced, moody, and highly professional.
Essential Gear for Your Rome Photography Adventure
You do not need to carry a heavy backpack full of expensive lenses to get incredible results. In fact, traveling light will help you stay energized as you walk miles across the city.
Must-Have Gear for Rome Historic Ruins Photography 2026
- A Wide-Angle Zoom Lens: A 16-35mm lens is perfect for capturing the massive scale of the Pantheon and the sprawling ruins of the Forum from tight viewing platforms.
- A Circular Polarizer Filter: This filter screws onto the front of your lens. It cuts down on glare from polished marble surfaces and makes the blue sky and white clouds pop with contrast.
- A Lightweight Travel Tripod: Crucial for those sharp blue hour and night shots of the illuminated ruins.
- A Microfiber Cleaning Cloth: Rome is dusty, especially around the dry dirt paths of the Palatine Hill. Keep your lens clean to avoid dusty spots on your images.
Now that you have the knowledge and the tools, you are fully prepared to master Rome Historic Ruins Photography 2026. Don't forget to wake up early, experiment with different angles, and keep an eye on your exposure settings. Your photos of these timeless stone monuments will look absolutely spectacular!
Frequently Asked Questions
What are the best times of day to photograph Rome's historic ruins in 2026?
Early morning and late afternoon provide the warmest, most flattering light, while also avoiding the heaviest crowds.
Which permits are needed for photographing at Roman ruins in 2026?
Most outdoor ruins like the Colosseum require no permit for personal photography, but tripods may require a special permit at sites like the Roman Forum.
What essential photography gear should I bring for shooting ancient ruins?
A wide-angle lens for expansive shots, a polarizing filter to reduce glare, and a sturdy tripod for low-light conditions are highly recommended.
How can I avoid excessive crowds in photos of popular ruins?
Visit very early, use a long exposure with a neutral density filter to blur moving people, or focus on less crowded sections of the site.
Are drone photographs allowed over Rome's archaeological sites in 2026?
No, drones are strictly prohibited over all historic ruins and archaeological zones in Rome.

Matthias Weber digs into the craft of travel photography, from camera settings to editing. He explains the technical side in plain language so you can spend less time fiddling with dials and more time shooting.
💬 Comments (0)
No comments yet. Be the first!