Lofoten mountain photography 2026 Guide
Master Lofoten mountain photography 2026 with our expert guide to capturing dramatic, moody Arctic peaks in any weather.
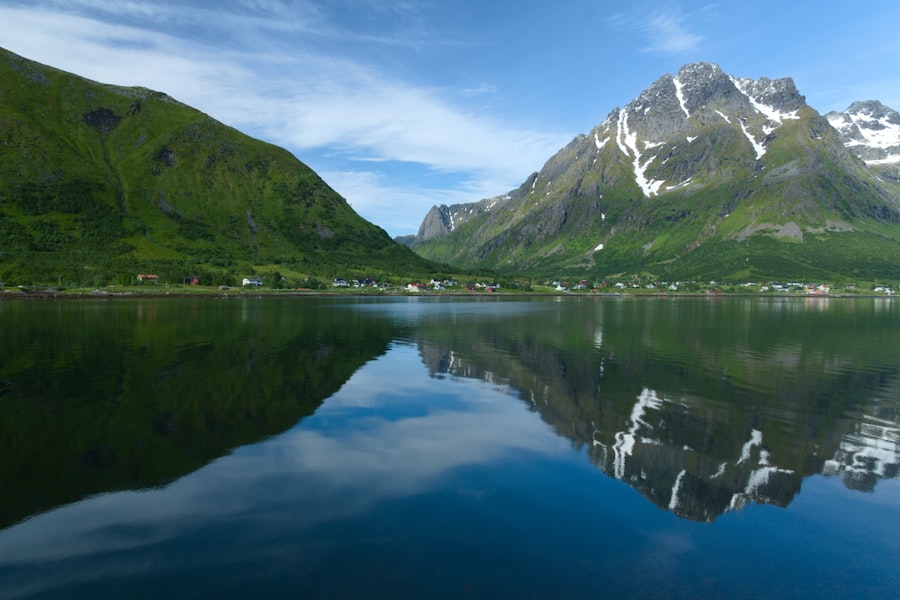
If you want to master Lofoten mountain photography 2026, you need to prepare for one of the most dramatic landscape adventures of your life. I still remember my very first trip to northern Norway. I stood at the base of Reinebringen, looking up at the towering granite peaks dusted with fresh snow, completely overwhelmed. My first few shots were a disaster; they looked flat, gray, and completely lacked the magic I was seeing with my own eyes. But once I figured out how to read the unique Arctic light and dial in the correct camera settings, everything changed. I will show you how to skip those frustrating beginner mistakes so your photos will look absolutely breathtaking from day one.
The Magic of Arctic Light in 2026
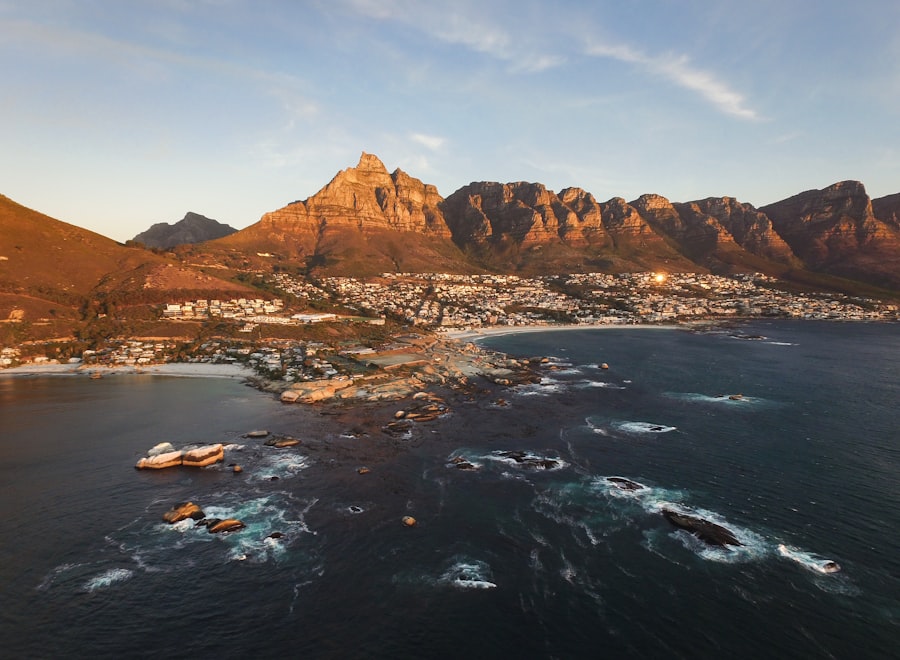
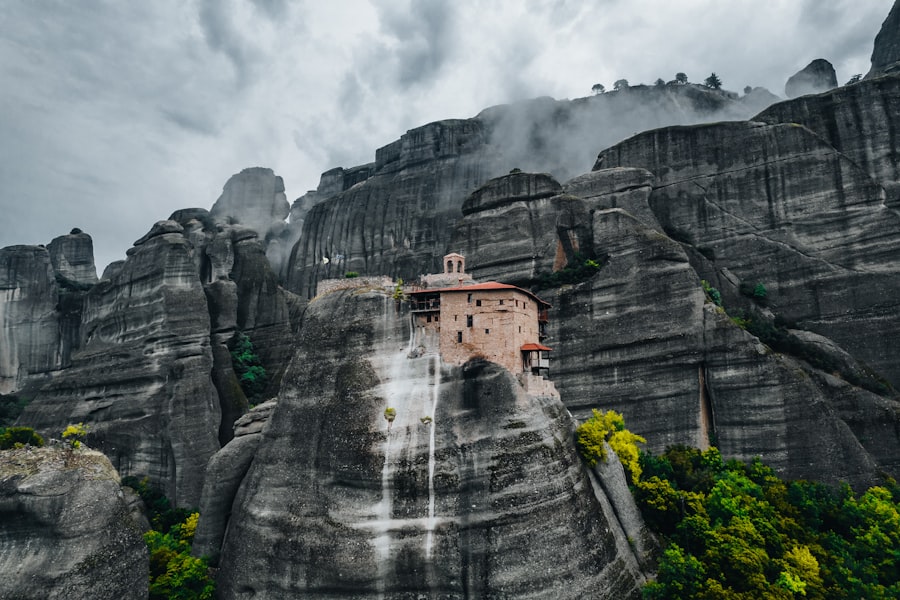
Lofoten is a place where the weather changes every five minutes. One minute you are engulfed in thick fog, and the next, a burst of golden sunlight illuminates a jagged peak. This unpredictable environment is exactly what makes Lofoten mountain photography 2026 so incredibly rewarding for landscape enthusiasts. The secret is learning how to embrace these rapid changes rather than fighting them.
In 2026, we are experiencing fantastic solar activity, which means your chances of capturing the elusive Northern Lights dancing over these dramatic peaks are higher than ever. To capture this beauty, you must understand your camera sensor. Many beginners make the mistake of shooting in JPEG because it takes up less space. The secret is to always shoot in RAW. A RAW file saves all the uncompressed data from your camera sensor, allowing you to recover dark shadows in the mountains and bright highlights in the sky later during editing. JPEGs discard this valuable data, leaving you with ruined skies or pitch-black mountain bases.
The Golden Rule of Arctic Exposure: When shooting bright snow or dark granite mountains, your camera light meter will often get confused. Use your Exposure Compensation button (the little +/- icon) to manually brighten or darken your image by 0.5 or 1.0 stops to keep your whites white and your shadows rich.
Must-Have Gear for Lofoten Mountain Photography 2026
You do not need the most expensive camera in the world, but you do need gear that can withstand the harsh Arctic elements. Here is my curated checklist of what you should pack for your creative journey:
- A Weather-Sealed Camera Body: Modern mirrorless systems like the Sony Alpha series offer incredible dynamic range and weather sealing against rain and snow.
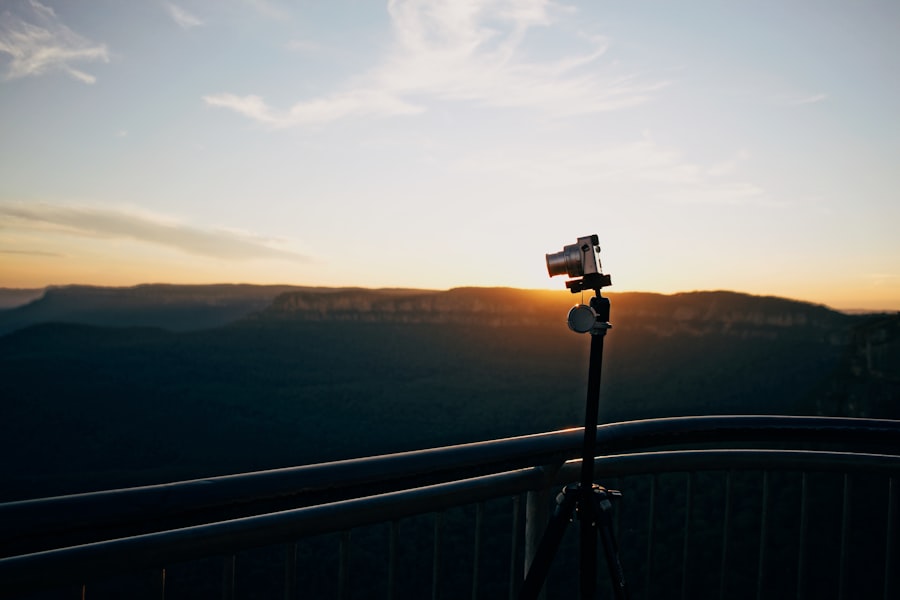
- A Sturdy Carbon Fiber Tripod: The wind in Lofoten can be fierce. A flimsy tripod will cause camera shake, ruining your long exposures.
- A Wide-Angle Lens (16-35mm): Perfect for capturing the sweeping scale of the fjords and the vast night skies.
- A Telephoto Zoom Lens (70-200mm): Great for isolating distant mountain peaks and compressing the layers of the landscape.
- Neutral Density (ND) Filters: These act like sunglasses for your lens, allowing you to use slow shutter speeds to smooth out choppy ocean waves.
Mastering the Technical Settings
Now try this: let us break down the confusing technical terms so you can confidently adjust your settings on the fly. First, let us look at ISO. This setting determines how sensitive your camera sensor is to light. In bright daylight, you want to keep your ISO at its lowest value (usually ISO 100) to ensure your photos are clean and free of digital noise. As the sun sets over the peaks, you will need to raise your ISO to keep your shutter speed fast enough to avoid blurry images.
Next is your aperture, which controls your depth of field. For grand landscapes, you want everything from the foreground rocks to the distant peaks to be tack-sharp. This means you should select a narrow aperture, like f/8 or f/11. Do not use your maximum aperture like f/1.4 or f/1.8 unless you are trying to create beautiful Bokeh, which is that soft, blurry background look. While Bokeh is gorgeous for portraits, it is rarely used in classic Lofoten mountain photography 2026 because we want to see every detail of the rugged terrain.
Recommended Camera Settings Cheat Sheet
- File Format: RAW (never JPEG for landscapes)
- Shooting Mode: Aperture Priority (A or Av) or Manual (M)
- Aperture: f/8 to f/11 for sharp landscapes; f/2.8 or wider for Northern Lights
- ISO: 100 for daytime; 1600 to 3200 for night photography
- Focus Mode: Single-shot Autofocus (AF-S) for static mountains; Manual Focus for stars
Step-by-Step Guide to Composition
Your composition is what tells the story of your journey. Anyone can point a camera at a mountain and press the shutter, but you want to create art. Follow these steps to elevate your Lofoten mountain photography 2026 compositions:
Step 1: Find a Compelling Foreground
Do not just stand at the viewpoint and shoot at eye level. Get down low! Look for lead-in lines like a winding road, a shoreline of polished Arctic rocks, or a patch of yellow grass. This gives your viewer a doorway into the frame.
Step 2: Apply the Rule of Thirds
Imagine your viewfinder is divided into a grid of nine equal rectangles. Place your main mountain peak along one of the vertical lines, or place the horizon along the bottom third line to emphasize a dramatic sky. For more advanced composition tips, you can explore the comprehensive guides on DPReview.
Step 3: Watch the Edges of Your Frame
Before you click the button, run your eyes around the very edges of your viewfinder. Make sure there are no distracting half-cut branches, bright trash, or unwanted signposts creeping into the shot. Clean edges make professional photos.
Before and After: How I Saved a Ruined Shot
Let me tell you a story about a massive mistake I made at Uttakleiv Beach. I was trying to capture the majestic dragon eye rock formation with the mountains rising in the background. In my excitement, I set my camera to automatic mode and clicked away.
The Before: When I looked at the back of my screen, the photo was terrible. The camera had exposed for the dark wet rocks, which made the sky completely white and blown out. Even worse, because I was using a wide aperture without thinking, the background mountains were blurry and out of focus. It looked like a cheap phone snapshot.
The After: I took a deep breath and applied the exact steps we just discussed. First, I switched my camera to RAW mode. Then, I changed my aperture to f/11 to make sure the foreground rock and the distant mountains were both perfectly sharp. Next, I used my Exposure Compensation to lower the exposure by one full stop, which brought back the rich colors of the sunset in the sky. Finally, I placed the dragon eye rock in the bottom-right intersection of the Rule of Thirds grid. The resulting image was so sharp and colorful that it eventually became a signature print on my wall.
Chasing the Light in 2026
To truly excel at Lofoten mountain photography 2026, you must become a student of light. The best times to shoot are during the Golden Hour (the hour just after sunrise and just before sunset) and the Blue Hour (the twilight period after the sun goes down). During these times, the light is soft, warm, and casts long shadows that reveal the texture of the cliffs.
Don't forget to pack plenty of spare batteries! The cold Arctic air in 2026 will drain your camera batteries twice as fast as normal. Keep your spares in an inside pocket close to your body heat until you are ready to use them. With patience, preparation, and these classic techniques, your Lofoten mountain photography 2026 portfolio will be something you are proud to share with the world for years to come. Now get out there, embrace the cold, and capture the adventure!
Frequently Asked Questions
What is the best time for mountain photography in Lofoten in 2026?
Late September to early October offers autumn colors and soft light; end of December through January has polar night and northern lights.
Which mountains are most photogenic and accessible?
Summits like Ryten, Tindstind, and Mannen offer iconic views with relatively short hikes.
What camera gear is recommended for Lofoten mountains?
A wide-angle lens (14-24mm) and a telephoto (70-200mm) cover landscapes and details; tripod is essential for long exposures and northern lights.
Are there any trail usage restrictions or permits in 2026?
General right to roam applies, but vaganet municipality may enforce campfire bans and camping permits in certain areas.
How should I prepare for weather and safe photography?
Bring waterproof and windproof layers, microspikes, and check weather (yr.no). Avalanche gear and safety training recommended for glacier areas.

Matthias Weber digs into the craft of travel photography, from camera settings to editing. He explains the technical side in plain language so you can spend less time fiddling with dials and more time shooting.
💬 Comments (0)
No comments yet. Be the first!