Guide to Hallerbos forest photography 2026
Learn Hallerbos forest photography 2026 with our pro guide to capturing Belgium's purple bluebell carpets in morning mist.
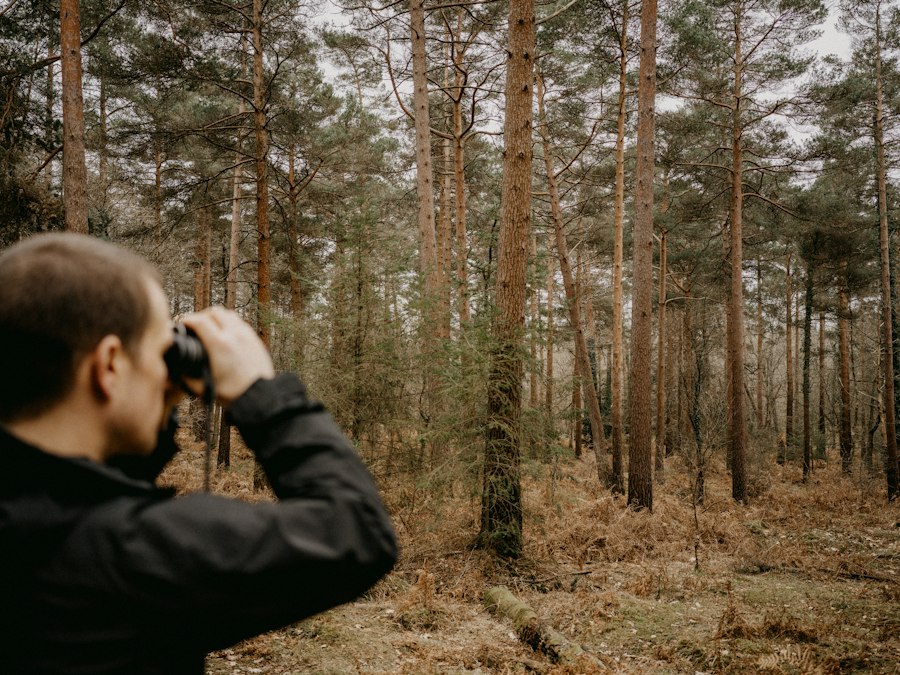
Mastering Hallerbos forest photography 2026 is one of the most rewarding challenges you can undertake as a landscape photographer this year. Every spring, this Belgian woodland transforms into a fairytale wonderland with a vibrant purple carpet of wild bluebells. But capturing that magic is not as simple as showing up and clicking the shutter. I will show you how to navigate the light, master your camera settings, and walk away with portfolio-worthy images that truly do justice to this natural phenomenon.
The Magic of the Blue Forest
If you have ever dreamed of standing in a forest that looks like a painted canvas, Hallerbos is your destination. Located just south of Brussels, this forest is famous worldwide for its annual spring bloom. However, because of changing climate patterns, timing your visit for Hallerbos forest photography 2026 requires careful planning. The bloom typically peaks in mid-to-late April, but a warm spring can push it earlier.
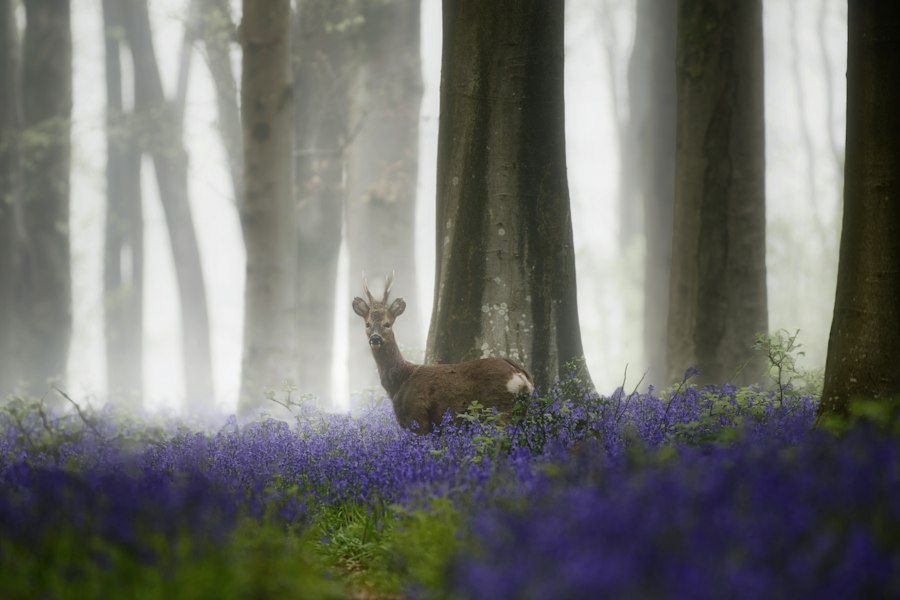
Your photos will look best if you aim for the "golden hour" at sunrise or the misty conditions of early morning. This is when the light filters gently through the fresh green canopy, creating a stunning contrast with the purple forest floor. But be warned: the light changes fast, and you need to know your camera inside and out to capture it perfectly.
My Biggest Mistake: A Hallerbos Lesson
Let me share a quick story about my first trip to these woods years ago. I arrived at sunrise, incredibly excited. I set up my tripod, pointed my camera at a beautiful path of bluebells, and shot all morning. When I got home and opened my files, I was devastated. The purple flowers looked dull, almost grey, and the bright sky peaking through the trees was completely blown out to a harsh white.
What went wrong? First, let's look at what I did: I shot in JPEG format, which compressed all the colors and locked in my mistakes. Second, I relied on my camera's automatic metering, which got confused by the dark forest floor and overexposed the entire scene.
How did I fix it on my next trip? The secret is simple: I switched to shooting RAW files, which preserve all the raw data from your camera's sensor. I also learned to use exposure compensation to intentionally darken the image slightly, preserving the deep, rich purple tones. Now try this yourself, and you will see an instant upgrade in your forest images.
Golden Rule of Forest Photography: Always expose for the highlights. It is much easier to bring back detail from dark shadows in post-processing than it is to fix a sky or a flower petal that has been completely blown out to pure white.
Essential Gear for Hallerbos Forest Photography 2026
You do not need the most expensive camera on the market, but having the right tools makes a massive difference. Here is my recommended gear list to make the most of your Hallerbos forest photography 2026 adventure:
- A Sturdy Tripod: The forest canopy blocks a lot of light, meaning you will often shoot at slow shutter speeds. A tripod is non-negotiable for sharp photos.
- A Telephoto Lens: While a wide-angle lens is great, a telephoto lens (like a 70-200mm) compresses the scene, making the bluebell carpet look much thicker and denser.
- A Circular Polarizer: This filter rotates on the front of your lens. It cuts down on glare from wet leaves and makes the green and purple colors pop.
- A Camera with High Dynamic Range: Modern sensors, like those found in the latest Sony mirrorless cameras or Canon DSLR bodies, help capture both the dark shadows and bright highlights of the forest.
Step-by-Step Guide to Camera Settings
Now, let's dive into the technical side of Hallerbos forest photography 2026. Don't worry if you are a beginner; we will break down the photography jargon so you can apply these settings with confidence.
Step 1: Choose Your File Format
First, let's look at your image quality settings. You must switch your camera from JPEG to RAW. While JPEG files are convenient, RAW files capture all the color and light data your sensor can handle. When you edit your photos in a program like Adobe Lightroom, RAW files give you the power to adjust the white balance and recover shadow details without losing image quality.
Step 2: Control Your ISO and Aperture
To get the cleanest possible images, set your ISO to its lowest native value, which is usually ISO 100. ISO controls your camera's sensitivity to light; a high ISO can introduce "noise" or graininess to your photos. Keep it low and let your tripod handle the slower shutter speeds.
For your aperture, you have two creative choices:
- Deep Focus (f/8 to f/11): This keeps the foreground bluebells and the background trees sharp, which is perfect for traditional landscapes.
- Shallow Depth of Field (f/2.8 to f/4): This creates a beautiful, blurry background, also known as bokeh. It isolates a single bluebell and turns the rest of the forest into a soft, purple dreamscape.
Step 3: Master the Exposure Compensation
Because the forest floor is dark and the sky above the trees is bright, your camera's automatic light meter will often overexpose the image. To fix this, look for the little button with the plus and minus (+/-) icons. This is your exposure compensation dial. Turn it down to -0.7 or -1.0. Your screen will look darker, but your purple tones will become rich and saturated, and you will save the delicate details in the highlights.
Composition Secrets for Stunning Results
Once your settings are dialed in, it is time to think about composition. A common mistake in Hallerbos forest photography 2026 is trying to capture everything at once, which often results in a cluttered, messy photo. Instead, look for order in the chaos.
Use the rule of thirds to guide your viewer's eye. Imagine your screen is divided by two vertical lines and two horizontal lines. Place a prominent tree trunk or a winding path along these lines or at their intersection points. This simple trick instantly makes your photo feel balanced and professional.
Also, look for leading lines. A fallen branch, a walking path, or a line of beech trees can act as a visual pathway, drawing the viewer's eyes deep into the magical purple forest. Remember to stay on the designated paths; stepping into the bluebells crushes their bulbs, meaning they will not grow back for future years of Hallerbos forest photography 2026.
Before & After: The Power of Technique
To help you visualize the impact of these tips, let's look at a classic "Before and After" scenario in the woods:
The "Before" Photo (The Amateur Mistake): You shoot on a sunny afternoon in JPEG mode using Auto settings. Your camera chooses ISO 800, creating noise. The bright sun hitting the trees causes harsh, white highlights, while the bluebells look like a washed-out greyish-blue. The photo feels flat and chaotic.
The "After" Photo (The Professional Approach): You shoot at sunrise during the golden hour, using a tripod. You set your camera to RAW, ISO 100, and f/8. You use a circular polarizer to remove glare from the leaves. You dial your exposure compensation to -0.7 to protect the highlights. In post-processing, you gently lift the shadows. The result is a breathtaking, tack-sharp image with glowing green leaves, deep purple bluebells, and a soft, mystical mood.
The difference is not your camera's price tag; it is your understanding of light and settings. Now get out there, respect the nature trails, and capture the magic of Hallerbos forest photography 2026!
Frequently Asked Questions
What is the best time to visit Hallerbos for photography in 2026?
The bluebell bloom typically peaks in mid-to-late April, so aim for the last two weeks of April 2026. Check daily bloom updates online, as the exact timing shifts with spring weather.
What camera settings work best for photographing bluebells in Hallerbos?
Use a wide aperture like f/2.8 to f/5.6 for a soft background and a low ISO to keep noise down. A tripod helps in the shaded forest, letting you use slower shutter speeds.
What is the best time of day to shoot in Hallerbos?
Early morning right after sunrise offers mist, soft light, and fewer crowds. Weekdays are noticeably quieter than weekends during peak bloom.
Do I need a permit or ticket to photograph in Hallerbos in 2026?
No permit is needed for personal photography, but access is free and open to the public. Professional or commercial shoots may require prior permission from the forest management, so check official rules before you go.
How can I avoid crowds and protect the bluebells while shooting?
Arrive before 8 AM, stick to marked paths, and never step into the flower patches. Tripods and drones are restricted in sensitive areas, so follow on-site signage.

Matthias Weber digs into the craft of travel photography, from camera settings to editing. He explains the technical side in plain language so you can spend less time fiddling with dials and more time shooting.
💬 Comments (0)
No comments yet. Be the first!