Fill Flash for Travel Photos 2026
Master fill flash travel photography to balance harsh sunlight, reduce shadows, and capture natural portraits.
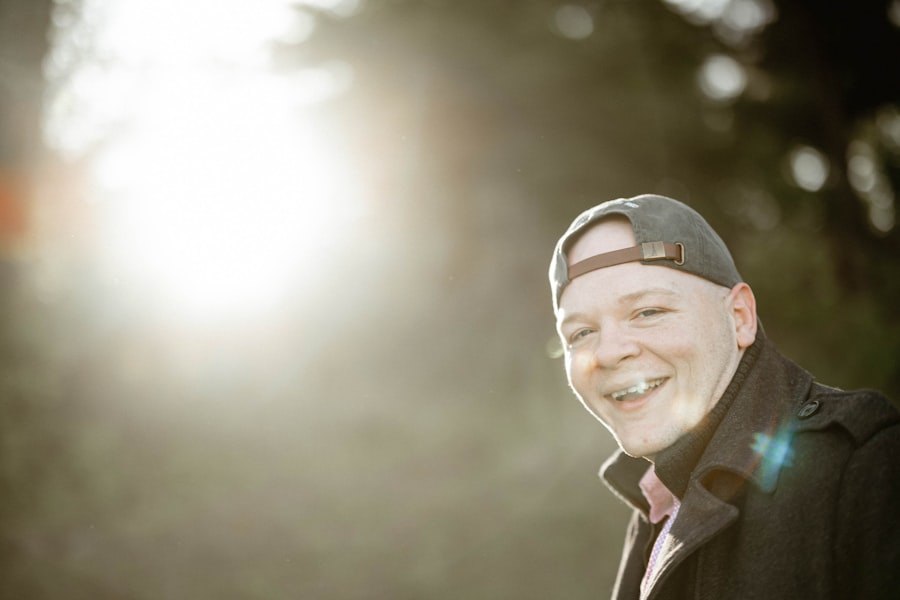
Fill flash travel photography is a technique that will transform your outdoor portraits from flat to fabulous. I am going to show you exactly how to use it on your next trip in 2026, so your travel photos finally match the beautiful scenes you see with your eyes.
Why You Need Fill Flash in 2026
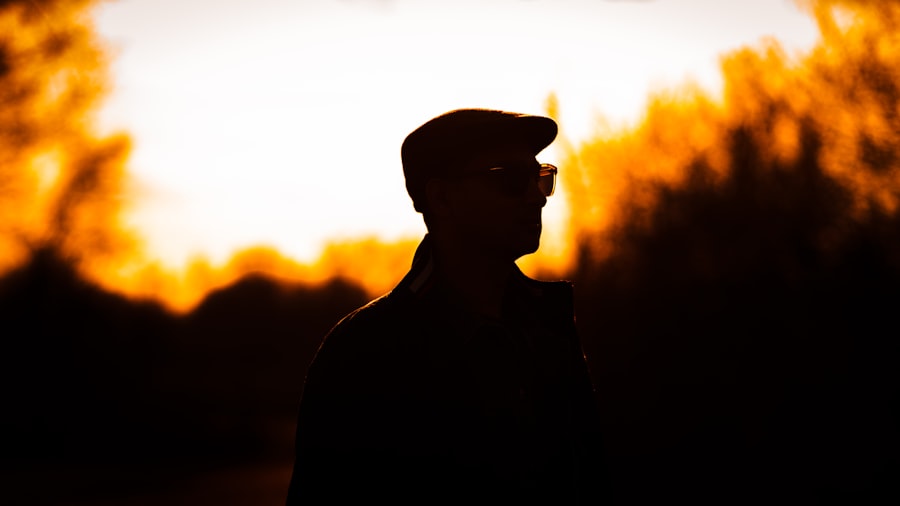
Every traveler has faced the midday sun problem. You find a stunning landmark, pose your friend, and press the shutter. The background looks perfect, but your subject's face is a dark silhouette. That harsh shadow under the hat or the deep creases around the eyes ruins the shot. The secret is simple: a tiny burst of fill flash opens up those shadows and makes your subject pop. Your photos will look more professional, and your travel memories will feel alive. In 2026, built-in flash on mirrorless cameras is smarter than ever, but the technique remains the same. You do not need a big studio strobe. Just a pop-up flash or a small speedlight will work wonders.
The Simple Science Behind Fill Flash
What Is Fill Flash?
Fill flash is not about making your subject bright white. It is about balancing the light between your subject and the background. Think of it as a gentle push of light that fills the shadows on the face. The flash fires at a lower power than the ambient light so the result looks natural, not like a deer in headlights. You are combining two exposures: one for the background (controlled by shutter speed and aperture) and one for your subject (controlled by the flash). This is why understanding Exposure Compensation is key. You can dial the flash down or up depending on how much shadow you want to erase.
When to Use It
Use fill flash anytime your subject is backlit or the sun is high and harsh. Side-lit scenes also benefit. A common mistake is to use flash only at night. But the best fill flash travel photography happens in broad daylight. I use it under trees, in shaded alleys, and even on cloudy days when the light is flat. The rule of thirds still applies—place your subject off-center—but the flash makes them stand out from the background beautifully.
My Failed Photo and How I Fixed It
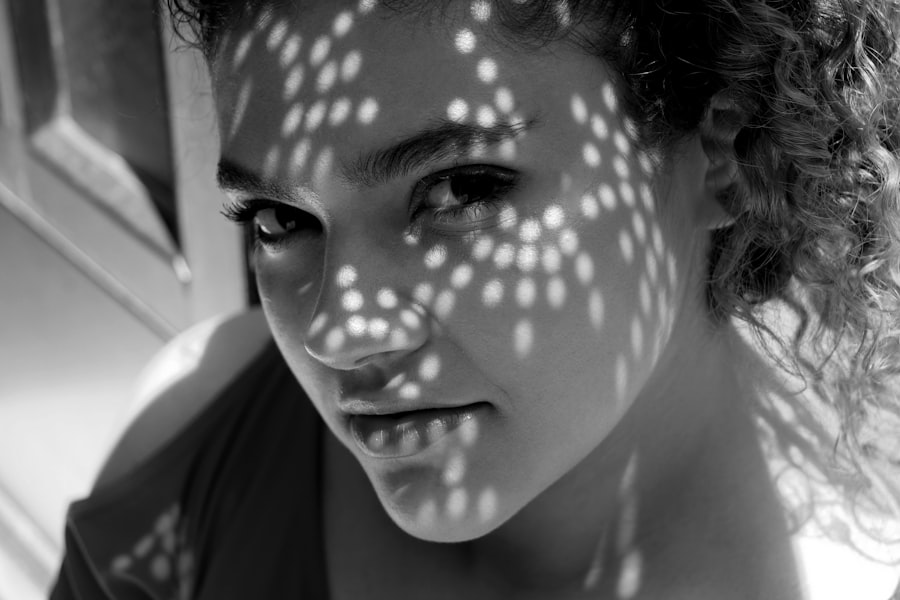
Let me tell you about a photo I took in Barcelona in early 2026. I was standing in front of the Sagrada Familia, the afternoon sun blazing behind the cathedral. My wife wore a white dress, and I was so excited about the golden light on the stone carvings. I shot without flash. The result? Her face was nearly black, and the white dress turned gray because of the extreme contrast. I felt like a complete amateur. Then I remembered the fill flash on my camera. I switched to a low flash power (about -1.7 stops), recomposed, and shot again. The difference was night and day. Her face had soft, even light, the dress was white again, and the cathedral's details remained. Now I never travel without knowing my flash settings.
Mastering Fill Flash: A Step-by-Step Guide
Step 1: Choose the Right Mode
First, set your camera to Aperture Priority (A or Av) or Manual Mode. Fill flash works in any mode, but Manual gives you the most control. For travel, I often use Aperture Priority so I can quickly adjust depth of field. Then pop up your flash or attach your speedlight.
Step 2: Set Your Exposure for the Background
Meter the scene normally. Let the camera choose the shutter speed and ISO. If you are shooting in bright sun, your ISO should be at its base (100 or 200) to keep quality. The aperture controls how much of the background is sharp—use f/8 for a travel scene that shows detail, or f/2.8 if you want creamy bokeh behind your subject.
Step 3: Adjust Flash Exposure Compensation
Now try this: press the flash button and look for the Flash Exposure Compensation (FEC) setting. Start at -1.0 or -1.7 (that is one to one and two-thirds stops below zero). Take a test shot. If the subject's face still looks too dark, dial FEC up to -0.7. If it looks washed out, go lower to -2.0. The goal is a natural blend. Don't forget to check your histogram to ensure you are not clipping highlights.
The secret is to think of the flash as a subtle assistant, not the main light. Your ambient exposure (the background) comes first. The flash just adds a whisper of light to the shadows.
Recommended Settings for Travel Photos
Here is a cheat sheet I use for my fill flash travel photography in 2026. These settings work for most daylight situations with a pop-up flash or a small speedlight.
- ISO: 100-400 (keep low to avoid noise)
- Aperture: f/5.6 to f/8 for group travel shots; f/2.8 to f/4 for portraits with bokeh
- Shutter Speed: Automatic (camera will sync up to 1/250s typically); watch your camera's flash sync speed
- Flash Exposure Compensation: Start at -1.0, adjust to taste
- White Balance: Daylight or Auto—flash will warm up slightly, but RAW gives you flexibility to fix later
Golden Rule of Fill Flash Travel Photography: Expose for the background, then use the flash to light the face. The subject should look like they were naturally lit, not like a flash went off. When in doubt, underexpose the flash by at least one stop.
Pro Tips for Natural-Looking Fill Flash
Work with RAW Files
Shoot in RAW if your camera allows it. RAW files capture more detail in shadows and highlights. If your flash is a little too strong or too weak, you can adjust the exposure in post-processing much better than with JPEG. I always shoot RAW + JPEG for travel, so I have a quick JPEG to share and a RAW file to edit later.
Avoid Red-Eye
In 2026, many cameras have red-eye reduction features, but they can be slow. A better trick is to use off-camera flash or bounce the light. If you only have a pop-up flash, ask your subject to look slightly away from the lens. That prevents the light from hitting the retina directly.
Use a Diffuser
A small diffuser (like a Sto-Fen or a white business card taped over the flash) softens the light. This makes your fill flash travel photography look more like window light and less like a police mugshot. I carry a foldable diffuser in my pocket. It weighs nothing and costs less than a coffee.
Mind Your Distance
Built-in flash is weak beyond about 10 feet (3 meters). If your subject is far away, the flash will not reach them. In that case, move closer or use a more powerful speedlight. Some modern cameras like the Sony a7 V [link: Sony a7 V flash specs] have advanced flash metering that helps. For a deep dive, check out DPReview's guide on fill flash techniques [link: DPReview fill flash techniques].
Must-Have Gear for Fill Flash Travel Photography
You do not need to spend a fortune. Here is my list of must-have items that make fill flash easier on your travels in 2026.
- A camera with a hot shoe (any modern mirrorless or DSLR works)
- A speedlight with tilt and swivel (Godox TT350 or Canon 430EX III are great)
- A small diffuser or bounce card
- Spare batteries for the flash (rechargeable Eneloops last long)
- An exposure meter card (or just use your hand for a test spot)
Final Thoughts: Practice and Experiment
The best way to get comfortable with fill flash travel photography is to practice in your backyard or at a local park before your big trip. Try different FEC values, change the distance, and shoot at different times of day. Every camera and lens combination behaves a little differently. I always tell my students: "Take one shot without flash, then one with flash at -1.0, then one at -2.0. Compare them." You will quickly see which one looks most natural. Now go out there in 2026 and fill those shadows with confidence. Your travel photos will thank you.
Frequently Asked Questions
What is fill flash in travel photography?
Fill flash is a technique where you use a flash to add light to the darker areas of a scene, balancing exposure with the available ambient light without overexposing the highlights.
When should I use fill flash while traveling?
Use it in backlit scenarios, strong shadows, or high-contrast lighting — like portraits with sun behind the subject or under midday sun, to soften shadows and reduce contrast.
Do modern cameras handle fill flash automatically?
Yes, many cameras offer TTL flash metering and active D-lighting modes, but manual control may be needed in tricky lighting for fine-tuning the flash output.
What gadgets compensate for the lack of external flash?
You can use portable LED lights or mini ring flashes attached to your smartphone to serve as affordable fill light alternatives without adding heavy gear.
Can Fill Flash work during low-light, after-dark travel shots?
Yes, but it's more for balanced catchlights and softening deep shadows — in very low light, it transforms into the primary light source, actually creating subject-background separation versus fill assist.
💬 Comments (0)
No comments yet. Be the first!