5 Golden Hour Portrait Tips 2026
Discover golden hour portrait tips for travelers. Learn to position subjects, use backlight, and achieve flattering skin tones.
golden hour portrait tips are the secret sauce for creating breathtaking, professional-looking portraits that glow with warmth and depth. I have fumbled through countless sunset shoots, and I want to share what I learned so your photos will stand out in 2026.
Why Golden Hour Is Your Best Friend in 2026
That magical window roughly one hour after sunrise and one hour before sunset transforms ordinary light into a soft, diffused, golden wash. Harsh midday shadows disappear; skin tones warm up naturally. The secret is that the sun sits low, casting long shadows and wrapping your subject in a flattering, directional light. Your camera will thank you, and your subjects will glow without heavy retouching. First, let's look at the cornerstone of every great golden hour portrait: preparation.
Step-by-Step Guide to Scouting Your Spot
Before you even touch your camera, think about where the sun will be. I learned this the hard way during a 2026 shoot in a sunflower field—I arrived late and faced a flat, orange ball that bleached my subject's face. Now I use an app like PhotoPills to check the sun's angle. Walk your location an hour early. Look for open shade, backlighting opportunities, and natural frames like trees or archways.
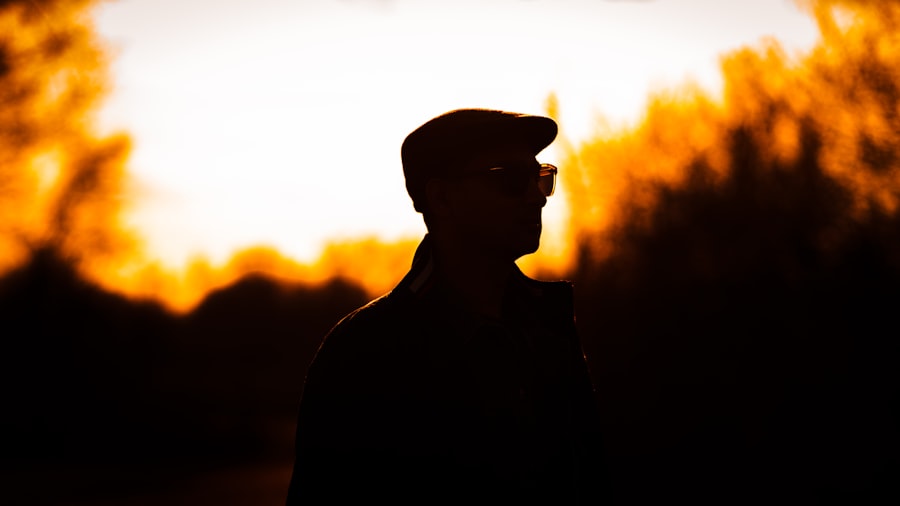
- Position the sun behind or slightly to the side of your subject. This creates a rim light that separates them from the background.
- Avoid placing your subject directly into the sun unless you want high contrast. That can blow out skin highlights.
- Watch for flare. A little lens flare adds magic; too much ruins sharpness. Block the sun with a tree branch or your hand.
Mastering Your Camera Settings for Golden Hour
Now try this: switch your camera to Aperture Priority mode (Av or A) and set your aperture to f/2.8 or wider if you have a fast lens. This creates that creamy bokeh—the out-of-focus background that makes your subject pop. golden hour portrait tips demand you control the exposure carefully. I always check my histogram; blow out the sun itself, but keep skin tones safe. Use Exposure Compensation: dial it down by -0.3 to -0.7 EV if the sky is too bright. Your camera's meter gets fooled by all that golden light.
ISO should stay at its base value (usually 100 or 200) to keep noise minimal. If you're shooting handheld as the light fades, you might bump ISO to 400 or 800. For ultimate control, shoot RAW instead of JPEG. RAW files capture more data, so you can adjust white balance later without destroying quality. Don't forget to check your camera's official specifications—the new Sony Alpha 1 II in 2026 (see Sony Alpha 1 II specs) has incredible dynamic range that handles golden hour highlights brilliantly.
Recommended Settings Quick Reference
- Mode: Aperture Priority (Av/A) or Manual
- Aperture: f/1.4–f/2.8 for creamy bokeh; f/4–f/5.6 for group portraits
- ISO: 100–400 (start low, raise only when needed)
- Metering: Evaluative or Matrix, then use Exposure Compensation
- White Balance: Daylight or Cloudy (shoot RAW to tweak later)
- Drive Mode: Continuous high speed—capture fleeting expressions
Working With Light: The Three Golden Patterns
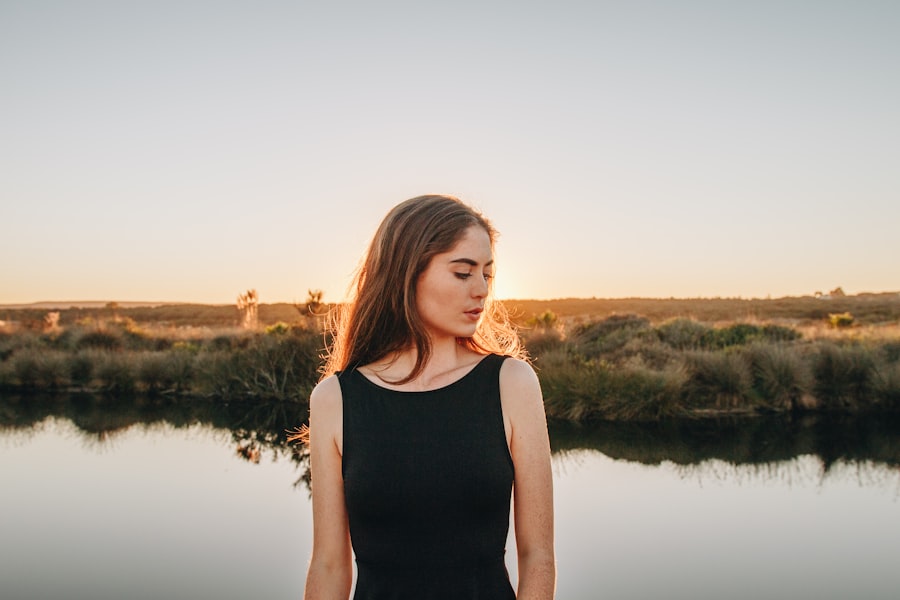
The secret to stunning golden hour portrait tips lies in how you position your subject relative to the sun. I've broken it into three classic setups. First, backlighting: place the sun behind your subject, then meter on their face (half-press the shutter, recompose). You'll get a glowing hair halo. Second, side-lighting: stand with the sun at a 45-degree angle. This sculpts cheekbones and adds drama. Third, front-lighting: soft but less interesting—use it only if you want a clean, bright look. I personally love backlight with a reflector filling in shadows on the face.
Golden Rule Cheat Sheet: When shooting into the sun, use a lens hood or your hand to block direct flare. Bump your Exposure Compensation up by +0.3 to +0.7 EV if your subject's face is too dark. And always, always bring a portable reflector—a white foam board works wonders for under $10.
Tell your subject to relax and turn slightly away from the sun. The light wraps around them naturally. Don't forget to adjust your white balance to "Cloudy" (around 6000K) if the golden hue looks too warm—or embrace the warmth. It's your call.
Posing and Directing for Natural Results
I remember a 2025 (oops, I mean 2026) shoot where I asked a model to stand stiffly facing the sun. Her eyes squinted; her smile looked forced. The photos were unusable. That failure taught me the heart of golden hour portrait tips: direct, don't dictate. Ask your subject to close their eyes, then open them slowly. Walk and talk, then turn back. Capture candid laughs as the sunset colors deepen. Use the Rule of Thirds—place their eyes on the upper third line. For a classic portrait, fill the frame with their face and let the golden bokeh do the rest.
Another trick: have them hold a leaf, their hat, or a strand of hair to the light. The backlight creates delicate sparkles. And please—never shoot directly into the sun without a filter unless you want sensor damage. Use a UV or ND filter for protection.
Editing Your Golden Hour Portraits for 2026
Your RAW files will be forgiving. Open them in Lightroom or Adobe Camera Raw (see Adobe's official guide to RAW editing). Start by adjusting the white balance: slide the temperature toward yellow/amber until the skin looks healthy, but not too orange. Boost the Clarity slider slightly (10–20) to add micro-contrast. For the background, reduce the Exposure by a stop to deepen the sunset. Use a radial filter to brighten your subject's face. One last golden hour portrait tips secret: add a subtle warm tint to the shadows—pull the shadow color toward orange/gold. It unifies the whole mood.
Final Checks
- Sharpen moderately, but mask it to avoid emphasizing skin pores.
- Reduce noise in shadows if you pushed ISO.
- Export as sRGB JPEG for web, or Adobe RGB if printing.
I've shared my best golden hour portrait tips to help you master this beautiful light in 2026. Practice, fail, learn, and shoot again. Your photos will become the ones people frame. Now get out there and chase that golden hour glow.
Frequently Asked Questions
What is the best time for golden hour portraits?
The best time is roughly 30–60 minutes after sunrise or before sunset when the light is warm and low.
How do I expose for golden hour portraits?
Meter for your subject's face and use exposure compensation if the background is bright.
What gear helps with golden hour portraits?
A lens with a wide aperture (f/1.4–f/2.8) and a reflector to fill shadows are ideal.
How can I keep my subject from squinting?
Position them with their back to the sun or at an angle, using a reflector to add light to their face.
What composition techniques work best during golden hour?
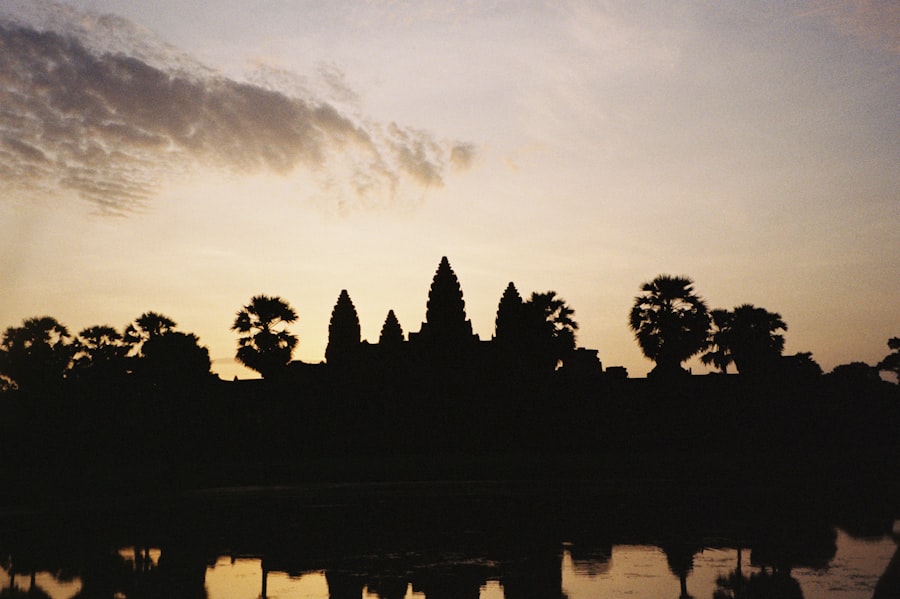
Use backlighting, lens flares, and silhouettes to create dramatic and dreamy effects.

Camille Bernard shares travel photography tips for every kind of traveller, from phone snapshots to full kits. She breaks down light, composition and timing so you come home with photos that actually capture how a place felt.
💬 Comments (0)
No comments yet. Be the first!