5 tips for photographing landmarks without crowds
These 5 tips for photographing landmarks without crowds will teach you how to avoid tourists and get clean shots.
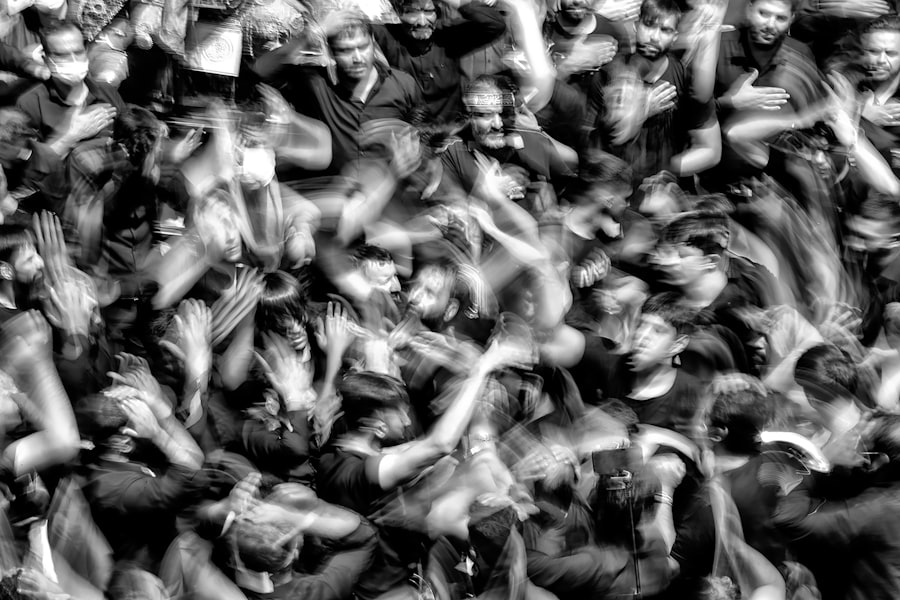
Have you ever dreamed of photographing landmarks without crowds, only to show up at the Eiffel Tower or the Taj Mahal and find a sea of selfie sticks? I have been there. My first attempt at photographing the Colosseum at noon was a disaster – strangers photobombed every frame, and the shot that should have been epic looked like a messy school trip. But I learned a simple truth: photographing landmarks without crowds is not about luck; it is about strategy. In 2026, with the right techniques, you can capture clean, powerful images that look like you had the whole place to yourself. Let me show you how.
1. Master the Art of Timing
The single most effective tool for photographing landmarks without crowds is the clock. Sunrise is your best friend. I once woke at 4:30 AM to photograph the Sagrada Familia in Barcelona. The plaza was empty except for two street cleaners. The golden light bathed the facade, and I had ten minutes of pure silence. That shot still hangs on my wall. If sunrise is impossible, try the “blue hour” just after sunset – crowds thin out as people head to dinner.
Now try this: Check the landmark’s opening hours. Many historic sites open early for a “first entry” slot. In 2026, most major attractions offer timed tickets – book the earliest slot. The secret is that most tourists prefer sleeping in, so you get an uncluttered view.
Don't forget to use a tripod during low light. A steady base lets you shoot at a lower ISO (say, 100 or 200) for maximum sharpness. ISO, simply put, controls your camera’s sensitivity to light – lower numbers mean less digital noise. Your photos will look crisp and professional.
2. Compose to Exclude the Crowd
Even if you cannot avoid every person, smart composition helps with photographing landmarks without crowds. Use the Rule of Thirds: place the main subject off-center, leaving empty space on one side. That empty negative space naturally draws the eye past the tourists. Another trick is shooting upward – point your lens at the sky, highlighting arches, domes, or spires. This eliminates the ground where people stand.
Use Leading Lines to Guide the Eye
Look for paths, railings, or columns that lead directly to the landmark. By aligning your shot so the line passes through a clear area, you force the viewer past any incidental people. I once shot the Trevi Fountain by crouching low and using the cobblestone cracks as leading lines – the crowd became a blurry foreground instead of a distraction.
Frame Within a Frame
Find a window, an archway, or tree branches to frame your subject. This literally crops out the masses. For example, I photographed the Louvre Pyramid through a narrow opening in the Palais Royal gardens – the arch blocked every tourist to the left and right. Pure magic.
Exposure Compensation can help here. If a bright sky is making the landmark too dark, dial in +0.7 or +1.0 EV. Most cameras (like the Sony A7 IV) have a dedicated button for this. It adjusts brightness without messing with your aperture or shutter speed.
3. Blur the Crowds with Bokeh
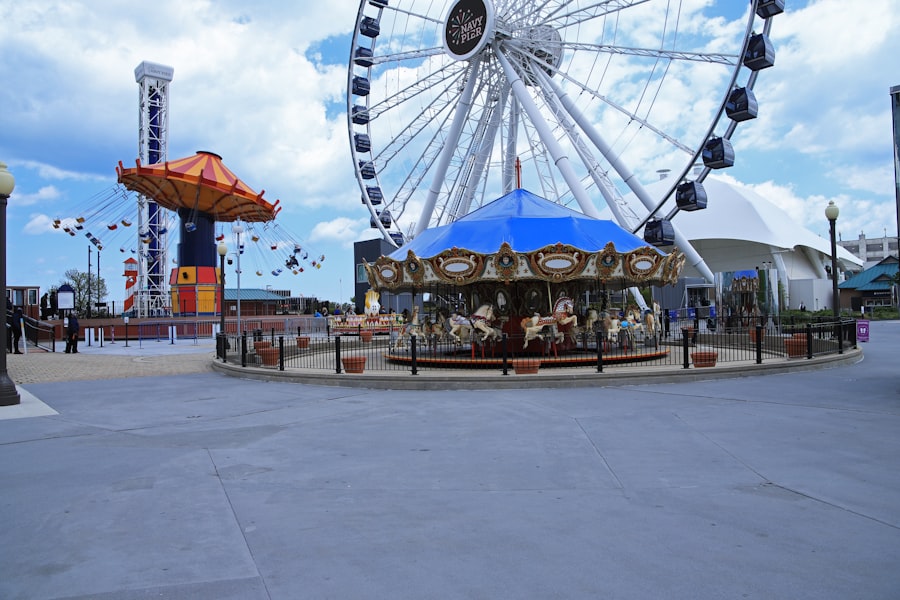
I love using bokeh – the aesthetic quality of out-of-focus areas – to turn a sea of heads into soft, painterly blobs. This is a game-changer for photographing landmarks without crowds. Set your aperture wide open (f/1.8 or f/2.8), get close to a foreground element (a statue, a pillar), and focus on the landmark behind it. The foreground blurs, and any people in the midground become unrecognizable smudges of color.
The secret is controlling depth of field. A shallow depth of field isolates your subject and softens distractions. For best results, shoot in Aperture Priority (Av or A) mode. Your camera will automatically choose the right shutter speed. If the scene is too bright, use a neutral density (ND) filter – it’s like sunglasses for your lens.
Don't forget to switch to RAW vs JPEG. RAW files capture all the data, so you can fix exposure and white balance later without losing quality. JPEGs compress details. For crowd-removal in post, RAW is essential. Adobe Lightroom tutorials cover RAW editing in depth.
4. Long Exposure Magic – Make People Disappear
This is my favorite method for photographing landmarks without crowds. Use a long exposure (2–30 seconds) with a sturdy tripod and an ND filter. Moving people will blur into invisible ghosts. I once shot the Spanish Steps in Rome during a busy afternoon. With a 10-stop ND filter, a 15-second exposure turned every walking tourist into a faint mist. The steps looked deserted.
Step-by-Step Guide: Long Exposure for Crowd Removal
- Step 1: Mount your camera on a tripod. Set drive mode to self-timer (2 seconds) to avoid shake.
- Step 2: Switch to Manual (M) mode. Set ISO to 100 for maximum clarity.
- Step 3: Attach an ND filter (e.g., 6-stop or 10-stop). Compose before adding the filter.
- Step 4: Set aperture between f/8 and f/11 for sharpness. Start with a shutter speed of 5 seconds. Adjust based on the crowd movement – longer for slower moving crowds.
- Step 5: Use a remote shutter release or your camera’s app to trigger. Check the histogram – aim for a balanced exposure without clipping highlights.
Now try this at a location with pausing tourists (e.g., people stopping for selfies). They will become semi-transparent, but anyone standing still for more than a few seconds may remain visible. In that case, take multiple exposures and blend them later in Photoshop using “median” stack mode. DPReview’s guide explains this technique beautifully.
5. Post-Processing – The Digital Eraser
Even with all these techniques, a few stubborn tourists might remain. That is where editing saves the day. For photographing landmarks without crowds, I use the Clone Stamp and Content-Aware Fill in Lightroom or Photoshop. Start with a RAW file – it gives you more latitude to adjust colors and recover shadows.
My personal workflow: open the image, use the Spot Removal tool (Lightroom) to paint over tiny distractions. For larger groups, switch to Photoshop’s Content-Aware Fill (2026 version is even smarter). It analyzes the surrounding pixels and fills the selection seamlessly. I once removed an entire wedding photo shoot from the front of the Colosseum using this method – the result looked unreal.
Don’t forget to correct chromatic aberration and lens distortion (common in wide-angle shots). Most editing programs have a one-click lens profile correction. This sharpens edges and removes purple fringes.
Golden Rule of Crowd-Free Photography: Arrive before dawn, shoot wide open, and edit smart. The combination of early timing, shallow depth of field, and post-processing will deliver the cleanest shots for photographing landmarks without crowds.
Recommended Gear for Crowd-Free Landmarks
- A tripod – carbon fiber for lightness, with a ball head for quick adjustments.
- Variable ND filter (2–10 stops) – essential for long exposures in bright light.
- Wide-angle lens (16–35mm) for capturing full scenes without stepping back into crowds.
- Remote shutter release or smartphone app – prevents camera shake.
- Cleaning cloth – people bump into you, and fingerprints on the lens ruin sharpness.
Final Thoughts: Practice Patience
Photographing landmarks without crowds is a skill that improves with every trip. My early attempts were frustrating – I once waited 45 minutes at the Taj Mahal only to have a group of teenagers sit right in my frame. But by combining timing, composition, bokeh, long exposure, and editing, you can overcome almost any crowd. In 2026, cameras are smarter than ever, but the human eye still makes the best decisions. Take a deep breath, arrive early, and trust your techniques.
Your photos will stand out not because you deleted tourists, but because you deliberately crafted a scene that feels timeless. Now grab your camera, head to that famous landmark, and show the world what photographing landmarks without crowds really looks like.
Frequently Asked Questions
What is the best time to photograph landmarks without crowds?
Visit during early mornings or late evenings, ideally just after sunrise or before sunset, to catch quiet moments and beautiful lighting.
How can I frame a shot to exclude people?
Use a low angle or position yourself close to the landmark to block crowds, or zoom in on architectural details.
Which season is best for empty landmarks?
Off-season months like fall or winter, especially on weekdays, have the fewest tourists.
What camera settings help avoid including people?
Use a fast shutter speed to blur moving crowds or a telephoto lens to isolate the landmark from its surroundings.
Any tips for popular landmarks that are always crowded?
Check for early-bird tickets or reserve entry at opening time, and explore less famous but nearby spots for unique perspectives.
💬 Comments (0)
No comments yet. Be the first!