Exposure Compensation for Travel Photos
Discover how exposure compensation for travel photos helps fix bright or dark scenes. Simple guide for perfect exposure.
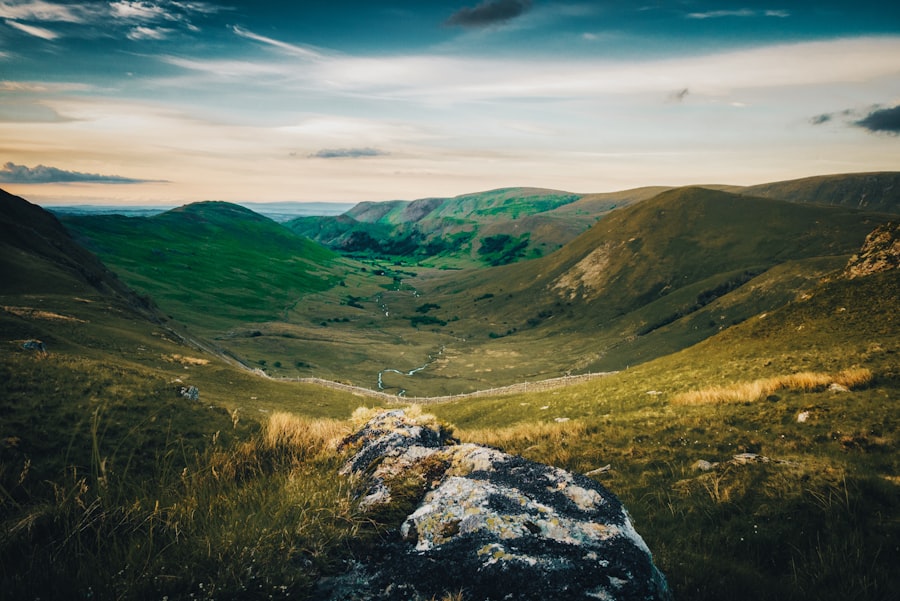
Exposure Compensation for Travel Photos is the single most powerful tool I use to rescue my pictures from dullness and blowouts, and I will show you how this simple dial turn can transform your travel album in 2026.
Let me guess: you have been on a spectacular trip, pointed your camera at a snowy mountain or a sandy beach, and the shot came out looking like a grey mess. The camera tried to be clever, metered the bright scene, and made everything middle grey. That is where exposure compensation steps in. It tells the camera, "No, I want it brighter" or "I want it darker" while you keep shooting in auto or semi-auto modes.
What Exactly Is Exposure Compensation?
Think of exposure compensation as a brightness adjustment dial that overrides your camera's automatic exposure meter. It is measured in stops (EV). A +1 stop makes the image one full stop brighter; -1 stop makes it darker. Most cameras let you adjust from -5 to +5 in 1/3-stop increments. The secret is that this works in Aperture Priority, Shutter Priority, and Program modes, but not in full Manual (there you simply change settings yourself).
For travel photographers, this is a lifesaver because lighting conditions change constantly. One moment you are under a temple's canopy, the next you are on a sun-baked plaza. Instead of fumbling with ISO, aperture, and shutter speed individually, you just dial in Exposure Compensation for Travel Photos and keep shooting.
A Personal Story: The Washed-Out Beach
Last summer in 2026, I was photographing a sunrise at Bondi Beach. The sand was golden, the sky was pink, and my camera (a Sony A7 IV) insisted on making everything look like a faded postcard. The waves? Grey. The people? Silhouettes with no detail. I was furious. I had shot in Aperture Priority, f/8, ISO 100. The camera saw all that bright sand and water and underexposed the whole scene to protect highlights. The result? Muddy shadows and a boring sky.
Then I remembered Exposure Compensation for Travel Photos. I dialed +1.3 EV. Suddenly, the sand glowed, the water sparkled, and the people had skin tones. That single adjustment turned a failed photo into my favorite shot of the trip. I learned that bright scenes often need positive compensation, while dark scenes sometimes need negative compensation to maintain mood.
How to Use Exposure Compensation: A Step-by-Step Guide
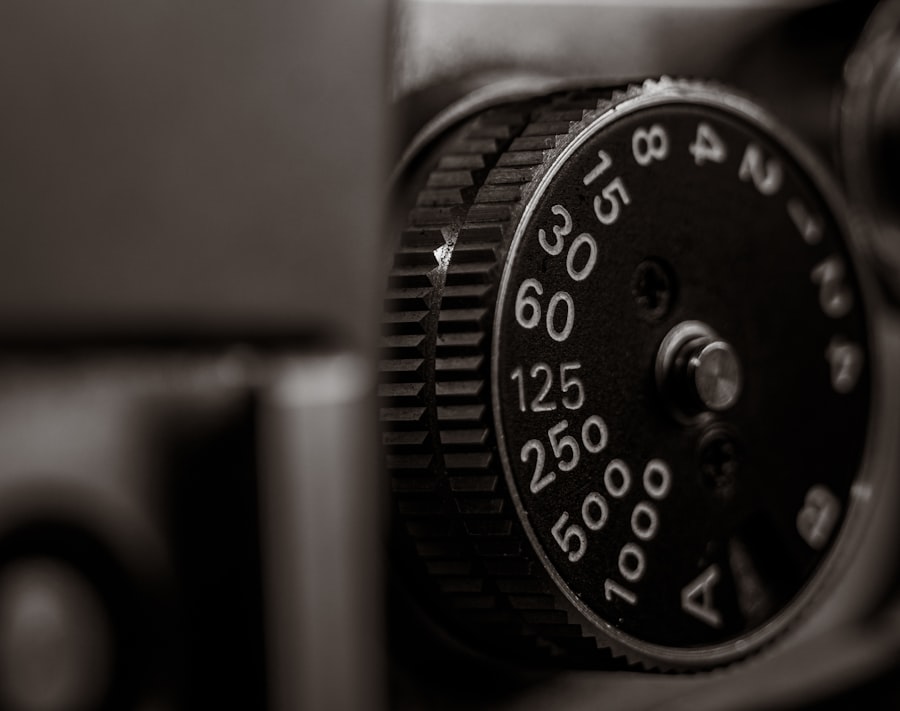
Now try this: pick up your camera and locate the exposure compensation button or dial. On most Canon and Nikon DSLRs, there is a dedicated button marked with a +/- symbol. On Sony mirrorless cameras, you often have a dedicated dial on top. On smartphones like an iPhone, you tap the screen and swipe up or down after locking exposure.
Step 1: Choose Your Mode
Make sure you are in Aperture Priority (A or Av), Shutter Priority (S or Tv), or Program (P). In Manual mode, exposure compensation does nothing because you control everything directly.
Step 2: Meter the Scene
Half-press the shutter to lock exposure. Look at the meter in your viewfinder. The camera will show a -3...0...+3 scale. If it is at 0, that is the camera's "correct" exposure. But correct for a machine is often wrong for art.
Step 3: Dial In Compensation
Turn the dial or press the button while rotating the main command dial. Watch the meter move. For snow or white sand, try +1 to +2. For a dramatic sunset, try -1 to -2 to deepen colors. For backlit portraits, try +1 to bring out skin details.
Step 4: Review and Adjust
Take a test shot. Check the histogram. If the graph is bunched up on the left (underexposed), add positive EC. If it is smashed against the right (overexposed), add negative EC. Don't forget to reset it to zero when you move to a different lighting situation.
Recommended Settings for Common Travel Scenarios
Here is a cheat sheet I keep in my camera bag. Use these as starting points and tweak from there:
- Snowy landscapes: +1.0 to +2.0 EV (camera wants to make snow grey)
- Sandy beaches in midday: +0.7 to +1.3 EV
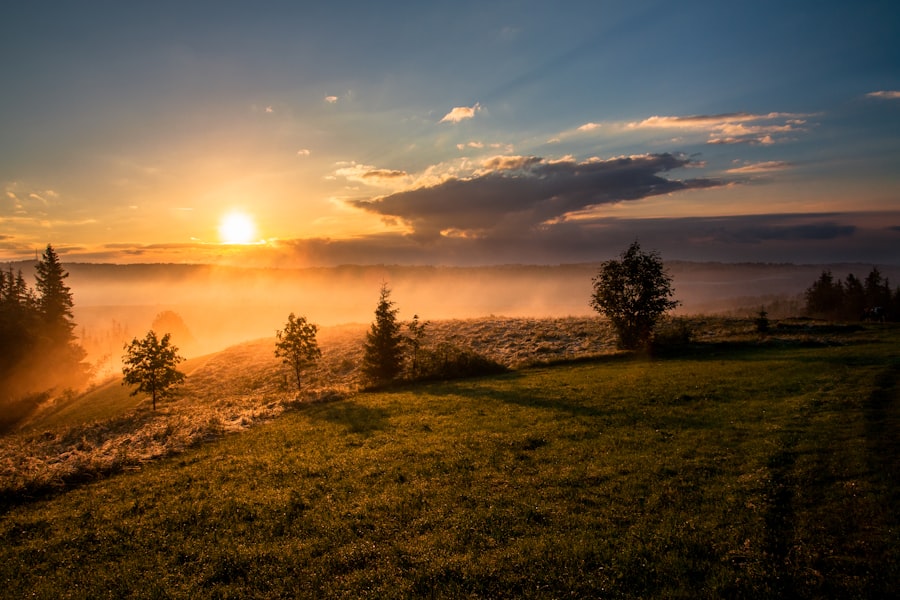
- Sunset over water: -0.7 to -1.3 EV (to saturate colors)
- Backlit portrait (subject against bright sky): +1.0 to +1.7 EV
- Night cityscape with lights: -0.3 to -1.0 EV (keep blacks black)
- Forest with dappled light: 0 EV (camera handles this well)
The secret is that Exposure Compensation for Travel Photos is not a one-size-fits-all fix. It is a creative tool. You can deliberately underexpose a scene to create moody, dramatic travel shots, or overexpose for a soft dreamy look. Always shoot RAW if your camera supports it, because RAW files have more latitude to adjust exposure later.
RAW vs JPEG: Why It Matters for Exposure Compensation
If you shoot JPEG, the camera processes the image and throws away data. A one-stop exposure mistake might be recoverable, but two stops often ruins the shot. RAW files, on the other hand, capture the full sensor data. You can adjust exposure by up to two stops in post-processing with minimal quality loss. That means even if you forget to dial Exposure Compensation for Travel Photos, you can often fix it in Lightroom or Capture One.
I shoot RAW exclusively when traveling. It gives me peace of mind. However, combining RAW with on-the-fly exposure compensation is even better. Why fix in post when you can get it right in camera? A properly exposed RAW file has less noise, more detail in shadows and highlights, and looks better straight out of camera.
Golden Rule of Exposure Compensation
"Expose for the highlights, compensate for the shadows. When in doubt, dial in -0.3 EV to avoid clipping highlights, then brighten shadows in post. That is the golden rule of exposure compensation for travel photos."
When NOT to Use Exposure Compensation
First, let's look at situations where you should skip EC and go full manual. If you are shooting a panorama or time-lapse, manual mode ensures consistent brightness across frames. Also, if you are using spot metering on a very small area, exposure compensation can behave unpredictably. And if you are shooting in manual mode, you already control everything—just adjust ISO, aperture, or shutter speed directly.
Another common mistake: forgetting to reset exposure compensation. I have lost whole series of indoor shots because I left my dial at +1.7 from the beach. Develop a habit of hitting zero before entering a new scene.
Must-Have Gear for Mastering Exposure
- Camera with exposure compensation dial: Preferred over buttons. Sony A7R V or Canon R5 have dedicated dials.
- Spot meter capability: Helps measure exact brightness of your subject.
- Histogram display: Turn it on in live view. It is your best friend.
- Neutral density filter (optional): When you need to keep shutter slow but it is too bright, ND filters let you use wider apertures.
- Spare battery: Reviewing shots and dialing in EC drains power faster.
Real-World Scenarios to Practice
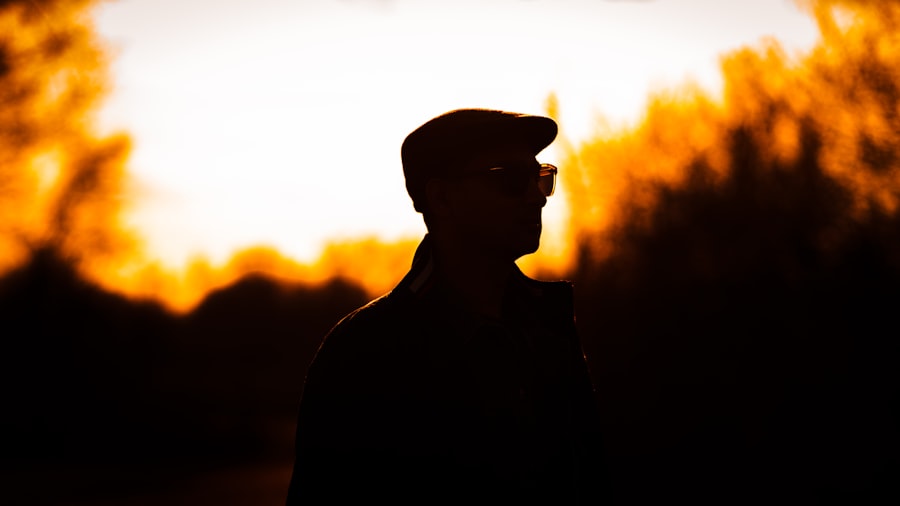
Next time you travel, try this: find a scene with high contrast, like a person standing in shade with a bright sunlit background. Use spot metering on the person's face. The camera will try to expose for the face, but the background might blow out. Now dial in Exposure Compensation for Travel Photos by -0.7 to preserve the background, then use fill flash or raise shadows later. Or for a silhouette, dial -2.0 and ignore the face.
Another practice: photograph a white building on a cloudy day. Without compensation, the building will look greyish. Add +1.0 and watch it turn pure white again. This is the essence of exposure compensation: you are telling the camera what the world actually looks like.
To deepen your understanding, read the official Sony exposure compensation guide and the comprehensive DPReview article on exposure compensation.
Remember: Exposure Compensation for Travel Photos is not a crutch—it is a creative lever. Use it to make your images match your memory. In 2026, cameras are smarter than ever, but they still cannot read your mind. You are the artist. Dial in the light.
Frequently Asked Questions
What is exposure compensation in photography?
Exposure compensation lets you manually adjust the brightness of a photo when the camera's auto exposure is too bright or too dark. Its usually measured in stops (e.g., +1) and is used to achieve your desired creative effect.
When should I use positive exposure compensation?
Use positive compensation (+EV) in scenes with mostly light tones, like snow or sandy beaches, to brighten the image and avoid underexposing gray bits. This helps maintain highlight detail.
When should I use negative exposure compensation?
Apply negative compensation (-EV) in high-contrast or dark scenes (e.g., night markets, backlit subjects) to darken the image and prevent blown-out highlights. It can make shadows richer and reduce glare.
How does exposure compensation affect travel photos?
It helps you control exposure on the go to preserve detail in both highlights and shadows, especially when photographing diverse scenarios (sunsets, city lights, landscapes). This yields more natural, dramatic images suited to your artistic vision.
Do all cameras have exposure compensation?
Nearly all digital cameras (DSLRs, mirrorless, advanced compacts) offer exposure compensation in semi-auto modes (A/Av, S/Tv, P). It's usually accessed via a dedicated dial or button with +/- icon, often in increments of 1/3 stops.
💬 Comments (0)
No comments yet. Be the first!