Master Backlight Photography for Travel 2026
Discover backlight photography for travel 2026 to create glowing travel portraits and landscapes with simple settings.
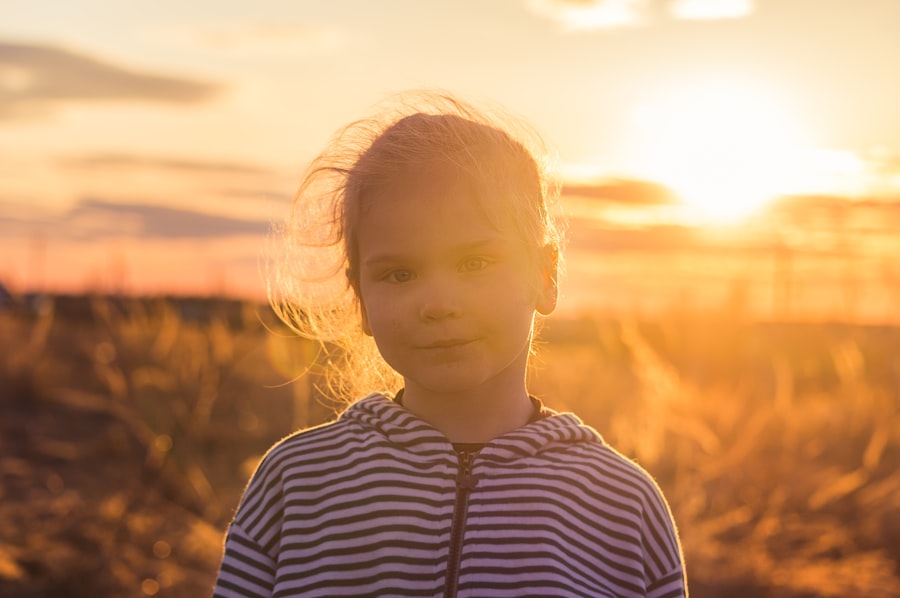
Mastering Backlight Photography for Travel 2026 is the single fastest way to elevate your travel photos from flat snapshots to stunning, pro-level images. Whether you are wandering through the ancient streets of Rome or hiking a misty trail in Patagonia, understanding how to shoot directly into the light will transform your portfolio. In this tutorial, I will coach you through the exact techniques I use to capture glowing, dreamy backlit portraits without losing detail in the shadows. The fear of lens flares and blown-out highlights holds many photographers back, but with the modern sensors available in 2026, you have no excuse not to try it.
Why Backlight is Your Best Friend in 2026
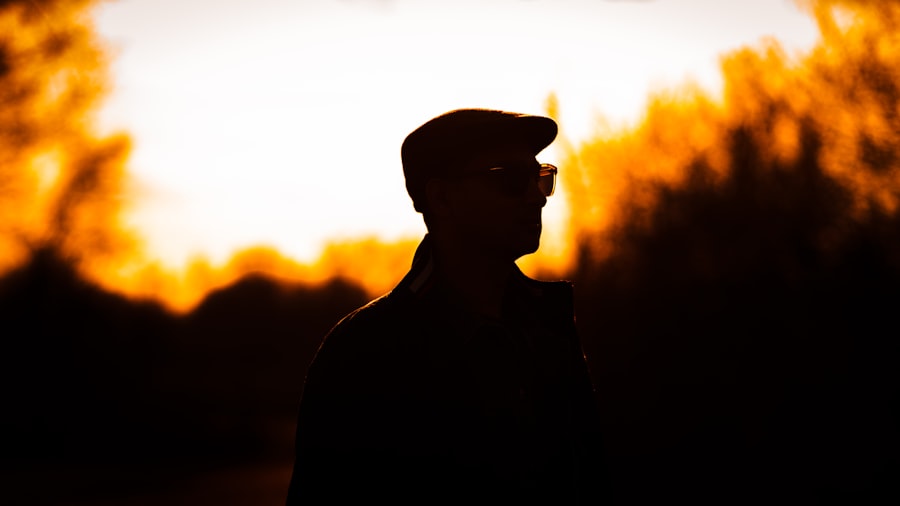
When you conquer your fear of the sun, you unlock a magical tool. Backlight Photography for Travel 2026 relies on the simple principle of placing your main light source behind your subject. This creates a luminous rim light around their hair, a gorgeous golden glow, and dreamy bokeh in the background. It adds an emotional, ethereal quality that front-lighting simply cannot replicate. Why is it especially relevant in 2026? Because modern cameras have incredible dynamic range, making it easier than ever to pull details from the shadows without the noise that plagued older sensors.
The Golden Hour Advantage
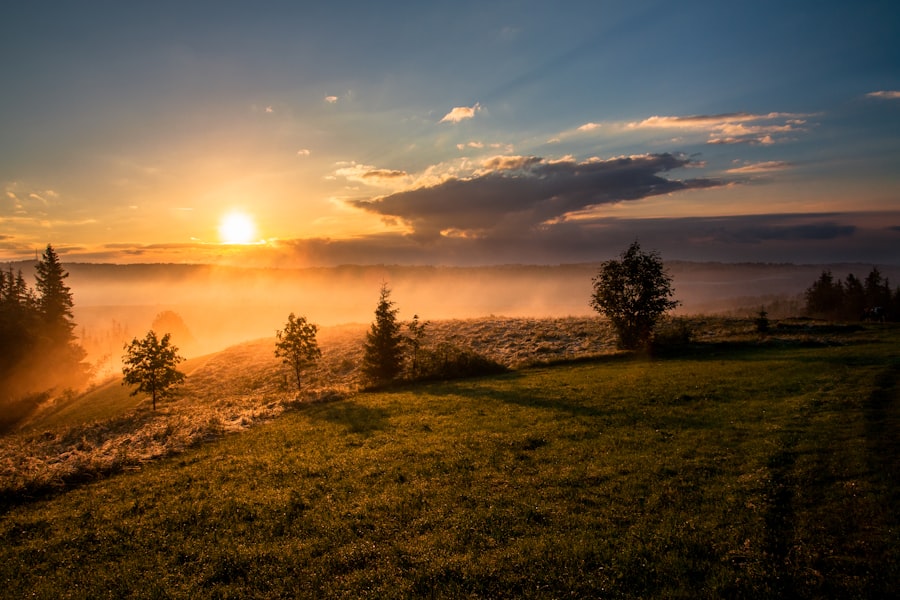
First, let's look at timing. The best backlight happens during the golden hour, the first hour after sunrise and the last hour before sunset. The sun is low, soft, and forgiving. It casts long, warm shadows and doesn't blow out your highlights as easily as the harsh midday sun.
My Biggest Backlight Blunder (And How I Fixed It)
I remember a trip to Hanoi a few years ago, long before I understood the nuances of backlight. I saw a beautiful woman selling flowers in a market. The sun was streaming through her stall, illuminating the petals. I took a single shot, checked the screen, and the background looked gorgeous. But the woman's face was just a dark silhouette. I had failed. I was exposing for the bright background instead of her face. The "After" version? I learned to use Spot Metering and Exposure Compensation. I aimed the focus point at her cheek, dialed in +1.7 stops of exposure compensation, and suddenly, her face had texture, the flowers glowed, and the background naturally blew out into a soft, white canvas for her portrait. It was a revelation.
Gear Up for Backlight Success
You don't need the most expensive kit, but a few key items will make your life much easier. The secret is preparation. A lens hood is your first line of defense. It is a cheap plastic tube that blocks stray light from hitting your glass at an angle, which causes those ugly, washed-out flares. If you don't have a hood, use your hand to shade the lens.
Must-have Gear for 2026:
- Lens Hood: Absolutely non-negotiable. It prevents ugly lens flares and protects your front element.
- Prime Lens (f/1.4 or f/1.8): Wide apertures create the best bokeh and allow more light to hit the sensor, giving you cleaner shadows.
- External Flash or Reflector: To fill in the shadows on the subject's face. A simple 5-in-1 reflector is the cheapest tool you can buy to level up your backlight game.
- Tripod: Essential for bracketing exposures if you want to merge an HDR image later.
For reference, the latest Sony Alpha 1 II handles backlight incredibly well thanks to its advanced metering (check the official specs here), while the Canon EOS R5 C offers a similar edge. Understanding your specific camera's dynamic range limits is a huge part of mastering Backlight Photography for Travel 2026.
The Settings Hunt: Exposing for the Light
Now try this specific workflow. It is the backbone of great Backlight Photography for Travel 2026. Many beginners shoot in full Auto mode, which averages the light in the entire scene. This results in a dark subject because the camera sees a huge, bright sky. We need to take control.
Recommended Settings for Backlit Portraits
- Shoot in RAW: This gives you maximum flexibility to pull back shadows and highlights. JPEG throws away this data forever. If you take nothing else from this guide, switch to RAW today.
- ISO 100-400: Keep your ISO low to maximize dynamic range and avoid noise.
- Aperture Priority (Av) Mode: Let the camera choose the shutter speed while you control the depth of field. Set your aperture to f/1.4 or f/2.8 for that creamy bokeh.
- Metering Mode: Spot or Center-Weighted. Tell the camera to expose for your subject, not the huge bright sky. This is the single most important setting change you can make.
- Exposure Compensation: Start at +1 stop. If the face is still dark, go to +2. Don't be afraid of a "blinkies" warning on the background background.
Step-by-Step Guide to Nailing the Shot
Don't forget to follow these steps every time you set up for a backlit scene. Practice them until they become muscle memory.
Step 1: Position the Sun. Move yourself so the sun is just out of frame behind your subject, or partially hidden by a tree or building. This minimizes direct light hitting your lens.
Step 2: Focus on the Eyes. Use Single Point AF or Eye AF. Aim directly for the eye closest to you. Backlight often tricks autofocus, so be precise. If your camera has "Eye AF", use it.
Step 3: Dial in Exposure Compensation. As mentioned, start at +1 stop. Take a test shot. Check if the face is visible.
Step 4: Check the Histogram. You want the graph to be high in the middle (subject) and tapering off on the right (highlights). If it is slammed against the left side, you have a silhouette.
Step 5: Bracket Your Shots. Take one shot at -2, one at 0, and one at +2. This guarantees you capture the full dynamic range and can blend them later if needed.
Post-Processing Magic in 2026
This is where the best Backlight Photography for Travel 2026 really gets polished. Import your RAW file into Lightroom or Adobe Camera Raw. The editing process is just as important as the capture.
First, drop the Highlights slider to -100 to bring back the sky. Then, raise the Shadows slider to +60 or +80 to lift the subject's face. Add a touch of Dehaze (+10 to +15) to cut through atmospheric gloom. Finally, add a slight warm tone to the Highlights via the Color Grading panel to enhance the golden sun. Check out this excellent Adobe tutorial on recovering lost details here.
Golden Rule of Backlighting: Expose for the face, not the sky. A bright background is acceptable and often beautiful; a black face is just a missed opportunity. You can recover a sky, but you cannot recover an underexposed face perfectly.
Composition Tricks (Rule of Thirds & Bokeh)
When practicing Backlight Photography for Travel 2026, composition is everything. Place your subject off-center using the Rule of Thirds. If the sun is visible, put it on one of the intersecting grid lines, not dead center. This creates tension and movement in the frame. To maximize that creamy Bokeh, get close to your subject, put distance between them and the background, and shoot wide open, like f/1.8 or f/2.0. The combination of backlight and wide aperture creates an almost magical separation between subject and background.
I want you to go out and practice Backlight Photography for Travel 2026 today. Find a friend, stand in front of the setting sun, and apply these steps.
Remember, Backlight Photography for Travel 2026 isn't just a technique; it is a way of seeing the world in a warmer, more emotional light. It turns a simple moment into a cinematic memory.
So grab your camera, apply these Backlight Photography for Travel 2026 steps, and watch your travel storytelling transform.
Here is to your best year of photography yet.
Frequently Asked Questions
What is the best time of day for backlight photography in 2026?
Golden hours, just after sunrise and before sunset, offer the softest, most flattering backlight. In 2026, use weather apps to plan around precise golden hour times for your location.
Do I need a special lens for backlight travel photos?
Not necessarily; a standard 50mm or kit lens works fine, but a wide aperture (f/1.8 or lower) helps create beautiful flare and bokeh. For 2026 travel, consider a smartphone with advanced computational photography as a lightweight alternative.
How can I avoid my subject being too dark or silhouetted?
Use spot metering on your subject's face or expose for the highlights and lift shadows in post-processing. Many 2026 cameras offer in-camera HDR or AI-assisted exposure to automatically balance backlight.
What camera settings should I use for backlight photography?
Shoot in aperture priority mode with a wide aperture (f/2.8 or wider), keep ISO low, and use exposure compensation (+0.7 to +1.7) to brighten your subject. Enable zebra stripes or histogram on your 2026 camera to monitor highlights.
Can I achieve backlight effects with smartphones in 2026?
Yes, flagship smartphones now feature improved lens coatings and AI algorithms to control flare and enhance backlit subjects. Use portrait mode with natural light and tap to expose on your subject for best results.
💬 Comments (0)
No comments yet. Be the first!