Astrophotography in Moab 2026: A Step-by-Step Guide
Capture the stunning night sky in Utah. Follow this astrophotography in Moab 2026 guide to master gear and settings for your trip.
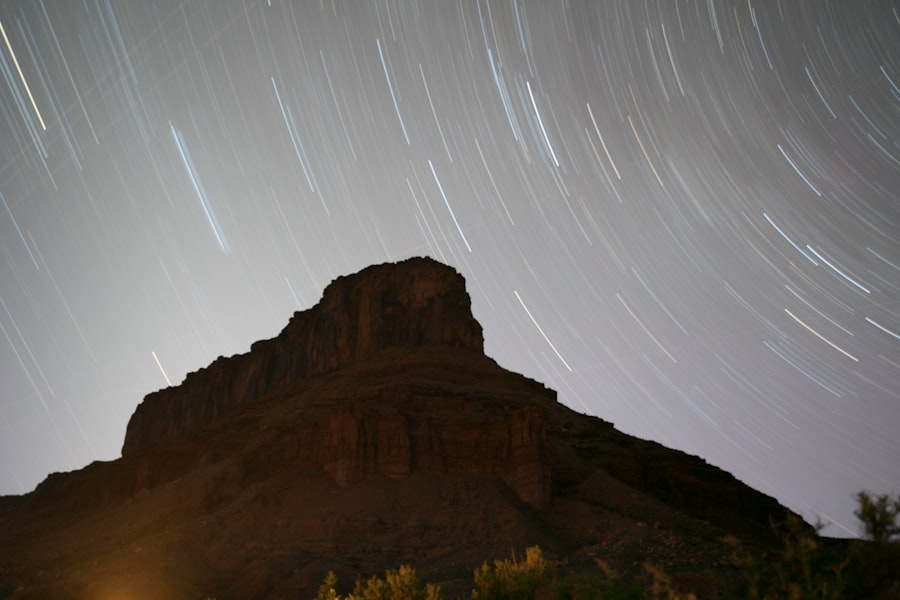
Astrophotography in Moab 2026 is an adventure you will never forget, and I am here to help you capture those desert stars perfectly.
There is something humbling about standing under the vast, ink-black sky of the Utah desert. As you plan your trip for astrophotography in Moab 2026, you might feel intimidated by the technical requirements, but do not worry. I have been in your shoes, standing in the middle of Arches National Park at 2:00 AM, fumbling with my tripod while my fingers went numb. My first attempt at capturing the Milky Way was a blurry, grainy mess because I did not understand how my sensor interacted with the long exposure times. I fixed it by learning the relationship between my aperture and my ISO, and now, I want to show you how to master this craft.
The Essential Gear for Dark Skies
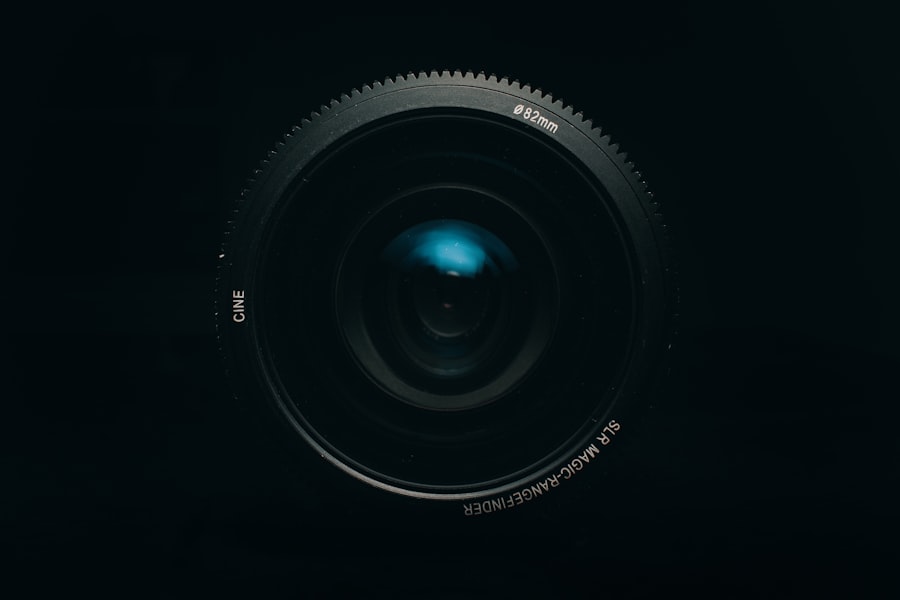
Before you head out, you need to ensure your kit is ready. Astrophotography in Moab 2026 requires specific tools to handle the darkness. You are not just taking a photo; you are gathering light that has traveled for thousands of years.
Must-have Gear
- A sturdy tripod: The desert wind is real, and any vibration will ruin your long exposure.
- A wide-angle lens: Anything from 14mm to 24mm is ideal to capture the scale of the landscape.
- A camera with manual mode: You need full control over your settings.
- A headlamp with a red light: This preserves your night vision while you adjust your camera.
- Extra batteries: Cold desert nights drain power faster than you expect.
If you are researching the latest hardware, I recommend checking out the technical specifications on the DPReview website to see which full-frame sensors perform best in low light.
Step-by-Step Guide to Shooting the Milky Way
Now, let's walk through the actual process of creating your masterpiece. The goal of astrophotography in Moab 2026 is to get a sharp, bright image without excessive digital noise.
Step-by-Step Settings
- Switch your camera to Manual (M) mode.
- Set your focus to manual and use your screen zoom to focus on the brightest star you can see.
- Set your aperture as wide as possible, typically f/2.8 or lower. This allows the maximum amount of light to hit the sensor.
- Adjust your ISO. Start at 3200 and move up or down based on your sensor's noise levels.
- Use a shutter speed of 15 to 20 seconds. Any longer, and the Earth's rotation will cause the stars to streak.
When you are shooting, always make sure to capture your images in RAW format. Unlike JPEG, which compresses your data and throws away color information, RAW files keep all the light data intact. This is crucial for when you go to edit your photo in software like Adobe Lightroom, as it gives you the flexibility to recover shadows and highlight the details of the galaxy.
The Golden Rule of Night Photography: Focus is your enemy. Never rely on autofocus at night. Use Live View on your back screen, zoom in 10x on a bright star, and manually rotate your lens barrel until the star is a tiny, sharp pinprick of light.
Understanding the Technical Jargon
If you are new to this, terms like ISO and Exposure Compensation might sound like gibberish. Think of ISO as your sensor's sensitivity. Higher ISO means more light, but it also creates "noise"—that grainy, sandy look in the dark parts of your image. Exposure Compensation is a tool used during the day to brighten or darken images, but at night, you are in total control through your manual settings, so you can often ignore the camera's light meter completely.
Also, consider the Rule of Thirds when composing your shot. Do not just put the sky in the middle. Place your desert landmark, like a balanced rock or a mesa, on one of the intersecting lines of your frame. This adds depth and tells a story, making your attempt at astrophotography in Moab 2026 feel intentional rather than accidental.
Advanced Tips for 2026
As you refine your process for astrophotography in Moab 2026, start experimenting with light painting. While your shutter is open for that 20-second exposure, you can walk into the frame with a dim flashlight and briefly illuminate the foreground rock formation. This creates a beautiful contrast between the cold, distant stars and the warm, textured earth.
Recommended Settings for Success
- Aperture: f/2.8 (or your lens's lowest number).
- Shutter Speed: 15 seconds.
- ISO: 3200.
- White Balance: Tungsten or Manual (around 3500K) to keep the sky looking deep blue rather than orange.
- Self-timer: Set to 2 seconds to avoid camera shake from pressing the shutter button.
Don't forget to review your shots on the back of your camera. Zoom in to check for "Bokeh," which in this context means out-of-focus light blobs. If your stars look like soft, blurry circles instead of sharp dots, your focus is off. Take another shot, readjust, and be patient. The best part about astrophotography in Moab 2026 is that the sky does not go anywhere; you have all night to get it right. Just breathe, enjoy the silence of the desert, and keep clicking until you see that perfect Milky Way arc across your screen.
Frequently Asked Questions
What makes Moab an ideal location for astrophotography in 2026?
Moab's dark skies, low light pollution, and iconic red rock landscapes provide stunning foreground compositions for astrophotography.
What equipment do I need for astrophotography in Moab?
A DSLR or mirrorless camera with a fast wide-angle lens, a sturdy tripod, and a remote shutter release are essential.
When is the best time to shoot astrophotography in Moab during 2026?
Opt for moonless nights between March and October, when the Milky Way is most visible in the Northern Hemisphere.
What are the best locations in Moab for astrophotography?
Dead Horse Point State Park, Arches National Park, and Canyonlands National Park offer dark skies and dramatic rock formations.
Do I need any permits for astrophotography in Moab?
Most parks require no permit for regular photography, but commercial shoots and after-hours access may need a special use permit.

Matthias Weber digs into the craft of travel photography, from camera settings to editing. He explains the technical side in plain language so you can spend less time fiddling with dials and more time shooting.
💬 Comments (0)
No comments yet. Be the first!