Yakushima forest photography 2026 Guide
Master Yakushima forest photography 2026 with our expert guide to capturing the mossy, ancient woodlands of Japan.
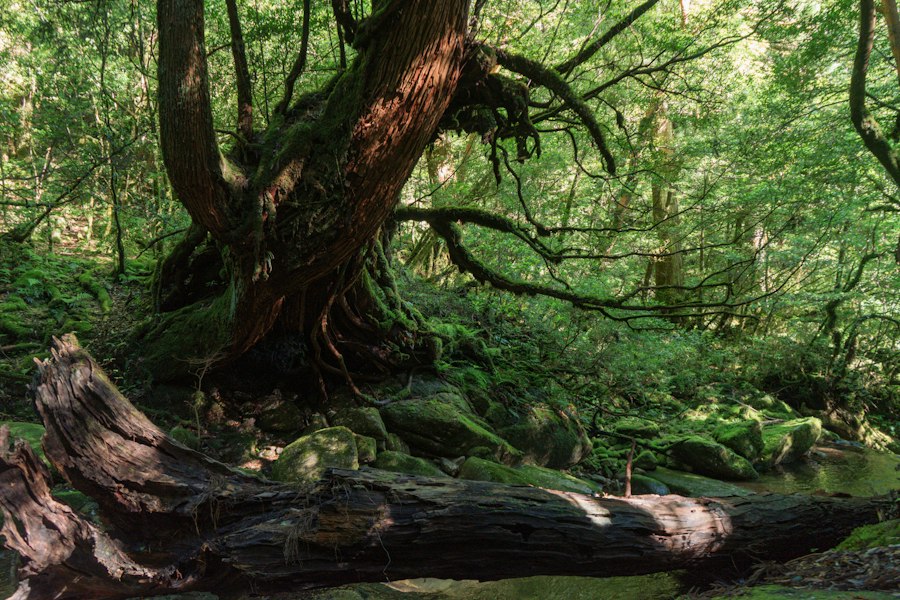
If you are planning a trip to Japan, mastering Yakushima forest photography 2026 is the ultimate way to capture the ancient, moss-covered magic of this UNESCO World Heritage island. I still remember the first time I stepped into the Shiratani Unsuikyo ravine. The air was thick with moisture, the giant cedar trees felt alive, and everything was a shade of green I had never seen before. But when I looked at my camera screen, my heart sank. The gorgeous scene looked like a chaotic, dark mess of branches. It took me years of trial and error to unlock the secrets of capturing this rainforest. In this guide, I will coach you through the exact techniques you need to make your images look like a fantasy movie poster.
Understanding the Light in the Mossy Forest
The secret is that sunny days are actually your worst enemy in the rainforest. Bright sunlight creates harsh shadows and bright white spots where the sun breaks through the canopy. This blows out your highlights, meaning the camera cannot record any detail in those bright areas. The best weather for Yakushima forest photography 2026 is actually light rain or heavy overcast skies. Wet leaves reflect light beautifully, making the greens pop with incredible saturation.
To handle these tricky lighting conditions, you must master a camera feature called Exposure Compensation. This is a simple button (usually marked with a +/- icon) that tells your camera to make the image brighter or darker than what its automatic sensor thinks is correct. Because the forest is so dark, your camera will naturally try to brighten the image, which ruins the moody atmosphere. Now try this: dial your Exposure Compensation down to -0.7 or -1.0. This preserves the deep, rich greens and keeps your shadows looking mysterious.
The Essential Gear and Camera Settings
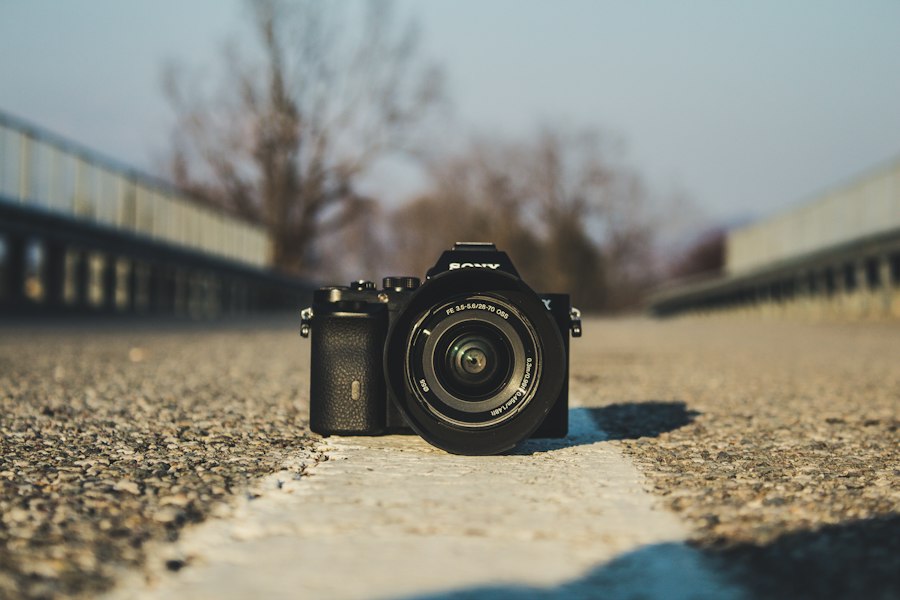
Before we hike into the wet wilderness, let's talk about the gear that will make or break your trip. You do not need the most expensive camera on the market, but you do need to protect your gear from the constant moisture. For reference, check out the weather-sealing specifications on modern mirrorless systems like the Sony Alpha series or the Canon EOS R system to see how much moisture your body can handle.
Must-Have Gear Checklist
- A Sturdy Tripod: The forest floor is dark, which means your camera needs to keep the shutter open longer to let light in. Any hand movement will blur the shot.
- A Circular Polarizer (CPL Filter): This is non-negotiable. A polarizer cuts out the shiny glare on wet leaves and rocks, instantly doubling the saturation of the moss.
- Rain Covers: Yakushima is famous for raining "35 days a month." Pack high-quality plastic sleeves for your camera and plenty of microfiber cloths.
Recommended Camera Settings for the Forest
First, let's look at how to configure your camera menu. Use these baseline settings as your starting point when you arrive at the trailheads in 2026:
- Image Format: RAW. If you shoot in JPEG, the camera compresses the file and throws away color data. Shooting in RAW keeps all the data so you can rescue dark shadows later in editing. If you are new to editing, you can learn more about this process via Adobe Photoshop Tutorials.
- ISO: 100 to 400. ISO measures how sensitive your camera sensor is to light. Keep this number low to avoid digital noise (graininess) in your dark forest shadows.
- Aperture: f/8 to f/11. This range is the sweet spot for landscape sharpness, ensuring both the close-up moss and the distant cedar trees remain in sharp focus.
The Golden Rule of Yakushima forest photography 2026: Never trust your camera screen to judge brightness. Always enable your "Histogram" view. If the graph is touching the far left, your shadows are completely black; if it touches the far right, your misty skies are completely white.
Step-by-Step Guide to Composition in Chaos
Forests are naturally chaotic. Without a clear plan, your viewer's eyes will wander around the frame with nowhere to land. Use this step-by-step method to organize the chaos into a beautiful story.
Step 1: Find a Hero Subject
Do not just point your camera at a wall of trees. Look for a "hero" subject. This could be a twisted root, a uniquely shaped cedar trunk, or a bright patch of moss. Make this hero the focal point of your image.
Step 2: Apply the Rule of Thirds
Imagine your screen is divided into a grid of nine equal rectangles. Place your hero subject along one of these grid lines, or at the intersections where the lines meet. For example, place an ancient root in the bottom-left intersection to guide the viewer's eye into the rest of the forest.
Step 3: Isolate with Bokeh
If the background is still too distracting, try changing your lens settings to create Bokeh. Bokeh is the soft, blurry background effect you get when you use a wide aperture like f/2.8 or f/4. By focusing sharply on a close-up piece of moss and letting the background blur into a soft green wash, you make your subject pop instantly.
A Before and After Transformation
Let me share a story from my early days of shooting in Yakushima. I found a gorgeous wooden footbridge surrounded by glowing green ferns. I stood up tall, pointed my camera straight ahead, and took a quick shot on fully automatic mode. The result? A flat, boring photo. The bridge looked tiny, the bright sky in the background was a blinding white, and the ferns looked dull and gray because of the wet reflection.
To fix this, I made three critical adjustments. First, I got down on my knees to place the camera just inches above the wet ferns, using them as a powerful foreground frame. Second, I screwed on my circular polarizer filter and rotated it until the white glare on the leaves vanished, revealing a deep, emerald green. Finally, I switched my camera to manual mode, lowered my ISO to 100 to keep the image clean, and dialed down my Exposure Compensation to keep the atmosphere dark and moody. The "after" photo looked like a mystical portal into another world. Your photos will look just as magical if you take the time to slow down and work the scene.
Maximizing Your Yakushima forest photography 2026 Adventure
As you plan your travel itinerary, remember that preparation is key to creative success. The trails can be steep and slippery, and rushing through them will only result in blurry, poorly composed snapshots. Give yourself twice as much time as the hiking signs suggest. When you stop worrying about the physical hike, you open up your creative mind to see the subtle patterns in the bark, the mist curling around the branches, and the droplets of water hanging from the pine needles.
By mastering your camera settings, controlling your exposure, and using the natural wet weather to your advantage, you will return home with an incredible portfolio. Apply these tips, keep your gear dry, and enjoy the magical journey of Yakushima forest photography 2026!
Frequently Asked Questions
What is the best time of year to photograph Yakushima's forests?
Spring and autumn offer mild weather and vibrant colors. Late May and early November are ideal for lush greens and soft light.
Do I need a special permit to take photos in Yakushima's forests?
No permit is required for general forest photography. However, some protected areas may have restrictions, so check local rules beforehand.
What camera equipment is essential for Yakushima's rainforest?
A weather-sealed camera, wide-angle lens, and sturdy tripod are essential for the humid, low-light conditions. Bring rain covers and silica gel packs to protect your gear.
How can I handle the high humidity and rain in Yakushima?
Use airtight dry bags and microfiber cloths to keep lenses dry. Shoot in short bursts and allow your camera to acclimate before entering humid areas.
Which locations in Yakushima are best for capturing moss-covered forests?
The Shiratani Unsuikyo Ravine and Arakawa Trail offer iconic moss-covered trees. Visit early in the morning to avoid crowds and catch soft, diffused light.

Matthias Weber digs into the craft of travel photography, from camera settings to editing. He explains the technical side in plain language so you can spend less time fiddling with dials and more time shooting.
💬 Comments (0)
No comments yet. Be the first!