Ruby Beach seascape photography 2026 Guide
Master Ruby Beach seascape photography 2026 with our expert guide to capturing stunning sea stacks and moody misty tides.
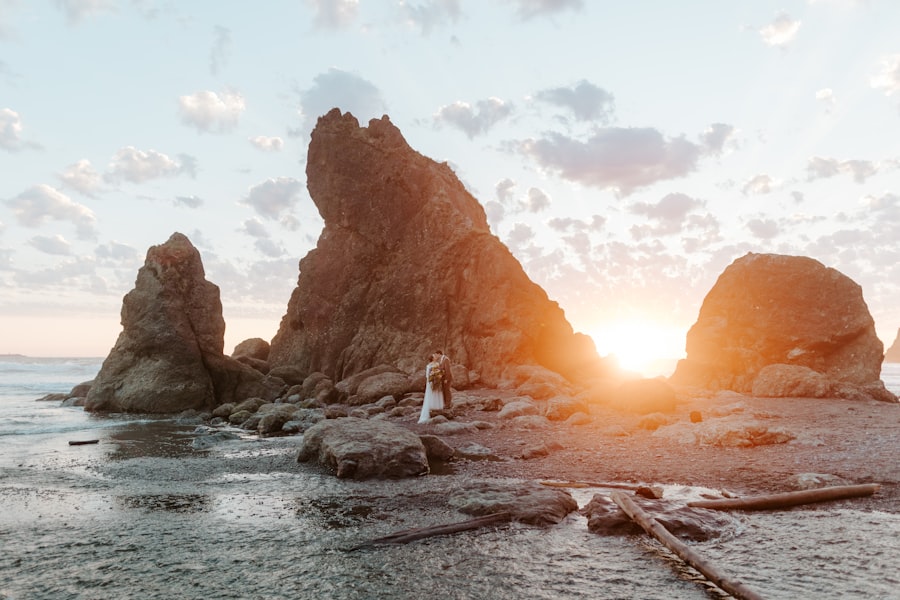
Mastering Ruby Beach seascape photography 2026 is one of the most rewarding challenges you can undertake as a landscape photographer this year. Located on the wild edge of Washington State's Olympic National Park, this stretch of coastline offers a dramatic playground of towering sea stacks, tangled driftwood, and misty horizons. But capturing its raw beauty requires more than just showing up and pressing the shutter button. I am going to coach you through the exact techniques, gear choices, and creative secrets you need to transform your coastal snapshots into breathtaking works of art.
The Magic of Ruby Beach Seascape Photography 2026
There is a unique energy at Ruby Beach that you will not find anywhere else on the Pacific Coast. The dark sand glistens like glass under the receding tide, and the giant sea stacks rise from the surf like ancient monuments. To capture this drama, your approach to Ruby Beach seascape photography 2026 must balance technical precision with artistic vision.
The secret is learning how to read the coastal elements. You are not just photographing rocks and water; you are capturing time, motion, and light. Whether you want to freeze the violent crash of a wave against Abbey Island or blur the incoming tide into a dreamlike mist, understanding your camera settings is your ticket to success. Let us dive into the core concepts that will elevate your coastal portfolio this year.
Essential Photography Jargon Demystified
Before we pack our bags, let us quickly break down some essential photography terms. Do not let the technical jargon intimidate you; once you understand how these elements interact, you will feel completely in control of your camera.
- ISO: This measures your camera sensor's sensitivity to light. A low ISO (like ISO 100) delivers the cleanest, sharpest images. As the sun sets, you might be tempted to raise your ISO, but keep it as low as possible for clean seascape prints.
- RAW vs JPEG: Always shoot in RAW. A JPEG file compresses your image, throwing away valuable color and shadow detail. A RAW file preserves all the data captured by your sensor, giving you maximum control when editing your highlights and shadows in software like Adobe Lightroom.
- Rule of Thirds: This classic composition grid divides your frame into nine equal rectangles. Placing your main sea stack along these grid lines, or placing the horizon on the bottom third, instantly creates a more balanced, dynamic image.
- Exposure Compensation: When the bright white foam of a wave rushes toward you, your camera might get confused and underexpose the shot. Using the Exposure Compensation dial allows you to manually brighten or darken your image to keep those sea foams crisp and white.
- Bokeh: This refers to the out-of-focus, blurry background elements in an image. While landscape photographers usually want everything sharp, a shallow depth of field can create beautiful, soft bokeh on close-up shots of colorful beach pebbles or glistening bull kelp.
The Golden Rule of Coastal Photography: Always prioritize the safety of your gear and yourself over any shot. Never turn your back on the ocean, monitor the tides constantly, and use a sturdy tripod to keep your camera stable against the pounding surf and coastal winds.
My Biggest Seascape Failure (And How I Fixed It)
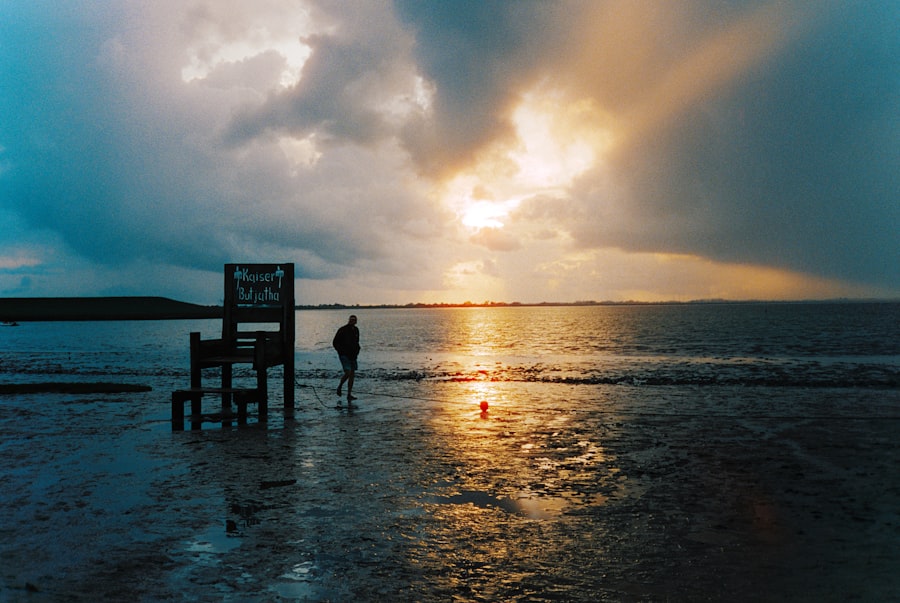
I want to share a quick story about a massive mistake I made during a past trip to the Olympic Peninsula, which completely changed how I approach Ruby Beach seascape photography 2026. I had hiked down to the beach during a spectacular sunset. The sky was burning with fiery pinks and oranges, and the tide was swirling perfectly around the smaller stones near the shore.
Excited, I threw my camera onto my tripod, dialed in a long exposure of two seconds, and started shooting. On my camera's small LCD screen, the photos looked incredible. But when I got home and opened them on a large monitor, every single shot was soft and blurry. What went wrong? First, my tripod feet had slowly sunk into the wet sand during the long exposure. Second, I forgot to turn off my lens's image stabilization, which actually caused internal vibrations on the tripod. Now, I always stomp my tripod legs deep into the wet gravel until they hit solid ground, and I turn off image stabilization whenever my camera is mounted on a tripod. My mistake is your shortcut to perfectly sharp images!
Step-by-Step Guide to Capturing the Perfect Sunset
Now try this exact workflow on your next visit to the beach. This step-by-step guide is designed to help you capture the ultimate sunset image with ease.
Step 1: Check the Tide Charts and Arrive Early
First, let us look at the logistics. Arrive at least two hours before sunset. This gives you plenty of time to scout the shoreline, find unique driftwood compositions, and track how the waves are interacting with the rocks. A receding tide is ideal, as it leaves behind reflective wet sand and prevents you from getting trapped by rising water.
Step 2: Set Up Your Gear and Choose Your Settings
Mount your camera securely on your tripod. If you are using a modern mirrorless system like those found on DPReview, you can easily preview your exposure in real time. Switch your camera to Manual mode and dial in these baseline settings:
- File Format: RAW
- ISO: 100 (for maximum image quality)
- Aperture: f/11 (for a deep depth of field that keeps everything sharp from foreground to background)
- Shutter Speed: 1/2 second to start (this is the sweet spot for capturing motion in the water)
- Focus: Manual focus, targeting a sea stack about one-third of the way into your frame
Step 3: Time the Waves and Capture the Motion
The secret is timing. Do not just hold down the shutter button. Watch the waves roll in. As a wave crashes and begins to pull back toward the sea, hit the shutter. The receding water will create beautiful, leading lines of white foam that draw your viewer's eye directly into your Ruby Beach seascape photography 2026 composition.
Before and After: The Power of Long Exposure
To help you visualize your creative choices, let us compare two different approaches to the same scene. Imagine you are standing in front of the iconic sea stacks during a moody, overcast afternoon.
The "Before" Scenario (The Snapshot): You hold your camera by hand, shooting in JPEG at a fast shutter speed of 1/250 of a second. The resulting photo freezes the choppy waves, making the water look chaotic and messy. The grey sky looks flat, and the dark sea stacks merge into a muddy, uninspiring shadow.
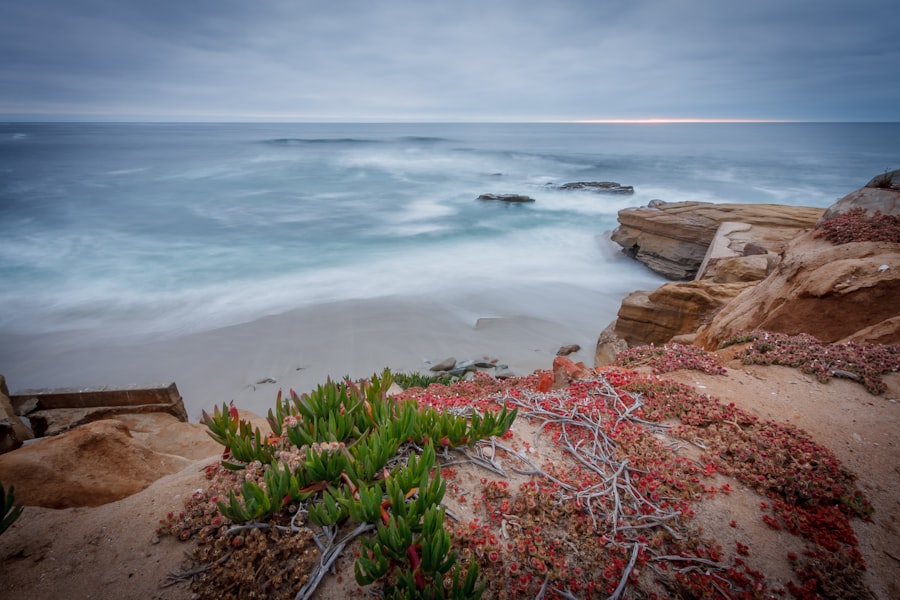
The "After" Scenario (The Professional Seascape): You switch to RAW, mount your camera on your tripod, and screw on a 6-stop Neutral Density (ND) filter to block out some light. You slow your shutter speed down to 5 seconds. Now, the chaotic waves blend into a smooth, ethereal fog that hugs the base of the sea stacks. The textures of the wet rocks pop, and because you shot in RAW, you can easily boost the shadow details in post-processing. Your photo instantly looks like a professional gallery print.
Must-Have Gear for Coastal Excursions
Before you head out, make sure your camera bag is packed with the right tools. Coastal environments are harsh, and having the proper gear will make or break your shooting experience.
- A Sturdy Carbon Fiber Tripod: Carbon fiber dampens vibrations better than aluminum and resists rust from saltwater.
- Neutral Density (ND) Filters: These act like sunglasses for your lens, allowing you to use slower shutter speeds even in bright daylight.
- Microfiber Cloths and Rocket Blower: Sea spray will get on your lens. Keep a handful of clean cloths handy to wipe away salt spots between shots.
- Headlamp: The trail leading back to the parking lot from Ruby Beach is dark after sunset. Keep your hands free with a reliable headlamp.
By mastering these simple techniques and keeping your camera safe from the elements, your Ruby Beach seascape photography 2026 journey will yield spectacular, professional-grade images that you will be proud to display on your wall. Keep practicing, experiment with your shutter speeds, and enjoy the creative process along our beautiful coastline!
Frequently Asked Questions
What is the best time of year for seascape photography at Ruby Beach in 2026?
Late spring through early fall offers the most predictable low tides and dramatic sunsets, ideal for capturing reflection pools and sea stacks.
Where can I find the iconic sea stacks for foreground interest?
The main cluster of sea stacks is scattered along the southern end of the beach about a 15-minute walk from the parking lot.
What camera settings work best for capturing motion in waves at Ruby Beach?
Use a shutter speed of 0.5 to 2 seconds with an aperture of f/11 to f/16 and low ISO for long-exposure wave textures.
Are there any new photography restrictions expected at Ruby Beach in 2026?
No major new restrictions are anticipated, but always check the Olympic National Park website for seasonal closures or tidepool protection rules.
What lenses are essential for seascape photography at Ruby Beach?
A wide-angle lens (16-35mm) and a telephoto zoom (70-200mm) are ideal for capturing both vast landscapes and compressed wave or rock details.

Camille Bernard shares travel photography tips for every kind of traveller, from phone snapshots to full kits. She breaks down light, composition and timing so you come home with photos that actually capture how a place felt.
💬 Comments (0)
No comments yet. Be the first!