Oaxaca Portrait Photography 2026 Tips
Learn professional secrets for Oaxaca portrait photography 2026. Master natural framing, dynamic lighting, and lens choice.
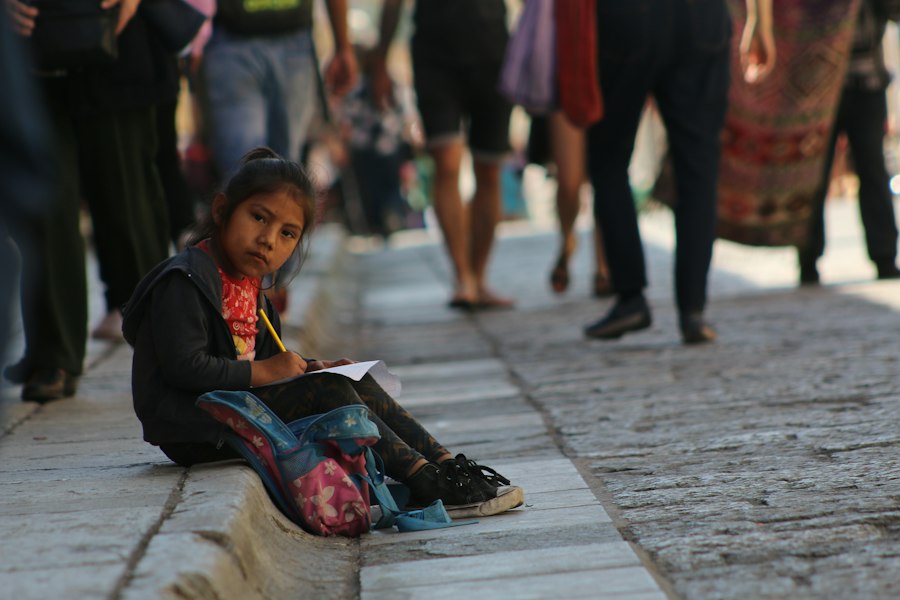
If you want to master Oaxaca portrait photography 2026, you need to understand how the golden light of southern Mexico interacts with the vibrant clay architecture and rich cultural textures of the city.
Why Oaxaca Portrait Photography 2026 Is Unique for Travel Photographers
I still remember my first morning shooting portraits in the historic center. I was standing near the Santo Domingo Church, trying to capture a local weaver draped in a hand-embroidered rebozo shawl. I aimed my camera, pressed the shutter, and ended up with a totally ruined shot. The bright morning sun washed out the skin tones completely, while the shadow side of her face turned into pitch blackness. My exposure was a disaster.
The secret is learning how to control high-contrast sunlight using shadow edges and reflective walls. Oaxaca is filled with warm, yellow, red, and blue painted adobe walls. These surfaces act like giant, natural reflectors. By placing your subject near a sunlit yellow wall, that wall bounces warm, soft light back onto your subject face. That single adjustment turned my harsh, ruined snapshot into a studio-quality outdoor portrait with glowing skin tones.
First, let us look at what gear and camera fundamentals you need to get these results every single time during your trip.
Must-Have Camera Gear and Settings for Street Portraits
You do not need a massive kit bag to capture stunning human element shots. In fact, keeping your gear lightweight helps you stay approachable and quick on your feet.
Must-Have Gear List
- Fast Prime Lens: A 35mm or 50mm lens with an aperture of f/1.8 or f/1.4 is ideal. This creates that creamy, blurry background known as bokeh, which isolates your subject from chaotic street backgrounds.
- Polarizing Filter: This helps cut down direct glare on skin and boosts the deep color saturation of street murals.
- Lightweight Reflector: A small foldable silver or white disc helps bounce light into your subject eyes to create spark and life.
- Microfiber Cloths: Dust flies around the valley during the dry season, so keep your front element clean.
Now try this: switch your camera image format from JPEG to RAW. Shooting in RAW retains all the uncompressed color data captured by your camera sensor. According to the comprehensive camera sensor guides on DPReview, shooting RAW gives you up to three extra stops of shadow recovery detail, which is crucial when dealing with bright Mexican light.
Recommended Settings for Golden Hour Portraits
- Aperture: f/1.8 to f/2.8 (creates shallow depth of field and beautiful background blur).
- Shutter Speed: 1/250s or faster (sharpens human subjects and prevents motion blur from hand movement).
- ISO: 100 to 400 (keeps digital noise to absolute minimum for maximum clarity).
- Exposure Compensation: -0.3 EV to -0.7 EV (prevents bright highlights on skin from clipping).
Oaxaca Portrait Photography 2026 Golden Rule: Expose for the skin highlights, not the shadow background. You can always lift dark shadows later in editing, but blown-out white highlights on a face are lost forever.
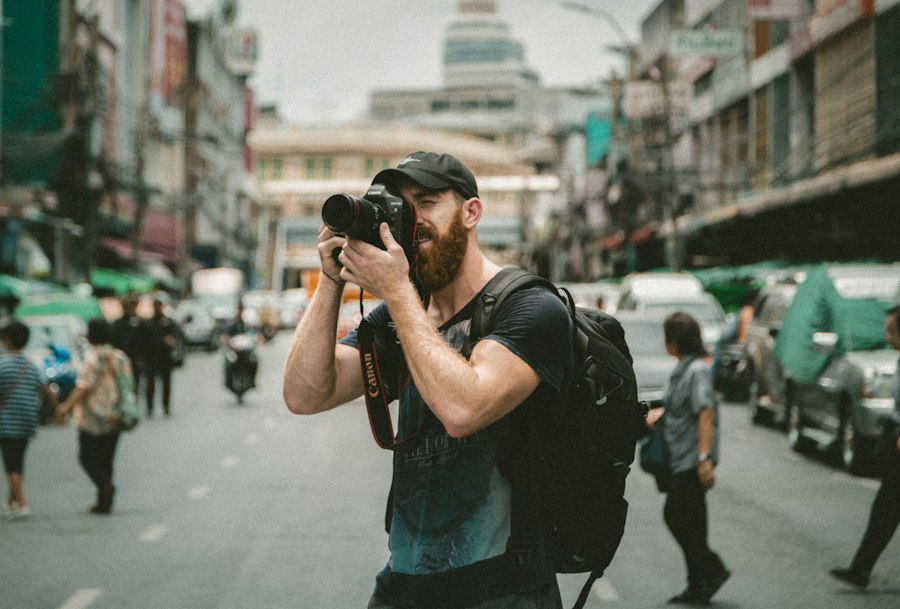
Step-by-Step Guide to Mastering Local Lighting and Framing
Let us break down a proven workflow so your execution of Oaxaca portrait photography 2026 yields professional results on every street corner.
Step 1: Scenery Reconnaissance and Background Hunting
Walk the neighborhoods of Jalatlaco and Xochimilco early in the morning. Look for textured stone doorways, colorful murals, and quiet alleyways. Avoid busy main roads where cars and crowds disrupt your composition. Frame your background first before inviting a subject into the space.
Step 2: Apply the Rule of Thirds
Turn on your camera viewfinder grid overlay. Position the subject eyes along the top horizontal gridline, preferably at one of the top intersection points. If your subject is looking toward the right, place them on the left third of the frame. This gives them visual room to look into, creating a balanced and natural story.
Step 3: Dial In Exposure Compensation and Test Bokeh
Set your camera to Aperture Priority mode (A or Av on your dial). Open your aperture wide to f/2.0. Check your background distance. The further your subject stands away from the wall behind them, the softer your bokeh will look. You can read more about lens optics and depth of field mechanics in the official tutorials hosted on Adobe Photoshop and Lightroom Learning Hub.
Step 4: Engage and Build Respectful Connection
Never take sneaky photos from across the street with a long telephoto lens. Walk up, smile, take off your sunglasses, speak a few polite words, and ask for permission. Show your subject the photo on your camera LCD screen right after you take it. This creates genuine smiles and relaxed facial expressions.
Before and After Scenario: Transforming Direct Sunlight
To help you visual your progress, let us analyze how simple technical adjustments change a shot entirely.
The Before Scenario: You spot an artisan working near an open doorway at 1:00 PM. You take a photo using Auto Mode, JPEG format, and a narrow f/8 aperture. The Result: The subject eyes are dark sockets due to midday overhead sun. The background street chaos is fully sharp and distracting. The colors look flat and washed out.
The After Scenario: You ask the artisan to step two feet backward into the open shade of the doorway corridor. You switch your camera to RAW format, set ISO to 100, select f/2.0 aperture, and dial Exposure Compensation to -0.3 EV. You align their eye on the upper third intersection line. The Result: The soft, directional open shade creates smooth skin transitions. The f/2.0 aperture completely melts the background street clutter into beautiful, soft bokeh colors. Your RAW file retains intense contrast detail that edits effortlessly.
Final Checklist for Your 2026 Photography Trip
Don't forget to pack plenty of high-speed memory cards. When practicing Oaxaca portrait photography 2026, you will often burst-shoot to capture subtle facial expressions, micro-smiles, and eye contacts.
Remember that great portraiture is 50 percent technical camera management and 50 percent human connection. Master your ISO, watch your histogram to prevent blown highlights, embrace open shade, and respect the local culture. Your travel portfolio will show dramatic improvement by the time you head home from your journey.

Camille Bernard shares travel photography tips for every kind of traveller, from phone snapshots to full kits. She breaks down light, composition and timing so you come home with photos that actually capture how a place felt.
💬 Comments (0)
No comments yet. Be the first!