Keukenhof macro photography 2026 Guide
Master Keukenhof macro photography 2026 with our expert guide. Learn to capture stunning, sharp close-ups of Dutch tulips.
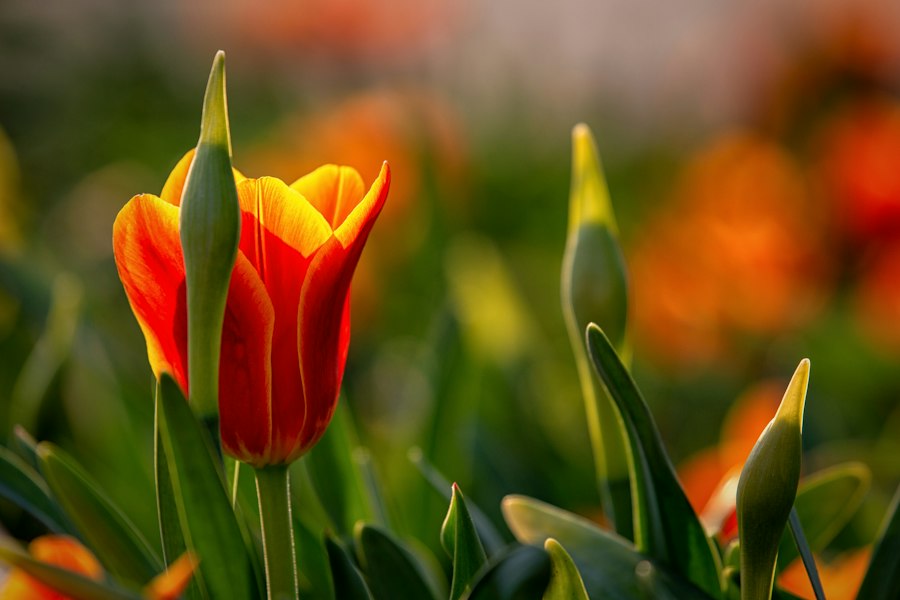
Mastering Keukenhof macro photography 2026 is the ultimate dream for flower lovers, and I am here to coach you through every step of this colorful adventure. Imagine capturing a tiny dewdrop resting on a vibrant purple tulip petal, or revealing the hidden, golden world inside a classic Dutch daffodil. When you step into the world's most famous spring garden this year, you will not just take snapshots; you will create breathtaking art. I will show you how to look past the massive crowds and focus on the exquisite, tiny details that most tourists walk right past.
The Magic of Close-Up Garden Photography
There is something deeply meditative about macro photography. While thousands of visitors capture wide-open landscapes of the flower beds, you will be leaning in close to discover a secret universe. Your photos will look like professional botanical illustrations once you master a few simple concepts. The secret is training your eye to see the small textures, the subtle color gradients, and the delicate patterns that make each flower unique.
Do not worry if you do not own a massive, expensive camera setup yet. Whether you are using a dedicated mirrorless camera, a DSLR, or even a modern smartphone with a clip-on macro lens, the fundamental rules of light, composition, and exposure remain exactly the same. Let us get you ready to capture the magic of spring 2026!
Essential Equipment for Keukenhof Macro Photography 2026
Before you pack your bags for the Netherlands, we need to talk about your gear. While you can get great shots with simple gear, having the right tools makes a massive difference when you want to isolate a single tulip stamen. Here is my curated checklist of what you should bring to get the most out of your experience.
Must-Have Gear List
- A Macro Lens: A focal length between 90mm and 105mm is the sweet spot. It allows you to stay a comfortable distance from the flowers so you do not block the natural sunlight.
- A Diffuser or Reflector: A small, collapsible 5-in-1 reflector is a lifesaver. You can use the translucent panel to soften harsh, direct midday sunlight.
- A Kneeling Pad: Trust me, your knees will thank you. Getting down to the flower's eye level is crucial, and the Dutch ground can be damp in the morning.
- A Lens Blower: Keukenhof can get dusty. Keep your glass clean without scratching it.
The Golden Rule of Keukenhof Macro Photography 2026: Never touch, bend, or damage the flowers to get your shot. The park rangers work incredibly hard, and we must respect the blooms. Use your focal length, not your hands, to get close!
Understanding the Photography Jargon (Simplified)
First, let us look at the technical terms you need to know. Do not let the jargon scare you; it is just a set of tools to help you control your creative vision. Once you understand how these settings interact, your camera will feel like an extension of your own eyes.
ISO: This is your camera sensor's sensitivity to light. A low ISO, like ISO 100, gives you the cleanest, sharpest images. As the sun goes down or if you are inside one of the dark exhibition pavilions, you might need to raise your ISO to 800 or 1600 to keep your shutter speed fast enough to prevent blur.
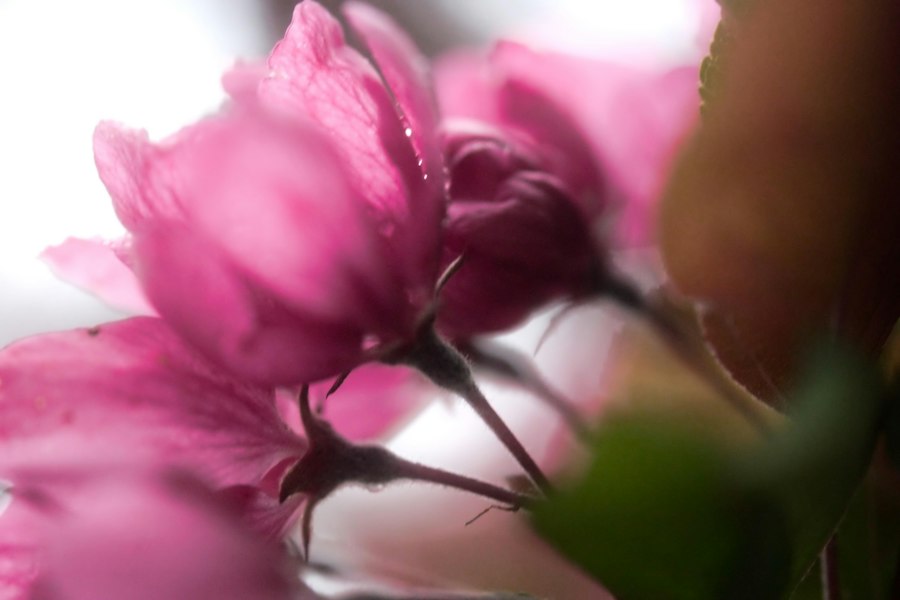
Bokeh: This Japanese term refers to the aesthetic quality of the out-of-focus blur in your background. In macro photography, a creamy, smooth bokeh is your best friend. It isolates your subject and makes your flower pop like a 3D image against a soft, painterly backdrop. You can learn more about how lens design affects this on DPReview.
RAW vs JPEG: Always shoot in RAW format if your camera supports it. A JPEG is a finished file compressed by your camera, which throws away a lot of color data. A RAW file saves all the glorious, uncompressed color and light information. This gives you the ultimate power when editing your photos later in software like Adobe Photoshop or Lightroom.
Before & After: A Lesson in Light and Composition
Let me share a personal story of a spectacular failure I had a few years ago. I found a magnificent, deep red parrot tulip. The sun was blasting directly from above. I stood over the flower, pointed my camera straight down, and clicked the shutter.
The "Before" image was awful. The direct sunlight created harsh, ugly white highlights on the petals, and the shadows were pitch black. Because I shot straight down, the flower looked flat, and the messy soil in the background ruined the composition. It was a throwaway shot.
Now try this to fix that exact scenario. First, I put myself between the sun and the flower to cast a gentle, even shadow over the tulip, or I used my diffuser to block the harsh light. Next, I dropped down to my knees so I was shooting from the side of the flower. I opened my aperture to f/2.8 to create a gorgeous, blurry background. The "After" photo was stunning: a glowing, soft, romantic portrait of a tulip that looked like a classic Dutch oil painting. That is the power of simple adjustments!
Step-by-Step Guide to Your Perfect Macro Shot
Now that you know the basics, let us walk through the physical process of taking your shot. Follow these steps when you find that perfect blossom during your day of Keukenhof macro photography 2026.
Your On-the-Field Checklist
- Find your hero: Walk slowly and look for a flower that is pristine. Avoid petals with brown edges or insect damage unless you want that specific gritty look.
- Check the background: Before you even look at the flower, look at what is behind it. Is there a bright yellow trash can or a tourist in a neon jacket? Adjust your angle slightly to keep the background clean and natural.
- Set your composition: Use the Rule of Thirds. Imagine your frame is divided into a grid of nine equal rectangles. Place the most interesting part of the flower, like the center of the bloom or a glistening water droplet, on one of the intersecting grid lines rather than dead center. This instantly makes your photo look more dynamic.
- Switch to manual focus: When you are working with extreme close-ups, your camera's autofocus can easily get confused by the wind or tiny details. Switch your lens to manual focus, turn on your camera's focus peaking helper, and gently rock your body forward and backward until the exact spot you want is perfectly sharp.
- Control the wind: Even a tiny breeze can cause motion blur. Set your camera to burst mode and take a rapid sequence of shots. At least one of them will be tack-sharp!
Recommended Camera Settings for Spring Flowers
To make things easy for you while you are wandering the beautiful paths of the gardens, here is a quick-reference guide for your camera settings. Use this as your baseline, and then adjust based on the weather.
Recommended Settings Cheat Sheet
- Shooting Mode: Aperture Priority (A or Av) or Manual (M).
- Aperture: f/4 to f/8. While f/2.8 gives great bokeh, the depth of field in macro is so thin that often only a tiny sliver of the petal will be sharp. Stopping down to f/5.6 or f/8 gives you a bit more sharpness across the flower face.
- ISO: 100 to 400 for maximum image quality and vibrant colors.
- Shutter Speed: Keep it above 1/250s to freeze any slight movement from the wind.
- Exposure Compensation: Bright yellow and white flowers can trick your camera into underexposing the image. Use Exposure Compensation to dial in +0.3 or +0.7 to keep your whites looking bright and clean.
Making Your Keukenhof Macro Photography 2026 Stand Out
To truly elevate your Keukenhof macro photography 2026 images, you must learn to play with light. The absolute best times to shoot are during the "Golden Hour"—the first hour after sunrise and the last hour before sunset. The light is soft, warm, and magical. If you visit on a cloudy day, do not be disappointed! Overcast skies act like a giant, natural softbox, which is actually the absolute best light for capturing rich, saturated flower colors without harsh shadows.
Don't forget to look for patterns. The repetitive lines of tulip fields, the spiral structure of a dahlia, or the contrast between a bright red flower and deep green leaves are all great ways to tell a story. You can find excellent technical guides on lens mechanics and optical performance on manufacturer sites like Canon to understand how your specific lens handles these close-up details.
Your journey into Keukenhof macro photography 2026 is going to be an unforgettable experience. Take your time, breathe in the sweet spring air, and enjoy the process of capturing the tiny wonders of nature. With these tips in your camera bag, your images are going to be absolutely spectacular. Happy shooting!
Frequently Asked Questions
When is the best time to visit Keukenhof in 2026 for macro photography?
Visit from late April to early May 2026 for peak tulip blooms with soft morning light. Weekday mornings right at opening are ideal for fewer crowds.
What macro photography gear should I bring to Keukenhof in 2026?
A 100mm macro lens, extension tubes, and a lightweight tripod are essential. Pack a diffuser or reflector for even lighting on close-up petals.
How do I avoid crowds while shooting macro at Keukenhof 2026?
Arrive before 8:30 AM when gates open and head for the less-visited indoor pavilions. Use a telephoto macro or tight crops to isolate flowers from distant visitors.
What camera settings work best for Keukenhof flower macros in 2026?
Use f/5.6 to f/11 for a balance of sharpness and depth of field. Set ISO 200-400 and a shutter speed of at least 1/250s to freeze gentle breeze movement.
Are tripods and flash allowed for macro photography at Keukenhof 2026?
Tripods are permitted, but check the official 2026 rules as they may restrict them in busy indoor areas. Small flash units with diffusers are generally allowed but avoid disturbing other visitors.

Matthias Weber digs into the craft of travel photography, from camera settings to editing. He explains the technical side in plain language so you can spend less time fiddling with dials and more time shooting.
💬 Comments (0)
No comments yet. Be the first!