Guanajuato urban photography 2026
Master framing and lens choices with this essential Guanajuato urban photography 2026 travel tutorial.
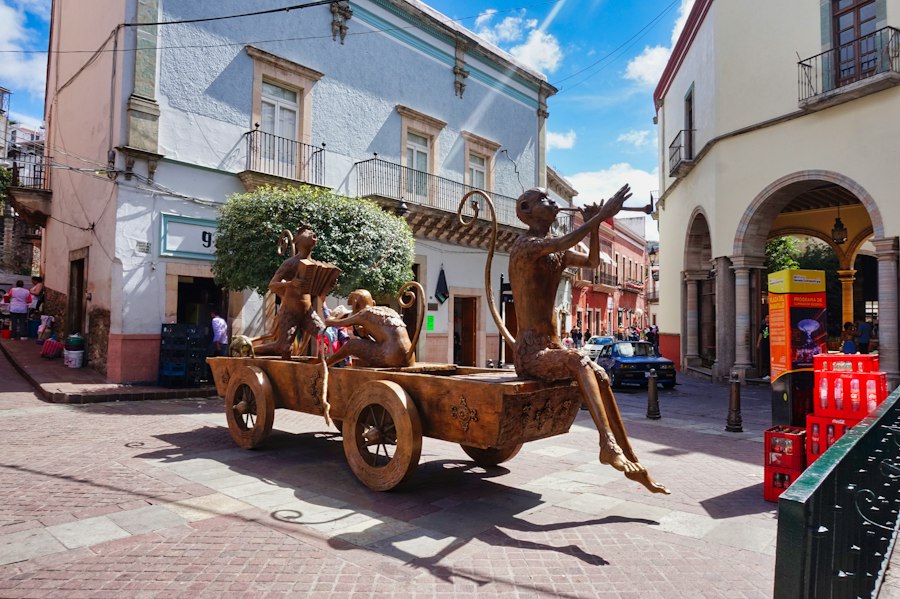
Mastering Guanajuato urban photography 2026 is all about capturing vibrant colors, subterranean tunnels, and dramatic hillside perspectives in one of Mexico's most iconic cityscapes.
Why Guanajuato Urban Photography 2026 is a Photographer's Dream
If you have ever wanted to test your camera gear against steep hills, bright pastel buildings, and deep shadows, this city is your ultimate playground. As someone who has spent years walking these cobblestone alleys, I can tell you that the light here changes every hour. When you plan a trip dedicated to Guanajuato urban photography 2026, you are setting yourself up for endless creative choices.
First, let's look at the city's unique geometry. Built inside a narrow valley, the houses stack on top of each other like colorful building blocks. The camera gear you carry in 2026 is lighter and more powerful than ever, making it easier to walk these long staircases and frame breathtaking shots.
Essential Gear and Camera Settings for 2026
You do not need an entire suitcase of lenses to capture great shots here. The secret is keeping your setup lightweight so you can explore the steep callejones without getting exhausted.
Must-Have Gear List
- Mirrorless Camera Body: A weather-sealed full-frame or APS-C camera body allows you to shoot continuously in dusty streets or sudden rain.
- Versatile Zoom Lens (24-70mm): Great for switching quickly between wide city views and tight architectural details.
- Fast Prime Lens (35mm or 50mm f/1.8): Essential for creating smooth background blur, also known as bokeh, during low-light evening walks.
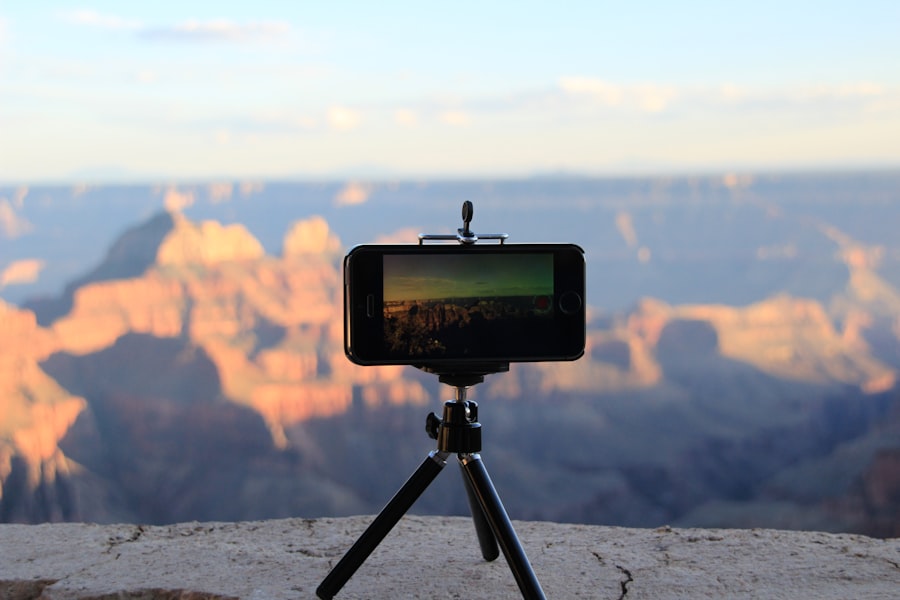
- Sturdy Travel Tripod: Needed for smooth long exposures inside the dark underground tunnels.
- Circular Polarizer Filter: Helps cut reflections on colorful painted walls and deepens the blue sky during sunny afternoons.
Recommended Camera Settings
- File Format: Set your camera to shoot in RAW instead of JPEG. Shooting RAW saves all sensor data, allowing you to recover detail in bright highlights and dark shadows later. Check out the Adobe RAW vs JPEG tutorial to learn more about dynamic range flexibility.
- ISO Range: Keep your ISO between 100 and 400 during daylight to avoid image noise. Increase to ISO 1600 or 3200 inside underground tunnels.
- Aperture: Use f/8 to f/11 for wide landscapes so everything stays sharp. Use f/1.8 or f/2.8 when you want sweet bokeh behind your main subject.
- Shutter Speed: Keep it above 1/250s when handholding your camera in bright light to avoid motion blur.
Golden Rule Cheat Sheet: When shooting high-contrast street scenes, always watch your highlights. Use Exposure Compensation to lower your exposure by -0.7 EV to protect bright sky details, then lift the shadows later in software.
Overcoming Framing Mistakes: A Personal Story
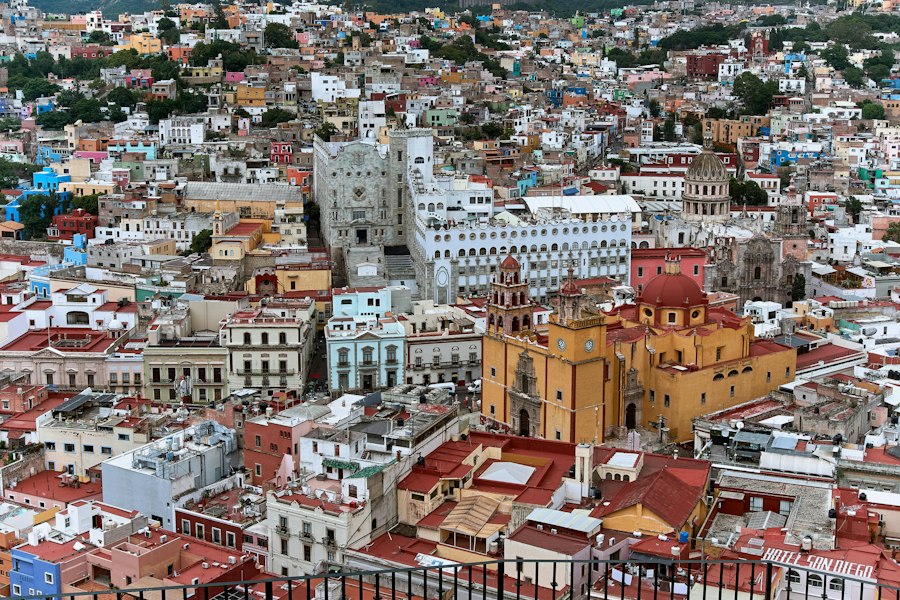
Let me share a quick story about how I learned the hard way while practicing my own street photography. When I first visited the Pipila Viewpoint, I took dozens of pictures of the famous city panoramic view. I was set to standard settings, aiming straight at the valley during midday light.
When I looked at my computer screen later, the photos looked flat. The yellow buildings were washed out, the blue sky was pure white, and the visual composition felt totally messy without a clear focal point. I had made two classic mistakes: bad timing and bad composition.
Now try this fix that transformed my images. I returned to the spot during the golden hour just before sunset. Instead of placing the horizon line in the exact middle, I applied the Rule of Thirds. I placed the massive Juarez Theater along the lower grid line and let the dramatic evening clouds fill the upper two-thirds. I turned on my Exposure Compensation dial to lower the exposure, preventing the bright sun spots on the walls from blowing out. The result was a rich, dynamic scene with golden light painting the entire mountain side. Your Guanajuato urban photography 2026 photos will look instantly professional when you apply these simple adjustments!
Step-by-Step Guide to Shooting Iconic Locations
Ready to hit the streets? Follow this simple step-by-step workflow to get incredible shots at three famous spots around town.
Step 1: Frame the Callejon del Beso
This legendary narrow alleyway is famous because two balconies almost touch across the street. First, let's look at the lighting. The narrow walls block direct sunlight, creating heavy shadows. Switch your lens to a wide 24mm view, set your aperture to f/2.8, and tilt your camera upward. Use the leading lines of the brick walls to direct the viewer's eye straight up to the balconies where the story happens.
Step 2: Master Underground Tunnel Exposures
The city's historic underground roadway network offers an eerie, atmospheric vibe that is perfect for modern street photography. To get clean shots without blurry details, mount your camera onto your tripod. Set your ISO to 200 for maximum image quality, close your aperture to f/8, and set a slow shutter speed of 2 to 4 seconds. As car tail lights pass through your frame, you will capture bright red light trails slicing through the historic stone arches.
Step 3: Capture Dynamic Street Life at Plaza de la Paz
Now try this high-energy street exercise. Stand near the yellow Basilica of Our Lady of Guanajuato. To make your subject pop from the background, select a fast prime lens like a 50mm f/1.8. Align your shot so a street musician or flower vendor stands in front of the warm yellow church wall. The wide aperture creates smooth bokeh, separating your subject cleanly from the busy street background. If you want to check your camera sensor's high-ISO capabilities for these scenes, review the detailed lab tests on Matthias Weber digs into the craft of travel photography, from camera settings to editing. He explains the technical side in plain language so you can spend less time fiddling with dials and more time shooting.
💬 Comments (0)
No comments yet. Be the first!