Tips for Chamonix mountain photography 2026
Master Chamonix mountain photography 2026 with our expert guide to capturing sharp alpine peaks and dramatic glaciers.
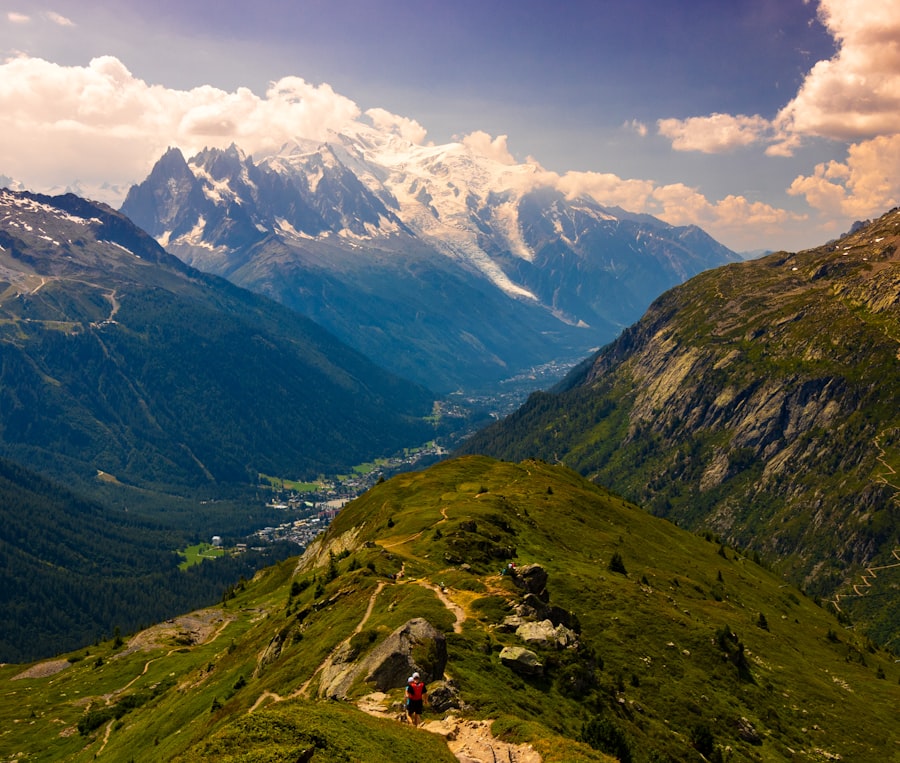
If you want to capture the alpine magic of the French Alps, mastering Chamonix mountain photography 2026 is the ultimate goal for your next portfolio upgrade. I still remember the first time I stood on the viewing platform at the Aiguille du Midi. The air was thin, my fingers were freezing, and the majestic peaks of the Mont Blanc massif were glowing in a deep crimson hue. I raised my camera, clicked the shutter, and felt an instant rush of adrenaline. But when I looked at the LCD screen, my heart sank. The snow was a dull, muddy gray, and the beautiful details of the crevasses were completely lost in a dark shadow. I had made some classic amateur mistakes, but today, I am going to share my hard-won secrets so you can avoid those pitfalls and create breathtaking images on your very first try.
The secret is to understand how high-altitude light works and how to force your modern camera gear to see the world the way your eyes do. In this guide, I will coach you through the essential settings, gear choices, and compositional techniques that will elevate your Chamonix mountain photography 2026 from simple snapshots to gallery-worthy masterpieces.
Understanding High-Altitude Exposure and Light
First, let's look at the unique challenges of shooting in the high Alps. When you are surrounded by massive glaciers and white snowfields, your camera’s light meter gets incredibly confused. It wants to turn that bright, reflective white snow into a neutral, 18% gray. This is why my first photos turned out so dark and disappointing.
To fix this, you must master Exposure Compensation. This is a manual override feature on your camera that tells it to make the image brighter or darker than what its automatic brain thinks is correct. When shooting bright snowscapes in Chamonix, you will want to dial your Exposure Compensation to +1 or even +2. This forces the camera to keep the whites looking bright, clean, and crisp.
Now try this: always shoot in RAW vs JPEG. A JPEG file is compressed by your camera, meaning the camera throws away valuable color and shadow data to make the file smaller. A RAW file, however, saves every single bit of data your sensor captures. When you are back at your hotel editing your files, RAW gives you the power to rescue overexposed highlights in the snow and pull details out of the deep rock shadows without losing image quality.
The Golden Rule of Alpine Exposure: Expose for the highlights! Keep an eye on your camera's histogram. It is far easier to recover dark shadows in post-processing than it is to fix "blown-out" white snow that has zero detail left in it.
Essential Camera Settings and Gear for Chamonix
To get the sharpest possible images of the jagged peaks, you need to configure your camera correctly before you step off the cable car. Your choice of settings can make or break your day in the mountains.
Recommended Settings for Mountain Landscapes
- ISO: Keep this as low as possible, ideally ISO 100. DPReview guides emphasize that low ISO values minimize digital noise, ensuring your vast mountain skies remain silky smooth and clean.
- Aperture: Use sweet-spot apertures like f/8 or f/11. This gives you a deep depth of field, keeping both the foreground rocks and the distant peaks tack-sharp.
- Shutter Speed: If you are shooting handheld, keep your shutter speed high (at least 1/250s) to combat any wind shake or hand tremors caused by the freezing cold.
Must-Have Gear for the French Alps
- A Sturdy Tripod: Essential for those golden hour exposures and long-exposure cloud movements over Mont Blanc.
- Circular Polarizer (CPL): This filter screws onto the front of your lens to cut through atmospheric haze, deepen the blue of the sky, and reduce glare on glacial ice.
- Spare Batteries: Extreme alpine cold drains lithium-ion batteries rapidly. Keep your spares in an inside pocket close to your body heat!
Your Chamonix mountain photography 2026 journey will also benefit from understanding how to use lens blur creatively. While we want landscapes to be sharp from front to back, you can use a wide-open aperture like f/2.8 to create a beautiful, creamy background blur known as Bokeh. This is perfect when you want to isolate a colorful alpine wildflower in the foreground while keeping the towering mountains as a soft, dreamlike backdrop.
Step-by-Step Guide to Composing Your Alpine Shot
Now that your settings are locked in, how do you actually frame the shot to create a sense of scale and drama? Let us walk through a practical exercise together.
Step 1: Find a Strong Foreground Anchor
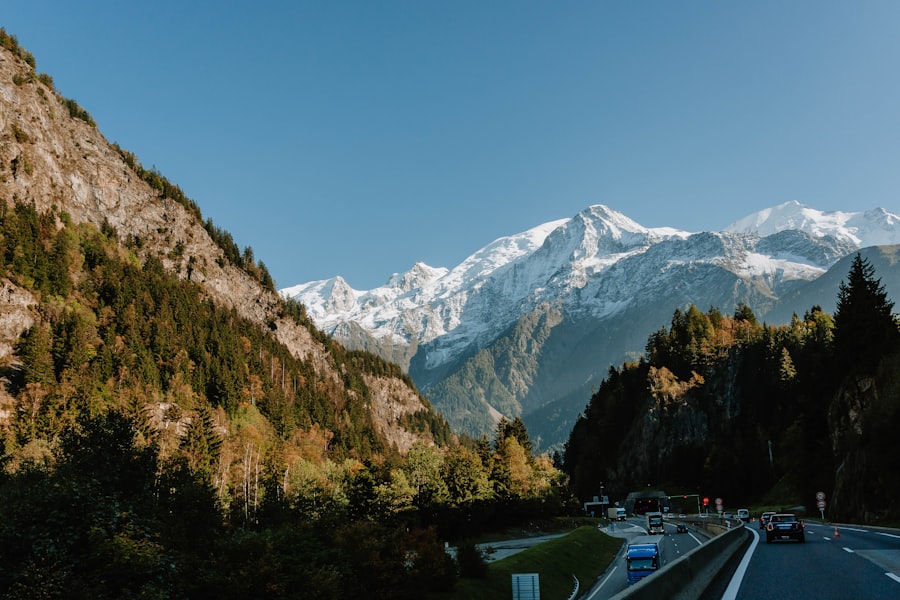
Do not just point your camera at the horizon. Find a leading line, a unique boulder, a patch of alpine grass, or a frozen puddle. This gives the viewer's eye an entry point into the frame and immediately establishes a powerful sense of depth.
Step 2: Apply the Rule of Thirds
Imagine your frame is divided by two horizontal and two vertical lines, creating a grid of nine equal squares. Place your main mountain peak, or the horizon line, along these gridlines or at their intersection points. For example, place the valley floor on the bottom third line and let the towering peaks of Chamonix dominate the upper two-thirds of your image.
Step 3: Check Your Corners and Shoot
Before you press the shutter button, scan the edges of your viewfinder. Make sure there are no distracting elements like stray branches, cable car wires, or tourist backpacks cutting into the frame. Once the edges are clean, hold your breath to steady yourself, and take the shot.
The Before & After: A Lesson in Alpine Lighting
Let me paint a picture of a mistake I made at Lac Blanc, one of the premier locations for Chamonix mountain photography 2026. I arrived at midday under a harsh, overhead sun. I set up my camera and took a shot of the famous reflection of the Aiguilles Rouges in the water.
The Before: The resulting image was flat, lifeless, and harsh. The shadows under the rock ledges were pitch black, the snow looked clinical and blinding, and the lake reflection was marred by a strong midday breeze that rippled the water. There was no emotion, no story, and no drama.
The After: I decided to wait. I wrapped myself in an extra layer and stayed until the late afternoon. As the sun began to dip behind the western peaks, the light transformed. The harsh glare turned into a warm, golden glow. The wind died down, turning the lake into a perfect, glass-like mirror. By applying a slight positive Exposure Compensation, shooting in RAW, and using a Circular Polarizer to cut the surface glare, the final image was spectacular. The mountains glowed orange, the shadows were soft and filled with blue light, and the reflection was razor-sharp. Patience and understanding your camera settings are the true keys to success.
Mastering Post-Processing for 2026 Alpine Trends
Once you return from the trails, the creative process is only half finished. Digital sensors are designed to capture flat, neutral images in RAW so that you have the maximum flexibility to style them later. Using professional software like Lightroom or Photoshop is where your personal style comes to life.
When editing your Chamonix mountain photography 2026 files, focus on enhancing contrast naturally. For a modern, clean look, check out the latest Adobe tutorials on color grading. You can subtly warm up your highlights to mimic the golden alpine glow, while cooling down your shadows with a touch of blue or teal to emphasize the cold, icy environment of the glaciers. Don't forget to use the "Dehaze" slider sparingly to clear up any atmospheric moisture and reveal the intricate cracks and textures of the ancient glacial ice.
With these expert tips, your camera settings dialed in, and a patient, observant eye, you are fully equipped to capture the raw, untamed beauty of the Alps. Your photos will look professional, sharp, and deeply atmospheric. Grab your gear, head up into the mountains, and let your creativity soar in Chamonix!
Frequently Asked Questions
What is the best season for mountain photography in Chamonix in 2026?
Late spring to early autumn (May through September) offers optimal lighting and accessible trails, though winter captures dramatic snowscapes. Check local forecasts before heading out.
What essential photography gear is recommended for Chamonix's mountain conditions?
Bring a sturdy tripod, wide-angle and telephoto lenses, and ND filters to handle bright alpine light and fast-changing weather. Layered clothing and lens cloths are also crucial.
How can I capture the Mont Blanc range effectively?
Use sunrise or sunset light for warm tones, and include foreground elements like wildflowers or icicles to add depth and scale to the massive peaks.
What camera settings work best for Chamonix's high-contrast mountain scenes?
Shoot in raw with aperture around f/8 to f/11 for sharpness, and use exposure bracketing (0, -2, +2 EV) to handle bright snow and shadowed valleys.
Are there any photography permits required in the Alps near Chamonix in 2026?
Drone usage requires a permit from local authorities and remains restricted in protected areas; commercial shoots also need special authorisation. For nature photography, standard trail access is free.

Matthias Weber digs into the craft of travel photography, from camera settings to editing. He explains the technical side in plain language so you can spend less time fiddling with dials and more time shooting.
💬 Comments (0)
No comments yet. Be the first!