Munich Beer Hall Photography Guide
Capture the moody, amber-lit interior of Munich beer halls with this essential photography guide for your 2026 trip.
Munich Beer Hall Photography Guide
Mastering Munich beer hall photography requires a blend of patience, technical precision, and an appreciation for the boisterous, golden-hued atmosphere that defines Bavaria. When you step into these historic wooden cathedrals of malt and hops, you are not just entering a restaurant; you are stepping into a centuries-old tradition where light dances off heavy glass steins and the air vibrates with the sound of brass bands. Whether you are a professional looking to capture the essence of German culture or an enthusiast aiming for that perfect shot of a foaming liter of lager, this guide will walk you through the gear, settings, and locations you need to create a portfolio that captures the authentic vibe of these iconic spaces.
Understanding the Unique Lighting Challenges
The primary challenge in any tavern environment is the lighting. These spaces are intentionally designed to be dim, warm, and cozy. You are often fighting a mix of low ambient light, harsh spotlights, and the flickering glow of candles or wall sconces. To achieve sharp results, your camera settings need to be optimized for low-light performance.
Mastering ISO and Aperture
Because you want to avoid using a flash—which would instantly kill the authentic mood—you must embrace a wide aperture. I recommend using a lens with an f/2.8 or wider aperture to let in as much light as possible. Pair this with a high ISO. Do not be afraid to push your sensor to 3200 or 6400; modern post-processing software can handle the noise, but you cannot fix a blurry, motion-blurred image caused by a shutter speed that is too slow.
Balancing White Balance
The warm, orange glow of a beer hall is its signature aesthetic, but if your camera is set to "Auto White Balance," it might try to neutralize those beautiful colors into a flat, sterile gray. Set your white balance manually to a warmer setting or shoot in RAW so that you can adjust the temperature during your editing process to retain that inviting, amber-toned glow.
Hofbrauhaus: The Grand Stage
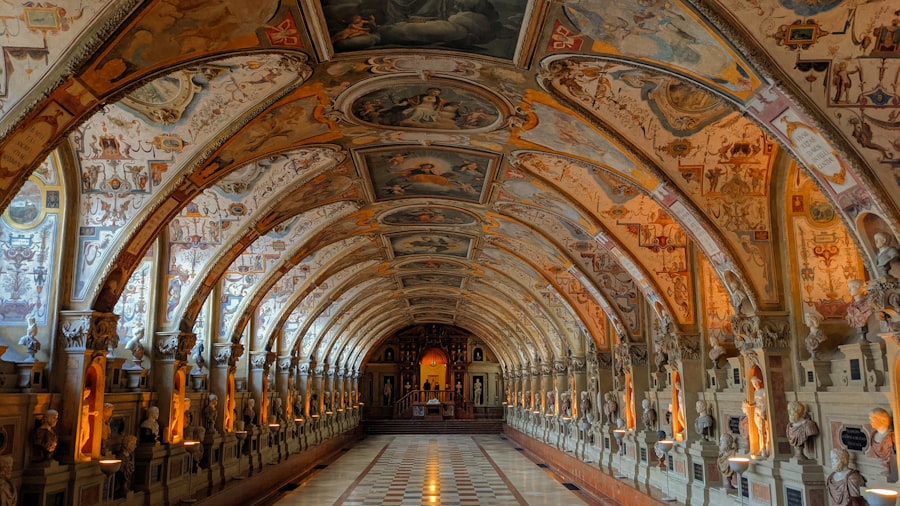
No trip to Munich is complete without visiting the world-famous Hofbrauhaus. Located a short walk from Marienplatz, this three-story institution is a paradise for those interested in Munich beer hall photography. The main hall features massive vaulted ceilings, painted murals, and long communal benches that have hosted everyone from locals to royalty.
- Arrive before 10:00 AM to capture empty benches and clear lines of sight before the crowds descend.
- Use a wide-angle lens to capture the scale of the vaulted ceilings.
- Focus on the details, such as the intricate patterns on the liter-sized glass steins.
Pro Photography Tips: If you are struggling with framing in a crowded room, look for reflections in the beer steins. A close-up shot of a glass reflecting the entire bandstand can tell a more intimate story than a wide landscape shot ever could.
Augustiner-Keller: The Rustic Charm
If you prefer an atmosphere that feels slightly more authentic and less tourist-centric, head to Augustiner-Keller near the central train station. This venue is legendary for its massive outdoor beer garden, but the indoor halls are where the true architectural magic happens. The wood-paneled walls and low, heavy timber ceilings provide a masterclass in texture and depth.
Finding the Right Angle
When shooting in the halls, avoid standing directly in the center of the aisle. Instead, find a seat at the edge of a table and use your surroundings as a natural frame. By shooting across the length of the table, you can create a leading line that draws the viewer’s eye directly toward the band or the bar.
Composition Techniques
Utilize the "Rule of Thirds" to balance your subjects. Place your beer stein or a server in the foreground to create a sense of depth, while keeping the bustling crowd in the background blurred with a shallow depth of field. This technique emphasizes the subject while maintaining the energetic vibe of the room.
Lowenbraukeller: Architectural Grandeur
Located on Nymphenburger Strasse, the Lowenbraukeller offers a slightly more sophisticated aesthetic. With its high ceilings, dramatic chandeliers, and classic Bavarian decor, this is the perfect spot to practice your architectural composition. The scale of this space is immense, making it a great location to test your dynamic range.
Pro Photography Tips: Always shoot in RAW format. The high contrast between the dark corners of the hall and the bright, artificial lighting near the service windows can be tricky for JPEGs. RAW files will give you the flexibility to recover shadows and tone down highlights in post-production.
Proximity and Crowd Dynamics
Capturing the vibe of these locations is impossible if you are distant. You need to get close to the action. This does not mean being intrusive, but rather becoming part of the environment. Here are a few tips for managing the crowd:
- Ask permission before taking portraits of locals; a friendly smile and a "danke" go a long way.
- Use a prime lens (like a 35mm or 50mm) to move physically closer to your subjects.
- Observe the flow of the servers; they move with incredible speed and rhythm, creating perfect opportunities for motion-blur photography.
The Beer as Your Subject
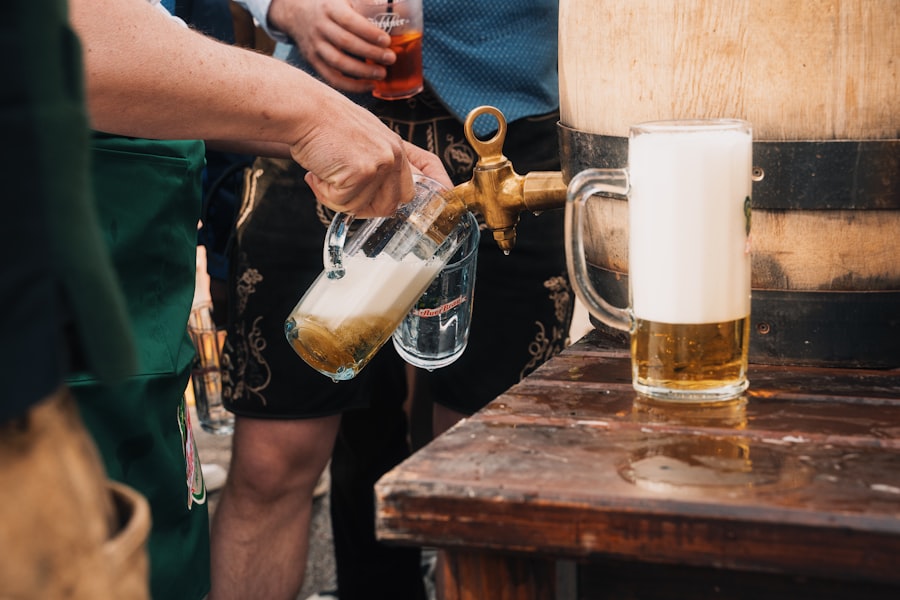
Munich beer hall photography is incomplete without focusing on the star of the show: the beer itself. The golden liquid, the thick white foam, and the heavy condensation on the glass are iconic elements of the experience. Try placing your glass near a light source—like a window or a lantern—to catch the highlights through the glass. This will make the beer glow with a rich, golden hue that is synonymous with the region.
Macro Perspectives
Don't just shoot the whole stein. Get close. Capture the beads of water running down the side of the glass. Focus on the texture of the foam. These small, tactile details help viewers feel the coolness of the beer and the heat of the hall simultaneously.
Essential Gear Checklist
To ensure you capture the best Munich beer hall photography possible, pack light but pack smart. You will be moving through crowded rooms, so large tripods are out of the question.
- A camera body with excellent high-ISO noise performance.
- A fast prime lens (f/1.8 or f/2.0) for low-light success.
- A backup battery; the cold of the beer halls and the constant shooting can drain power quickly.
- A discreet cleaning kit for when your lens inevitably gets hit with a stray splash of lager.
By focusing on the unique lighting, finding interesting angles, and respecting the cultural history of these institutions, you will be able to document the vibrant soul of Bavaria. Remember, the best images are those that capture the feeling, not just the room. Enjoy the process, take your time, and don't forget to put the camera down eventually to enjoy a fresh liter yourself.
Frequently Asked Questions
What are the best Munich beer halls for photography?
The Hofbräuhaus, Augustiner-Keller, and Löwenbräukeller offer iconic interiors and lively atmospheres perfect for capturing Munich's beer culture.
Do I need permission to take photos in Munich beer halls?
Generally, photography for personal use is allowed, but always ask staff before taking close-ups of patrons or using flash.
What camera settings work best in dimly lit beer halls?
Use a wide aperture (f/1.8–2.8), high ISO (1600–3200), and a slow shutter speed (1/30–1/60s) to capture sharp images in low light.
Can I photograph the beer and food in beer halls?
Yes, food and drink photography is usually welcome, but avoid disrupting other guests and use natural light when possible.
What are the best times to photograph Munich beer halls?
Late afternoon before the dinner rush offers good natural light and fewer crowds, while evenings provide vibrant, bustling scenes.

Oliver Janssen scouts the best photography spots in every destination, from sunrise viewpoints to overlooked angles on famous landmarks. He shares exactly where to stand and when to be there for the shot.
💬 Comments (0)
No comments yet. Be the first!