Tulum Cenote Photography 2026: Pro Tips
Capture stunning Tulum cenote photography 2026 with these expert tips on handling tricky lighting, humidity, and reflection challenges.
Tulum cenote photography 2026 is an art form that blends natural light, crystalline water, and ancient limestone architecture into one stunning frame.
If you are planning your trip to the Yucatan Peninsula for Tulum cenote photography 2026, you are likely dreaming of those ethereal beams of light piercing through the cave ceilings. However, these subterranean swimming holes are notoriously tricky. I remember my first trip to a cenote near Tulum; I brought my expensive camera, but every shot turned out blurry, underexposed, or washed out by reflection. I had to learn the hard way that you cannot treat these locations like a standard landscape. Today, I am going to be your coach and guide you through the process of capturing these wonders perfectly.
Understanding the Light
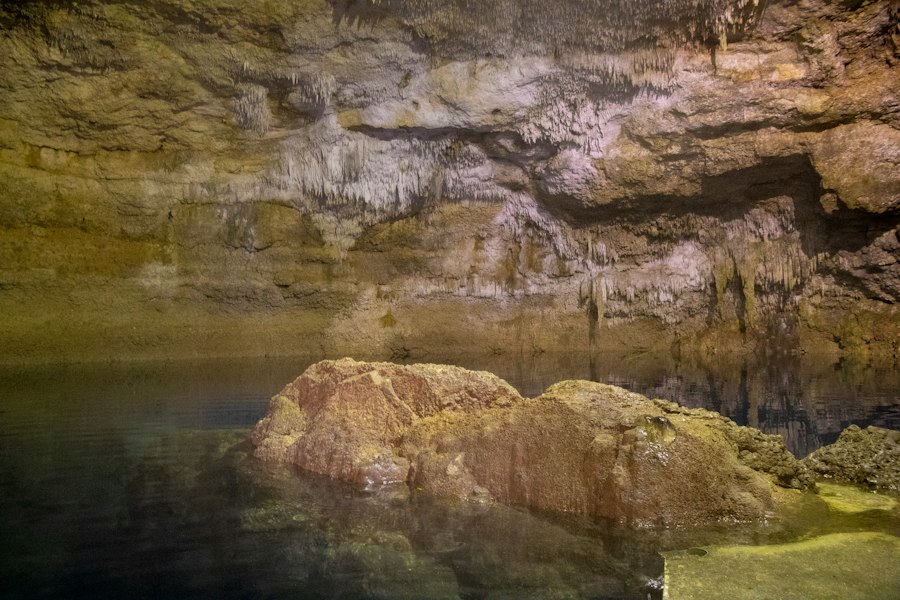
The biggest challenge in Tulum cenote photography 2026 is the contrast. You have bright, vertical shafts of sunlight hitting the water while the surrounding cave walls remain in deep, dark shadows. Your camera's light meter will often get confused, leading to blown-out highlights or crushed blacks where you lose all detail in the dark rocks. To master this, you must learn to use Exposure Compensation. This tool allows you to manually override your camera's judgment, pushing the exposure down to keep those light beams from becoming pure, featureless white blobs.
Must-have Gear for Underground Shots
Before we dive into the technical settings, you need to be prepared with the right equipment. Water, humidity, and low light are the trifecta of a camera's worst nightmare. Here is what you need for your Tulum cenote photography 2026 kit:
- A wide-angle lens (16-35mm) to capture the vastness of the cave ceilings.
- A circular polarizer to cut through surface reflections and see into the water.
- A sturdy, lightweight travel tripod for long exposures in low light.
- A high-quality waterproof housing or a dry bag if you plan on getting in the water.
- A microfiber cloth—you will be wiping condensation off your lens every ten minutes.
Step-by-Step: Capturing the Perfect Beam
Follow this workflow to ensure your results look professional. I suggest practicing this sequence before you even reach the water.
1. Shoot in RAW
Never rely on JPEG files. Shooting in RAW format saves all the data from your sensor, allowing you to recover shadows and highlights in post-processing later. If you shoot JPEG, the camera compresses the image and throws away the data you will need to fix lighting mistakes.
2. Lock Your Focus
In low light, your autofocus might hunt around, unable to find a contrast point. Switch to manual focus if necessary. Use the Rule of Thirds to place the light beam or the cave opening off-center for a more dynamic composition.
3. Manage Your ISO and Aperture
Use a wide aperture (like f/2.8) to let in more light. If your shutter speed is too slow to hold by hand, bump up your ISO. While higher ISO introduces digital noise, it is better to have a sharp, slightly grainy photo than a perfectly clean, blurry one.
Golden Rule: For the best results in Tulum cenote photography 2026, always prioritize a fast shutter speed to freeze the movement of swimmers or water droplets, even if it means pushing your ISO sensitivity higher than you normally would.
Advanced Techniques for 2026
Now that you have the basics, let us talk about Bokeh. By using a wide aperture, you can create a soft, blurred background when photographing portraits of friends in the cenote. This separates the subject from the busy limestone texture of the cave walls. If you want to dive deeper into the technical specifications of your camera's sensor performance at high ISOs, you can check the official documentation at Sony Camera Support or Canon Professional Services to see exactly how your model handles low-light noise.
My biggest failure in the past was ignoring the water surface. I tried to shoot through the reflection of the cave ceiling, which resulted in a messy, double-layered image. By using a circular polarizer, I was able to rotate the glass to eliminate that glare, turning the water from a mirror into a transparent window into the underworld. Your Tulum cenote photography 2026 will transform instantly when you start controlling these reflections.
Post-Processing for the Professional Look
Even the best photographers spend time at their computers. Because the light in these caves is often cool or blue-tinted, you might find your images look a bit too "cold." Use your white balance settings to warm up the shadows. If the light beams look flat, adjust the "Clarity" or "Texture" sliders in your editing software to make the limestone rock pop against the soft, glowing water.
Don't forget to protect your gear. Tulum cenote photography 2026 involves a lot of moisture. Before you even set up your tripod, check for humidity on your lens. If you come from a hot, humid jungle into a cooler cave, your lens will fog instantly. Let your camera acclimatize to the environment for ten minutes before shooting.
Finally, remember that the goal is not just to take a photo, but to capture the feeling of the space. Look for the small details: the way the water drips from a stalactite, the texture of the moss on the rocks, or the silhouette of a person jumping into the water. By combining technical precision with your own artistic eye, your Tulum cenote photography 2026 will stand out from the crowd. Keep practicing, keep shooting, and most importantly, enjoy the incredible nature that Mexico has to offer.
Frequently Asked Questions
What is the best time of day for cenote photography in Tulum?
Arrive right at opening around 8 AM to catch soft light and avoid crowds. Midday sun creates harsh shadows, so early morning or overcast days work best.
What camera settings should I use inside a Tulum cenote?
Use a wide-angle lens with an aperture around f/4 to f/8 and bump your ISO to 800 or higher in dim caves. A tripod helps with low-light stability since flash is often restricted.
Do I need a waterproof camera for cenote photography?
Not always, but a waterproof housing or GoPro is essential if you plan to shoot half-submerged or underwater shots. Above-water cenotes only need a standard camera with a rain cover for drips.
How do I handle the low light levels in Tulum cenotes?
Bring a fast wide-angle lens and a sturdy travel tripod to allow longer exposures without blur. You can also use a small LED light panel for filling in dark areas without flash.
Are there photography restrictions in Tulum cenotes in 2026?
Many cenotes now require permits for professional shoots and prohibit drones, tripods at peak hours, or flash. Always check with the specific cenote site in advance and respect local rules.

Matthias Weber digs into the craft of travel photography, from camera settings to editing. He explains the technical side in plain language so you can spend less time fiddling with dials and more time shooting.
💬 Comments (0)
No comments yet. Be the first!