Tromso aurora photography 2026 guide
Learn essential camera techniques for Tromso aurora photography 2026 to capture crisp northern lights photos on your trip.
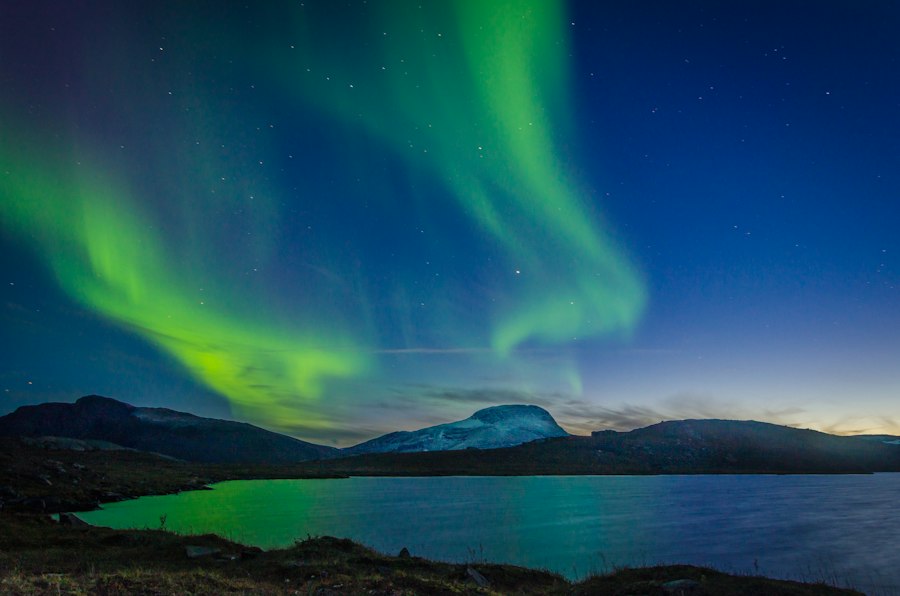
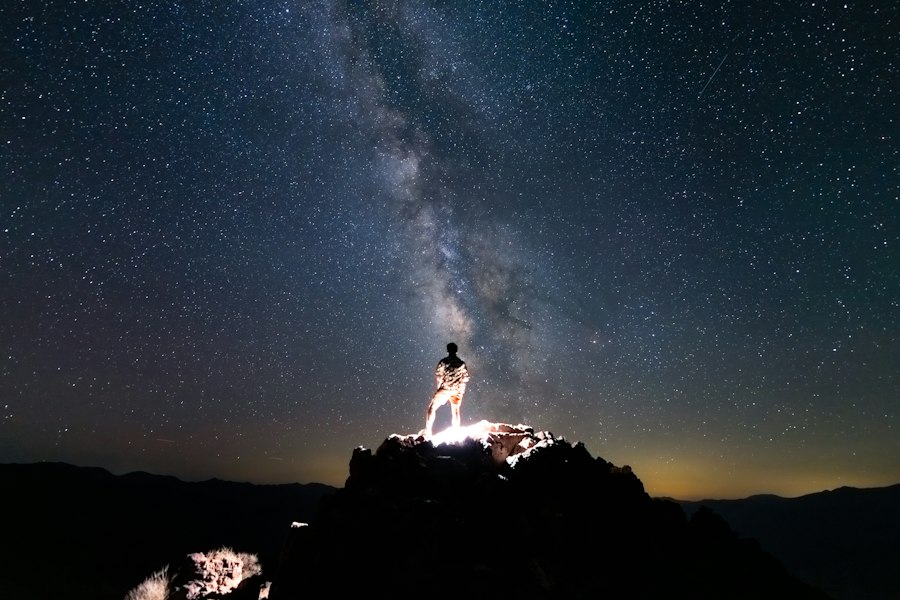
Mastering Tromso aurora photography 2026 techniques will transform your trip to the Arctic Circle into a portfolio-building masterpiece. I still remember standing on a frozen fjord near Tromso, shivering uncontrollably while staring at my camera screen. My first Northern Lights shot was a complete disaster. It looked like a blurry, dark green smudge because I trusted my camera auto settings. I almost gave up, but after tweaked my setup, the next frame blew me away. The vivid green ribbons danced across a crystal clear, night sky. I want to guide you so you skip those painful mistakes and capture jaw-dropping images on your very first night.
Why 2026 is the Peak Year for Tromso Aurora Photography
If you have been dreaming about seeing the Northern Lights, you picked the absolute best year to travel. Solar Activity Cycle 25 reaches its absolute peak around late 2025 and early 2026. This means the sun is throwing massive coronal mass ejections toward Earth, creating intense, vibrant solar storms. Tromso sits right under the auroral oval in northern Norway, making it ground zero for these spectacular displays.
First, let us look at what makes this coastal city so special. You get dramatic mountains dropping straight into deep blue fjords, combined with incredible dark-sky locations just twenty minutes outside the city center. During the 2026 season, the auroras will not just be faint green glows. You will likely see bright pink, purple, and white pillars sweeping across the sky. To capture these fast-moving light curtains, you need precise control over your gear.
Essential Camera Gear for the Arctic Night
You do not need a twenty-thousand-dollar cinema setup to get pro-level results, but you do need the right tools for dark, freezing environments. Let us break down what should be inside your camera bag.
Must-have Gear List
- Full-frame Camera Body: Modern sensors handle high sensitivity settings much better with far less noise. Check out current camera capabilities on the official Sony or Canon spec pages to see how low-light technology has evolved for 2026.
- Fast Wide-Angle Lens: A focal length between 14mm and 24mm with an aperture of f/1.4 to f/2.8 is ideal. Wide angles let you capture both the vast land and the massive sky.
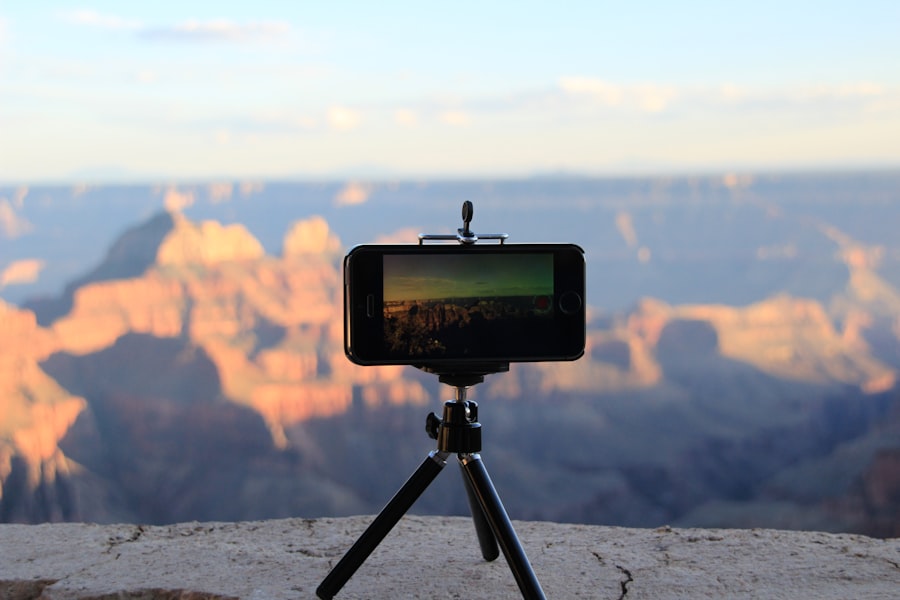
- Heavy-Duty Tripod: Arctic winds along the fjords can be fierce. A flimsy aluminum tripod will shake, ruining your long exposures. Carbon fiber tripods perform better in extreme cold.
- Extra Spare Batteries: Extreme freezing cold drains lithium-ion batteries rapidly. Keep three or four spare batteries warm inside your inner jacket pocket until the moment you shoot.
- Lens Warmer Band: Moisture in the Arctic air freezes onto your front glass, causing subtle ruin to your sharpness. A USB-powered heating strip wraps around your lens to keep condensation away.
Understanding Photography Jargon and Settings
To take total control of your camera, you need to abandon Auto mode and switch over to Manual mode. Do not let that intimidate you. Photography is just about balancing light, and I will coach you through every single variable.
The secret is knowing how ISO, aperture, and shutter speed interact under a dark night sky. ISO measures your sensor sensitivity to light. A low value like ISO 100 is great for bright sunshine, but at night in Norway, you will boost your ISO up to 1600, 3200, or even 6400. Higher numbers make your image brighter, but they add grain, also known as digital noise. Modern post-processing tools described on DPReview can easily clean up noise later, so do not be afraid to boost your ISO to catch faint light.
Next comes your aperture, measured in f-stops. You want your aperture as wide open as possible, which means choosing the lowest number, like f/1.4, f/2.0, or f/2.8. A wide aperture lets maximum light hit your sensor. It also creates a shallow depth of field, which in daytime photography produces a soft blurred background known as Bokeh. At night, we focus to infinity so the stars remain tack-sharp point sources of light.
Golden Rule Cheat Sheet: Never shoot auroras in JPEG format. Always switch your file mode to RAW. RAW files retain all original sensor data, allowing you to salvage dark shadows and adjust white balance accurately without degrading image quality during editing.
Do not forget to turn off built-in Exposure Compensation when shooting in full Manual mode, as your manual choices override auto-metering. Also, manually turn off built-in optical image stabilization when mounted on a tripod, because the system might create artificial micro-jitters trying to correct motion that is not there.
Step-by-Step Guide to Shooting the Northern Lights
Now try this complete setup routine the moment you pull up to your chosen Arctic fjord location in 2026.
Step-by-Step Field Workflow
- Step 1: Set up your tripod firmly in the snow. Push the tripod legs deep into the snow until they hit solid ground or ice below, ensuring zero wobble.
- Step 2: Switch your focus to Manual Focus (MF). Turn off Auto Focus completely. Turn on your camera Focus Peaking or use Live View screen zoom. Target a bright star in the sky, zoom in electronically 10x on your screen, and carefully adjust your focus ring until the star becomes a tiny, sharp dot. Tape the focus ring down with gaffers tape so it does not slip in the cold.
- Step 3: Dial in your starting exposures. Set your lens to its widest aperture like f/2.8. Dial your ISO to 3200. Set your shutter speed to 2 seconds if the aurora is moving fast, or 6 seconds if it is a slow, soft glow.
- Step 4: Enable the two-second shutter timer. Pressing the shutter button with your bare finger causes subtle camera vibration. Using a 2-second delay or an external remote shutter release guarantees a motionless shot.
- Step 5: Review your histogram. Look at the graphical display on your screen. You want your graph mountain centered or leaning slightly to the right, ensuring you captured light without blowing out the highlights in the bright green core.
Before and After: Fixing a Classic Aurora Photography Fail
Let us look at a real-world scenario so you know how to adapt when things do not go as planned. Imagine standing at Sommaroy bridge near Tromso.
Before: Your shutter speed is set to 25 seconds at ISO 800. You look at your screen, and the aurora looks like an oversaturated, smooth green mass without any visible dynamic lines or sharp vertical pillars. The stars look like streaks instead of points because the earth rotated during the long exposure. You feel disappointed because the photo does not match what your eyes saw.
After: You diagnose the problem. The aurora was dancing quickly, so a 25-second shutter speed blurred all the fine detail together. You change your settings immediately. You drop your shutter speed down to 2 seconds, raise your ISO to 4000 to compensate for the lost time, and keep your aperture wide at f/2.0. You fire another shot. Boom! The new image reveals distinct, pin-sharp vertical purple ribbons of light, crisp distant mountains, and pinpoint stars. By shortening your exposure time, you froze the fast motion of the curtain.
Composition Strategies with the Rule of Thirds
Great lighting is only half the battle; composition is what elevates a snapshot into art. A plain green sky with no context gets boring fast. You need striking foreground elements to give your photograph scale and a sense of place.
Now try this classic compositional technique called the Rule of Thirds. Imagine dividing your camera viewfinder into a three-by-three grid with nine equal rectangles. Instead of placing the horizon straight across the middle of the frame, place the land along the bottom horizontal grid line if the sky is exploding with bright lights. If the sky is quiet, move the horizon to the upper grid line, giving two-thirds of your frame to a dramatic frozen beach, an icy red Norwegian fishing cabin, or a reflecting fjord.
Try placing a companion, a tent with a warm orange light inside, or a wooden boat on one of the grid intersection points. The contrast between the warm orange artificial light on the ground and the cool green auroral light above creates powerful visual harmony that immediately captures the viewer eye.
Final Checklist for Your 2026 Adventure
Before you jump into your rental car and head out into the dark Norwegian night, run through your mental preparation one last time. Make sure your memory cards are high-speed, cleared, and formatted. Double check that your camera records in uncompressed RAW format rather than compressed JPEG.
Dress in warm woolen layers, bring extra thermal gloves so your fingers remain nimble enough to push small buttons, and pack a headlamp with a red-light mode to preserve your night vision while adjusting settings. With the solar maximum at its absolute height, mastering Tromso aurora photography 2026 techniques will ensure you return home with unforgettable memories and breath-taking, professional-quality images that will last a lifetime. Get out there, brave the cold, and enjoy the magical dance of the Arctic sky!
Matthias Weber digs into the craft of travel photography, from camera settings to editing. He explains the technical side in plain language so you can spend less time fiddling with dials and more time shooting.
💬 Comments (0)
No comments yet. Be the first!