5 Travel Tripod Tips 2026
Master your landscape shots with these essential travel tripod tips 2026. Learn how to keep your camera stable anywhere.
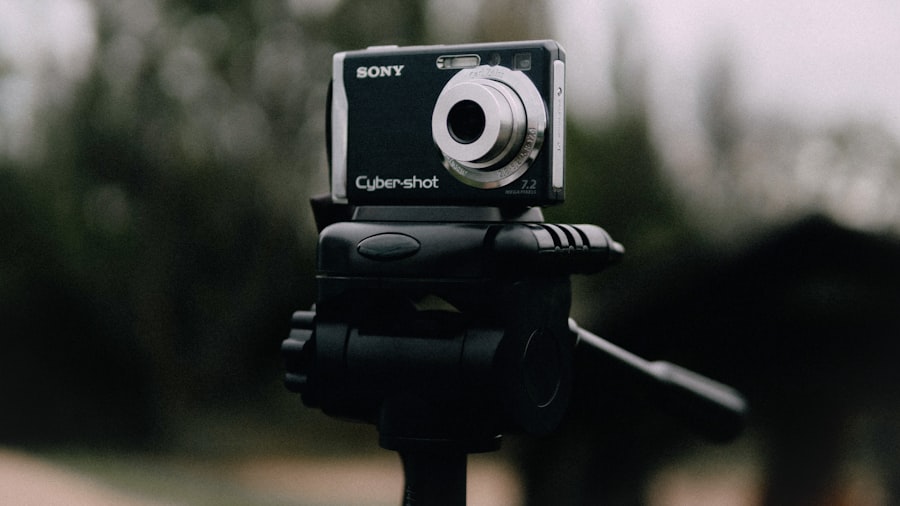
Mastering these travel tripod tips 2026 will completely transform the way you capture the world on your next adventure. I still remember standing on a windy cliff in Iceland a few years ago, watching the northern lights dance across the sky. I tried to handhold my camera, bumping my ISO (the setting that controls your camera sensor's sensitivity to light) to its maximum limit. The result? A blurry, noisy mess that looked like colorful static. Once I finally locked my camera onto a sturdy three-legged companion, dialed my ISO down to 100, and opened the shutter for ten seconds, the magic happened. The dark sky turned into a clean, crisp ink-blue canvas painted with sharp, emerald-green ribbons. That night taught me that a tripod is not just an accessory; it is your ticket to creative freedom.
Whether you are trying to capture the silky flow of a waterfall, shoot a bustling city at twilight, or get yourself into a stunning landscape frame, your tripod is your most valuable tool. In this guide, I will coach you through the ultimate travel tripod tips 2026 so you can pack light, shoot smart, and bring home gallery-worthy images from your travels this year.
1. Choose the Right Support System for 2026
The secret is finding the perfect balance between stability and weight. In 2026, carbon fiber technology has become incredibly affordable, offering maximum stiffness with minimal weight. When you are hiking five miles up a mountain path, every single ounce counts. You want a system that folds down small enough to fit inside your carry-on bag but can still support the weight of your specific camera body and heaviest lens.
Before you buy, check the load capacity of the ball head. A good rule of thumb is to choose a tripod that can support at least twice the weight of your current camera setup. This ensures that wind and accidental vibrations will not ruin your long exposure shots.
Must-Have Gear Checklist
- Carbon Fiber Legs: To absorb micro-vibrations while keeping your backpack light.
- Arca-Swiss Compatible Ball Head: For quick mounting and leveling on uneven terrain.
- L-Bracket: This simple metal plate allows you to switch from landscape to portrait orientation instantly without changing the center of gravity.
- Stone Bag or Weight Hook: To hang your backpack under the center column for extra stability on windy days.
2. Master the Setup and Stability Routine
First, let us look at how you actually set up your gear on location. Many photographers make the mistake of extending the thinnest leg sections first. Always extend the thickest, uppermost leg sections first. This keeps the strongest part of the structure closest to your camera, providing a much firmer foundation.
Now try this: avoid raising the center column whenever possible. Extending the center column turns your stable tripod into a monopod sitting on three legs, making it highly susceptible to wind shake. If you need extra height, try to adjust the leg angles first. For more technical details on camera stability and body weights, you can explore the official Canon camera resource guides.
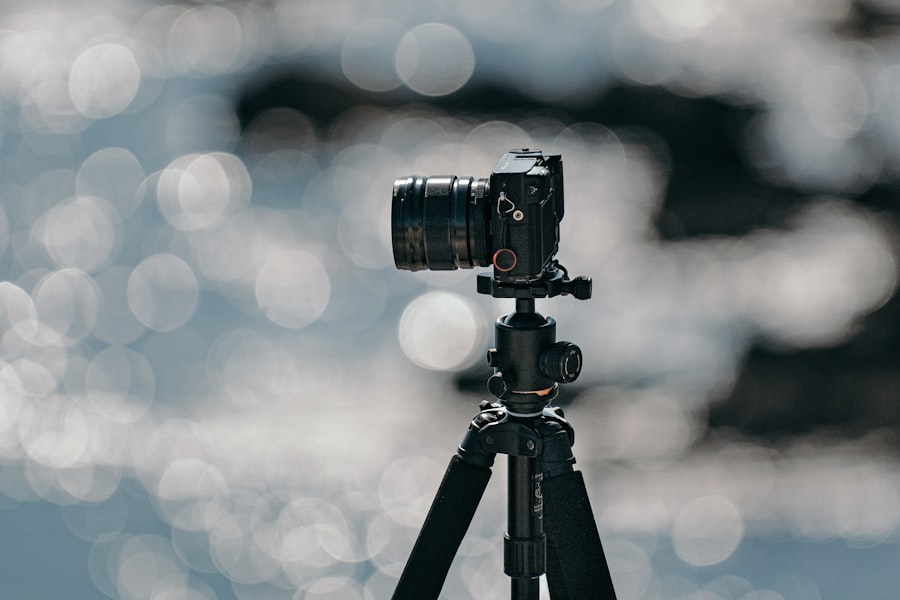
The Golden Rule of Tripod Stability: Always point one of the tripod legs directly toward your subject. This creates a safe "pocket" for you to stand in and prevents you from tripping over the legs, while also keeping the heaviest part of your lens balanced over a solid support.
3. Optimize Your Camera Settings for Sharpness
Once your camera is locked down, you need to adjust your settings to take full advantage of the physical stability. To get the cleanest images, you must understand how your settings interact on a tripod. This is where we look at the core principles of exposure.
When shooting handheld, you often have to raise your ISO to keep your shutter speed fast enough to avoid camera shake. But on a stable platform, you can drop your ISO to its lowest native value (usually ISO 100). This guarantees maximum dynamic range and zero digital noise. You can also close down your aperture to find the sweet spot of your lens (usually between f/8 and f/11) to get deep depth of field, ensuring everything from the foreground rocks to the distant mountains is tack-sharp.
Step-by-Step Camera Setup Guide
- Turn Off Image Stabilization: If you keep optical stabilization active while the camera is on a steady tripod, the system might try to correct for movement that is not there, actually causing blur.
- Switch to Manual Focus: Use your camera's live view screen, zoom in digitally on a distant object, and adjust the focus ring until it is perfectly sharp. This prevents the camera from hunting for focus in low light.
- Use a 2-Second Timer or Remote Trigger: Pressing the shutter button with your finger introduces vibration. A simple two-second delay gives the camera time to settle before the shutter opens.
- Shoot in RAW format: Unlike JPEG files which compress your images, RAW files preserve all the data captured by your sensor, giving you total control over highlights and shadows during editing.
4. Elevate Your Composition and Creative Techniques
Now that your setup is rock solid, it is time to think about composition. Don't just set up your tripod at eye level and start shooting. This is a common trap that leads to boring, postcard-like photos. Instead, lower the legs and get close to the ground to emphasize leading lines in the foreground, or raise it high to shoot over obstacles.
Use the classic Rule of Thirds by aligning your main subject along the imaginary grid lines on your camera screen. If you are shooting a portrait on location, a tripod allows you to carefully position your subject to achieve a beautiful creamy background blur, also known as Bokeh, by using a wide aperture while keeping your framing absolutely identical across multiple shots. If you find that the sky is too bright and the foreground is too dark, do not panic. You can use Exposure Compensation to manually darken or lighten your image, or shoot multiple bracketed exposures to blend later in editing programs like those found in Adobe photography workflows.
Before & After: The Long Exposure Transformation
Let us look at a real-world scenario. Imagine you are standing in front of a rushing mountain stream at sunset.
- Before (Handheld): You shoot at 1/125th of a second. To get enough light, your ISO is at 1600. The water looks frozen, choppy, and chaotic. The image has digital noise in the shadows, and the overall composition feels rushed because you were tired of holding the heavy setup.
- After (With 5 Travel Tripod Tips 2026): You lock the camera onto your carbon fiber legs. You set your ISO to 100, close your aperture to f/11, and use a neutral density filter to achieve a 2-second shutter speed. Now, the chaotic water transforms into a smooth, ethereal mist that leads the viewer's eye through the frame. The rocks are incredibly sharp, and there is zero digital noise.
5. Maintenance and Protection on the Road
Your gear is an investment, and taking care of it ensures it will last for years of adventures. Travel environments can be harsh on mechanical joints. Saltwater, sand, and grit are the ultimate enemies of twist locks and flip locks.
Whenever you shoot near the ocean or in a sandy desert, make it a habit to wipe down the legs with fresh water and a microfiber cloth before collapsing them. If sand gets inside the locking threads, it will slowly grind down the materials, ruining the smooth operation. Don't forget to dry your gear completely before packing it into a sealed camera bag to prevent rust and mold.
Implementing these simple travel tripod tips 2026 will keep your equipment performing flawlessly, whether you are shooting in the humid rainforests of Costa Rica or the dusty plains of Namibia. If you want to dive deeper into gear testing and see how different setups perform in extreme weather, you can read comprehensive community reviews on DPReview.
Summary Cheat Sheet for Your Next Trip
To help you remember everything when you are out in the field, keep these quick travel tripod tips 2026 handy in your mind:
The 2026 Travel Photographer's Cheat Sheet:
1. Thick legs go out first; keep the center column down.
2. Point one tripod leg directly at the scene for balance.
3. Turn off Image Stabilization when locked down.
4. Shoot at ISO 100 in RAW format for maximum image quality.
5. Use a 2-second shutter delay to eliminate hand shake.
By putting these travel tripod tips 2026 into practice, you will no longer feel limited by low light, windy conditions, or complex compositions. Your photos will look sharper, cleaner, and far more professional. So pack your bags, grab your trusty three-legged companion, and go capture those breathtaking visual travel spots with absolute confidence!
Frequently Asked Questions
Why is weight important in a travel tripod in 2026?
In 2026, travel tripods have become lighter with advanced materials like carbon fiber, making them easier to carry without sacrificing stability.
What are the best minimalist tripods for travel in 2026?
Modern minimalist tripods use twist locks and compact center columns, offering quick setup while fitting neatly into carry-on luggage.
How do I keep my tripod stable on windy travel shoots?
Attach a weight bag or use a hook under the center column to add mass, and choose a tripod with spiked feet for uneven terrain.
Are budget travel tripods worth buying in 2026?
Many 2026 entry-level tripods feature improved locking mechanisms and lightweight aluminum alloy, making affordable options reliable for casual travelers.
What maintenance does a travel tripod need?
Rinse with fresh water after salt exposure, dry thoroughly, and apply silicone-based lubricant to legs for smooth operation.

Matthias Weber digs into the craft of travel photography, from camera settings to editing. He explains the technical side in plain language so you can spend less time fiddling with dials and more time shooting.
💬 Comments (0)
No comments yet. Be the first!