5 Travel Photo Posing Tips 2026
Learn 5 travel photo posing tips to look natural and confident in your vacation shots. Master poses for any destination.

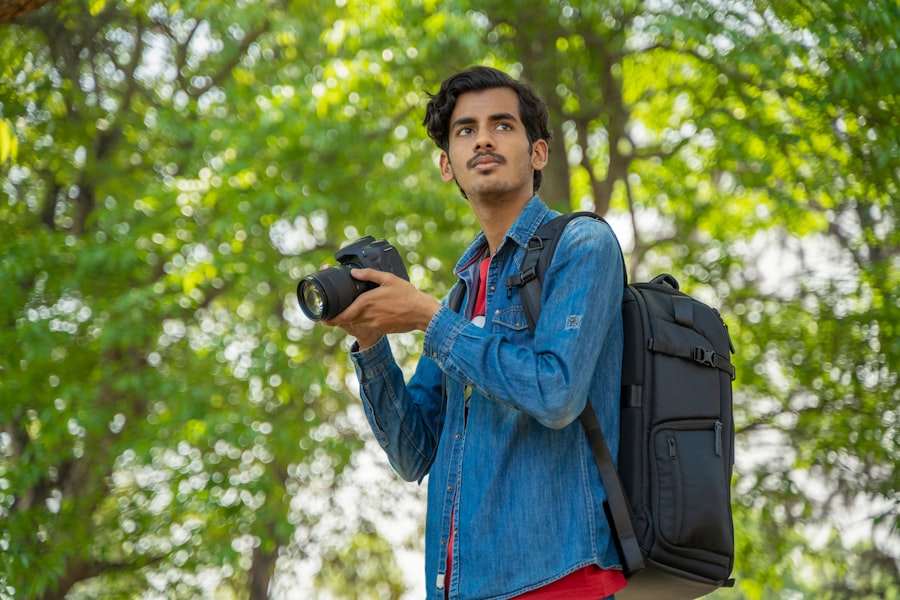
If you are looking for the best travel photo posing tips for 2026, you have come to the right place. In this tutorial I will show you how to transform stiff holiday snaps into natural, frame-worthy portraits. Whether you are using a mirrorless camera or just your phone, these five travel photo posing tips will help you capture genuine moments that tell a story.
I still remember my earliest travel photos. There I was, standing rigidly in front of the Eiffel Tower with a forced smile, arms awkwardly at my sides. The background was beautiful, but I looked like a cardboard cutout. That day I learned that a great pose is not about standing still — it is about movement, light, and confidence. In 2026, with better cameras and smarter techniques, there is no reason to settle for boring portraits. Let us dive in.
1. Master the Rule of Thirds for Natural Composition
First, let us look at the Rule of Thirds. Imagine your frame divided by two vertical and two horizontal lines. Place your subject along these lines or at the intersection points. This simple trick makes your travel photo posing tips instantly more dynamic. Instead of centering your subject every time, shift them to the left or right. Your photos will look professionally composed without any fancy gear.
Step-by-Step Guide to Using the Rule of Thirds
- Turn on the grid overlay in your camera settings (most mirrorless and phone cameras have this).
- Ask your subject to stand so that their eyes align with the upper horizontal line.
- Leave negative space on the side where they are looking — this creates a sense of direction.
- Check the background: make sure the horizon is on one of the horizontal lines, not cutting through the subject's head.
- Take several shots with slight variations. The first one might not be perfect — keep adjusting.
The secret is that the Rule of Thirds works even when your subject is moving. If you are photographing someone walking, place them on a vertical line and let them move into the empty space. This is one of the most powerful travel photo posing tips because it applies to almost every scenario.
2. Use Bokeh to Make Your Subject Pop
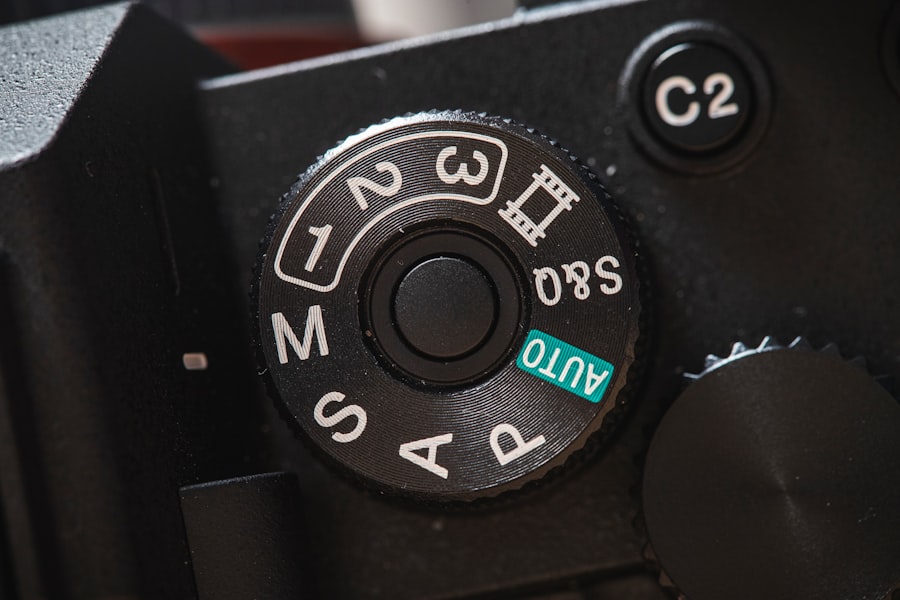
Bokeh is that creamy, blurred background you see in professional portraits. It happens when you use a wide aperture (like f/1.8 or f/2.8) to isolate your subject. For beginners, think of aperture as the size of the opening in your lens. A wider opening lets in more light and gives you that dreamy blur. A smaller opening (like f/11) keeps everything sharp. For travel portraits, I recommend setting your camera to Aperture Priority mode and selecting the lowest f-number your lens allows.
Recommended Settings for Portrait Bokeh
- Aperture: f/1.8 – f/2.8 for strong background blur
- ISO: Keep it low (100-400) to avoid grain — if it is dark, raise ISO carefully up to 1600
- Shutter Speed: At least 1/125s to freeze movement (or use a tripod)
- Lens: A 50mm prime lens is perfect; many travel zoom lenses also work at the longest end
Now try this: position your subject several metres away from the background (a wall, trees, or a crowd). Focus on their eyes, and the background will turn into a beautiful blur. This technique makes any travel photo posing tips look more polished because it removes distractions. If your camera cannot achieve strong bokeh, do not worry — you can simulate it later in post-processing using software like Adobe Lightroom (check out Adobe's tutorial on background blur).
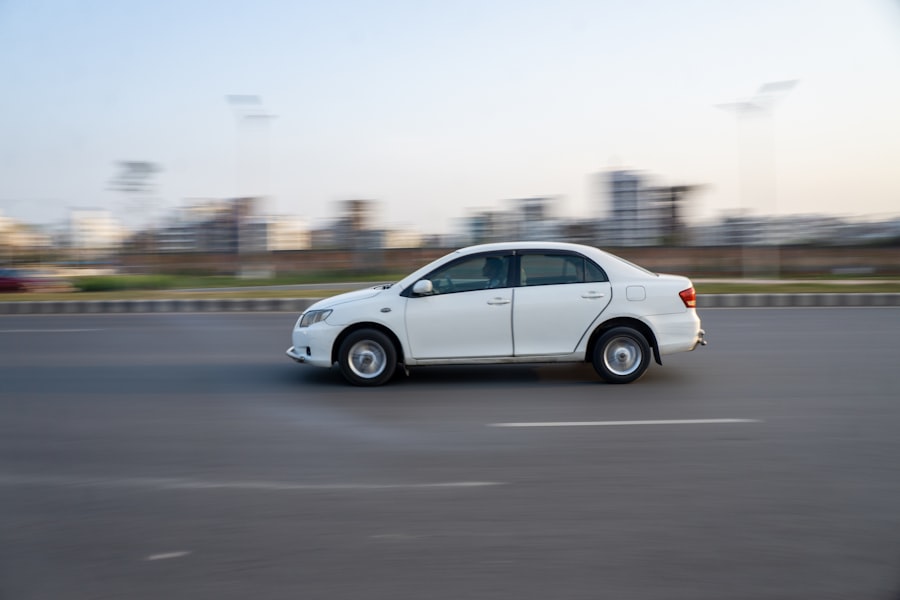
3. Embrace Candid Movement – The “Walk and Turn” Technique
My biggest breakthrough in travel photography came when I stopped asking people to freeze. Instead, I started telling them to walk towards me and then turn around suddenly. The resulting photos were full of life. This travel photo posing tip is especially useful in crowded cities like Tokyo or Paris. Set your camera to continuous autofocus (AI Servo on Canon, AF-C on Sony and Nikon) and use a fast shutter speed — at least 1/250s.
Ask your subject to laugh or look back at something in the distance. The movement creates natural lines in the body, and the turn adds a sense of mystery. Do not forget to take a burst of 3-5 frames so you can pick the one with the best expression. Many photographers swear by this technique — I have used it on every trip since 2026 and the results are always praised.
4. Mind the Light – Use Exposure Compensation
Light can make or break a pose. In bright midday sun, harsh shadows fall across the face. In golden hour, everything glows. But even in perfect light, your camera might get confused and create a dark subject against a bright sky. That is where Exposure Compensation comes in. It is a simple dial (or menu option) that lets you tell the camera to make the image brighter or darker.
Before & After: My Worst Sunset Photo
I once photographed a friend in front of a stunning sunset in Santorini. The sky was incredible, but her face was completely dark — a classic silhouette failure. After the trip, I realised I had forgotten to dial in +1.0 Exposure Compensation. The next day, I asked her to pose again, this time with the compensation set to +1.3. The result: her skin was beautifully lit, the sky still vibrant, and the pose felt natural. That was when I truly learned that travel photo posing tips only work when the exposure is right. If you shoot in RAW format (not JPEG), you can recover some detail in post, but getting it right in camera saves hours of editing. Learn more about RAW vs JPEG on DPReview's excellent guide.
5. Use Props and Local Details for Authentic Poses
When subjects do not know what to do with their hands, give them something to hold. A cup of coffee, a map, a flower, or even a local hat can make the pose feel purposeful. This travel photo posing tip also adds cultural context to your image. For example, in a bustling market, ask your subject to examine a piece of fruit or try on a scarf. Their hands will move naturally, and you will capture a moment that feels like real life.
Must-Have Gear for Posing on the Go
- Light portable reflector: Folds flat, bounces sunlight into shadows for flattering light
- Prime lens (50mm or 35mm): Lightweight and sharp, perfect for portraits
- Camera with flip screen: Makes it easier to shoot from low angles without crouching
- Small tripod with phone clip: Great for self-portraits or group shots with timer
Golden Rule of Travel Portraits: The best pose is the one that feels like you. When your subject is comfortable, their eyes relax, their shoulders drop, and the camera captures their true self. Always communicate, never command.
Before you head out for your next trip, remember these five travel photo posing tips. I have seen photographers go from awkward arm-crosses to stunning, relaxed portraits just by practising these techniques. Whether you are shooting with a Sony A7 IV (check official specs) or a Canon EOS R5, the principles remain the same. The year 2026 is the perfect time to elevate your travel photography — start with your next selfie or your next portrait session. I promise your photos will look like they were taken by a professional. Now grab your camera, go outside, and put these travel photo posing tips into action.
💬 Comments (0)
No comments yet. Be the first!