Sintra forest photography 2026: A Pro Guide
Learn Sintra forest photography 2026. Discover how to shoot the moody, misty fairy-tale woodlands of Portugal like a pro.
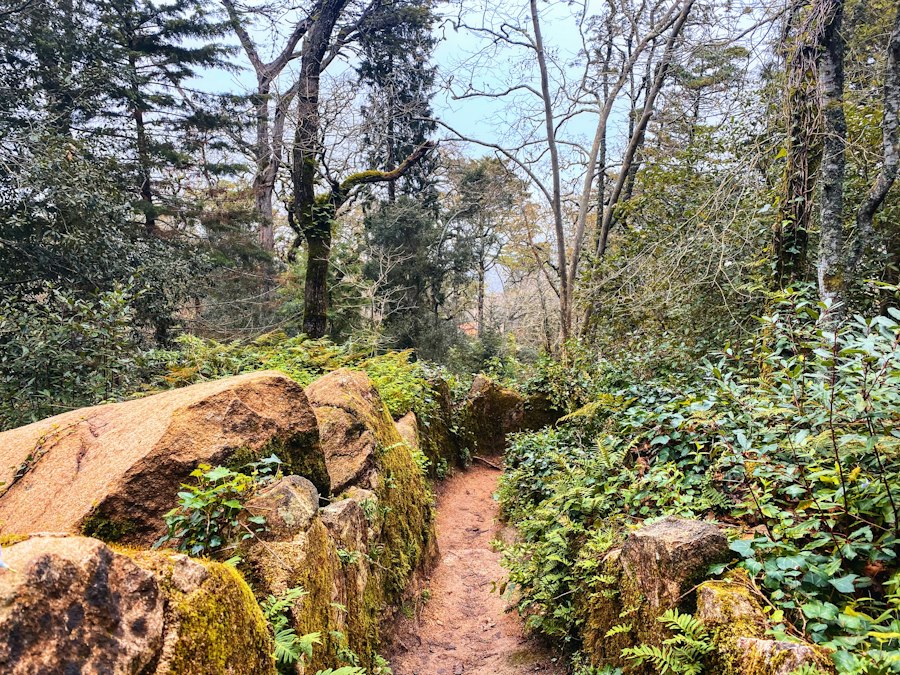
If you want to master Sintra forest photography 2026, you have come to the right place to transform your misty woodland shots into pure magic. I still remember my first morning in the mountains of Sintra, Portugal. I stood beneath the towering, moss-covered canopy of the Pena Park, surrounded by a thick, ethereal fog. I pointed my camera at a winding stone path, pressed the shutter, and felt an immediate wave of disappointment. The image was a flat, gray mess. The mist looked like dirty smoke, the trees lacked definition, and the magical atmosphere I felt with my own eyes was completely lost in the digital frame.
That day, I learned that photographing deep, misty woodlands is one of the hardest challenges a photographer can face. But do not worry, because I am going to coach you through the exact techniques I used to fix those mistakes. Together, we will make sure your Sintra forest photography 2026 portfolio is filled with breathtaking, professional-grade images that capture the true, fairy-tale essence of this unique landscape.
Understanding the Light in Sintra Forest
The secret to great forest photography is learning how to read the light through the canopy. Unlike open landscapes, the forest floor is a chaotic mix of deep shadows and bright highlights. This high dynamic range can easily confuse your camera meter. If you let the camera make the decisions, it will often overexpose the mist to a harsh white or underexpose the trees into solid black silhouettes.
To control this, we use a tool called Exposure Compensation. This is a simple dial or button on your camera (usually marked with a +/- icon) that tells your camera to make the image darker or brighter than what its automatic meter thinks is correct. In a bright, misty forest, your camera might try to darken the scene because it thinks the white fog is too bright. By dialing your Exposure Compensation to +0.3 or +0.7, you can keep those mists looking clean, bright, and dreamlike.
Before and After: The Misty Path
- The Before (My Failed Shot): I shot in automatic mode, letting the camera decide the exposure. The camera panicked because of the bright fog, resulting in a dark, moody but muddy image where the moss looked brown and the mist looked gray. I also shot in JPEG, which compressed the colors and locked in the wrong white balance.
- The After (The Fix): I switched to manual settings and dialed my Exposure Compensation slightly up. I shot in RAW format instead of JPEG. This saved all the uncompressed data from my sensor, allowing me to rescue the shadow details in the mossy bark later using software like Adobe Lightroom. The final image was vibrant, sharp, and filled with glowing, green light.
The Essential Gear for Sintra Forest Photography 2026
Before you pack your bags for the Portuguese hills, we need to talk about what goes into your camera bag. Having the right tools will make your Sintra forest photography 2026 experience much more enjoyable and successful. You do not need the most expensive gear on the market, but you do need a few specific items to handle the damp, dark forest environment.
Must-Have Gear List
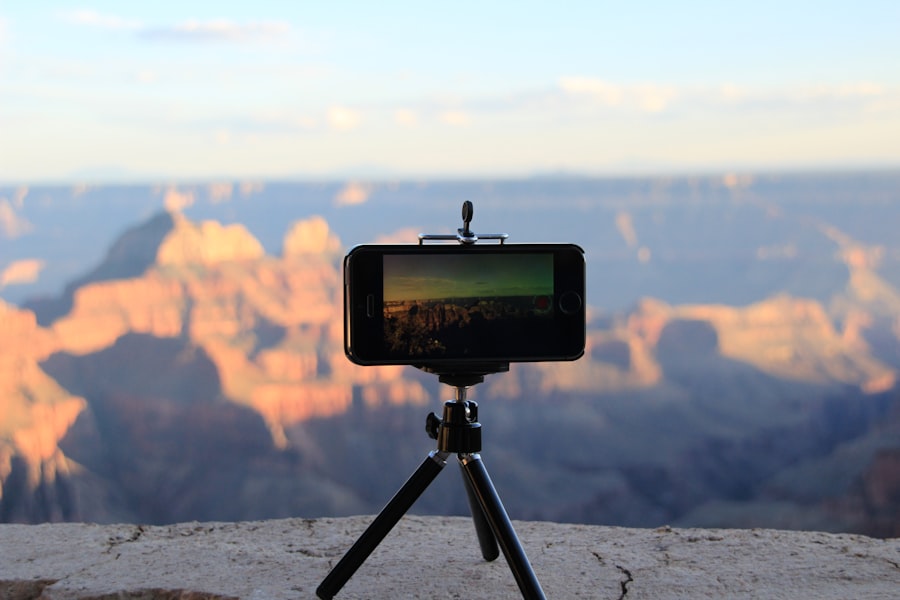
- A Sturdy Tripod: The forest canopy blocks a massive amount of light. To keep your images sharp without raising your digital noise, you will need to shoot at slow shutter speeds, which makes a tripod absolutely essential.
- A Circular Polarizer (CPL) Filter: This is the ultimate secret weapon for forest photography. A CPL cuts down the glare on wet leaves and moss, instantly boosting color saturation and making the greens pop.
- A Weather-Sealed Camera Body: Sintra is famous for its microclimate. It can go from sunny to pouring rain in ten minutes. Ensure your camera, like the latest models detailed on the Sony Camera Specs Portal, can handle a bit of moisture.
- A Fast Prime Lens: A 35mm or 50mm lens with a wide aperture (like f/1.8 or f/2.8) will help you capture stunning detail shots with beautiful background blur.
The Golden Rule of Forest Photography: Never shoot in bright, direct midday sun. The harsh light creates distracting highlights on the leaves. Instead, pray for overcast skies, light rain, or thick fog. This acts as a giant softbox, distributing even, beautiful light across the entire forest floor.
How to Compose Your Forest Images
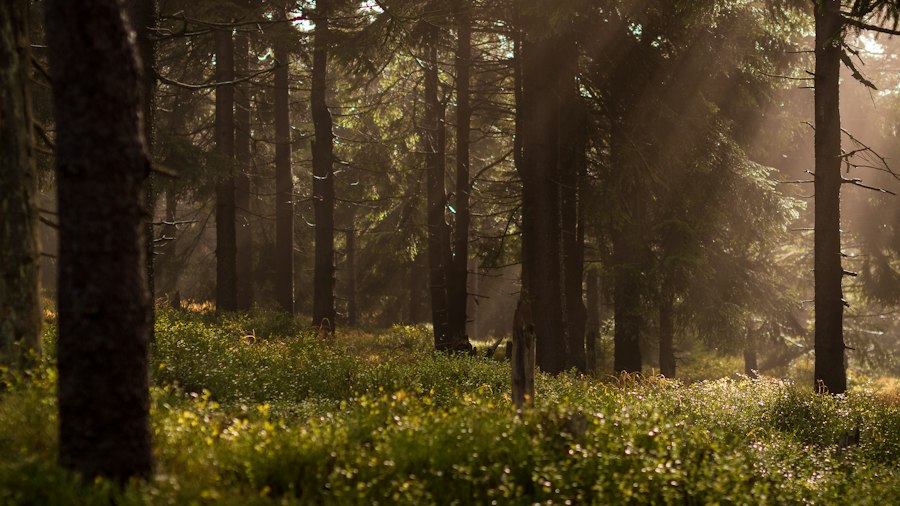
First, let us look at the biggest problem in forest photography: clutter. A forest is naturally messy. There are branches, fallen logs, and leaves pointing in every direction. If you just point and shoot, your viewer will not know where to look. We need to create order out of this chaos.
To do this, we rely on the Rule of Thirds. Imagine your screen is divided into a nine-box grid by two horizontal and two vertical lines. Now try this: place your main subject, such as an ancient, twisted cork tree or a stone ruins wall, along those lines or at their intersection points. This simple trick instantly makes your composition feel more balanced and natural to the human eye.
Another incredible technique for your Sintra forest photography 2026 journey is mastering Bokeh. Bokeh is a Japanese term that refers to the aesthetic quality of the out-of-focus blur in your background. By using a wide aperture (a low f-number like f/2.0), you can make a single fern or a wet leaf stand out in sharp focus while the chaotic background melts away into a soft, beautiful paint-like blur.
Step-by-Step Settings Guide for Sintra Forest Photography 2026
Now, let us put all of this theory into practice. When you are standing in the damp silence of the Sintra hills, follow this step-by-step guide to set up your camera for the perfect shot.
Step 1: Mount Your Camera and Choose Your Format
Secure your camera onto your tripod. The very first setting you must check is your file format. Switch your camera from JPEG to RAW. This ensures you capture the maximum dynamic range of the forest, giving you the power to adjust the highlights and shadows later without losing image quality.
Step 2: Keep Your ISO Low
Set your ISO to its lowest native value, which is usually ISO 100. ISO measures your camera sensor's sensitivity to light. While raising your ISO makes the camera more sensitive to light, it also introduces digital grain and noise. Since your camera is safely mounted on a tripod, you do not need to worry about slow shutter speeds, so keep that ISO low for the cleanest possible image.
Step 3: Select Your Aperture for Depth of Field
If you are shooting a wide landscape scene with winding paths and distant trees, you want everything to be sharp. Set your aperture between f/8 and f/11. This is generally the "sweet spot" for lens sharpness. If you are focusing on a close-up detail, like dew on a spiderweb or moss on a stone wall, open your aperture up to f/2.8 to create that beautiful, creamy background Bokeh.
Step 4: Adjust Shutter Speed and Shoot
With your ISO and aperture locked in, let your camera choose the shutter speed, or manually adjust it until your exposure meter is balanced. Because the forest is dark, your shutter speed might be slow, like 1/2 a second or even 2 seconds. Use a 2-second shutter delay timer so that the physical action of your finger pressing the button does not shake the camera and blur your shot. Press the shutter, and watch the magic happen!
Final Pro Tips for Your 2026 Sintra Adventure
The secret to truly outstanding Sintra forest photography 2026 lies in your patience and your willingness to explore. Do not just stay on the main tourist paths around the Pena Palace. Head deeper into the Monserrate gardens or the quiet trails of the Capuchos Convent. Look for leading lines, like ancient stone steps or old wooden railings, to guide your viewer's eyes through your frame. Keep practicing, experiment with your exposure settings, and soon you will be capturing the mystical, moss-covered wonderland of Sintra like a seasoned professional.
Frequently Asked Questions
What is the best time of year to photograph Sintra's forests in 2026?
Spring and autumn offer the best light and mist, especially from March to May and September to November. Summer crowds and harsh midday sun make those months less ideal for forest photography.
Which locations in Sintra are best for forest photography?
Monserrate Palace gardens, Pena Park, and the trails around Convento dos Capuchos are top choices. These spots combine dense woodland with ferns, moss, and historic structures.
What camera gear do I need for Sintra forest photography?
A wide-angle lens for sweeping forest views and a macro lens for moss and fern details work best. Bring a tripod and rain cover, since humidity and low light are common in Sintra's woods.
How do I handle the low light and mist in Sintra's forests?
Use a tripod, shoot at f/8 to f/11, and expose for the highlights to preserve the misty atmosphere. A polarizing filter also helps control glare on wet leaves and stones.
What should I know about permits for forest photography in Sintra in 2026?
Personal and small commercial photo shoots usually need no permit inside the parks, only standard entry tickets. For large commercial or drone work, check current Parques de Sintra rules before your visit.

Camille Bernard shares travel photography tips for every kind of traveller, from phone snapshots to full kits. She breaks down light, composition and timing so you come home with photos that actually capture how a place felt.
💬 Comments (0)
No comments yet. Be the first!