5 Shutter Speed Mistakes Travelers Make in 2026
Learn the most common shutter speed mistakes travelers make in 2026 and how to fix them for sharp, creative travel photos.

The five shutter speed mistakes travelers make in 2026 are holding back your travel photos from sharp, professional glory. I’ll show you how to fix each one so your images from your next adventure look crisp, creative, and confident.
1. Mistake: Using a Shutter Speed That’s Too Slow for Handheld Shooting
You’re standing in a dimly lit temple in Kyoto, the light is magical, and you want to capture it without a tripod. So you drop your shutter speed to 1/15th of a second. In 2026, even the best image stabilization can’t always save you from micro‑jitters. Your photo comes out soft, and that beautiful scene becomes a disappointment.
The secret is the “reciprocal rule” – for a full‑frame camera, your shutter speed should be at least 1 divided by your focal length. Shooting at 50mm? Use 1/50s or faster. With a crop‑sensor body, double that. Now try this: if you’re shooting at 24mm on a crop body, aim for 1/50s as a minimum, and 1/100s for extra safety. Your photos will look dramatically sharper.
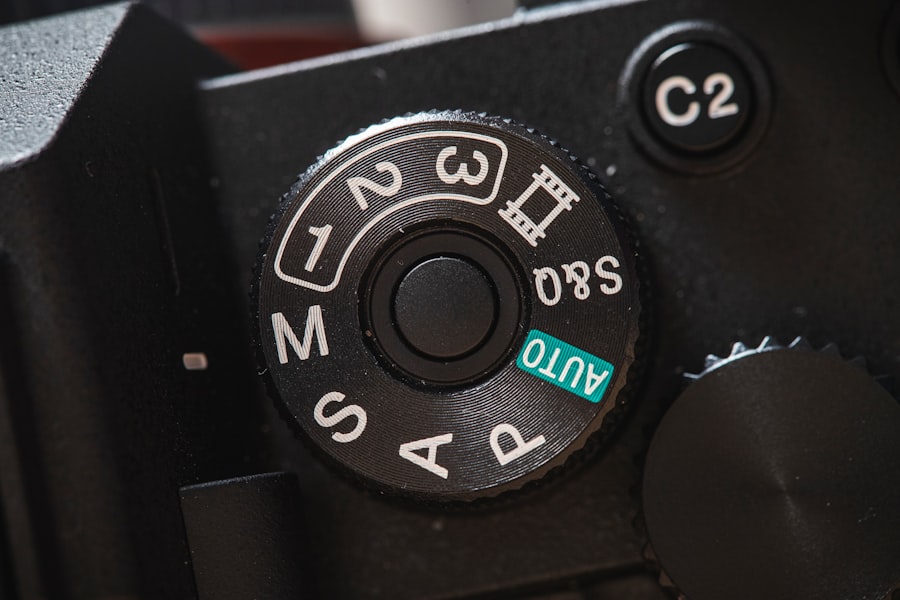
Don’t forget to check your camera’s stabilisation settings. Many 2026 mirrorless cameras (like the Sony α7R V) offer up to 8 stops of IBIS, but that doesn’t mean you can shoot at 1/2s handheld for every scene – moving subjects still blur. Trust the rule, stabilisation is a helper, not a magic wand.
2. Mistake: Letting Auto Mode Choose a Shutter Speed That Freezes Everything
In auto or program mode, your camera often picks a fast shutter speed to avoid blur. That sounds great, but it kills creative motion. A rushing waterfall looks like a wall of ice; a spinning dancer freezes mid‑flip with no sense of movement. Shutter speed mistakes travelers make all the time is handing over this creative control.
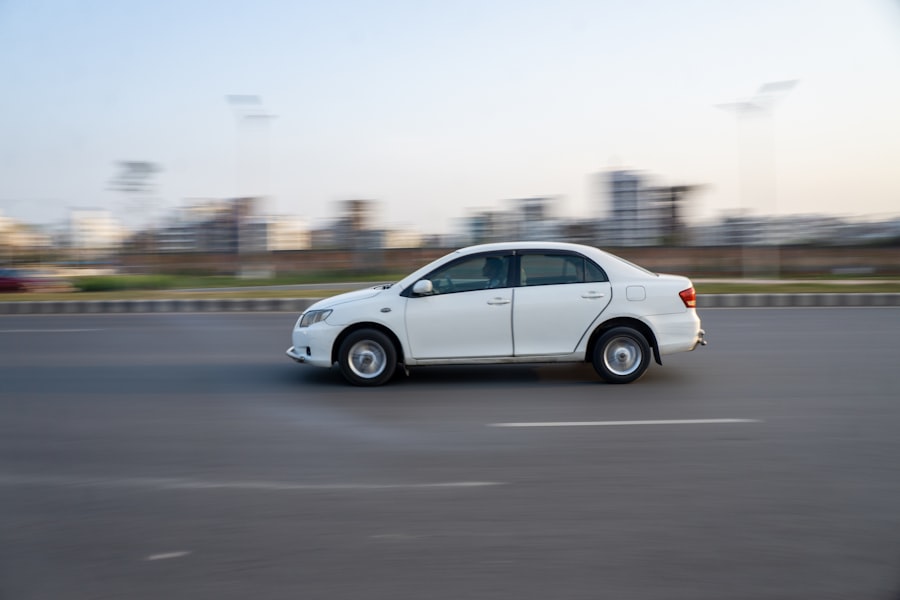
I’ll show you how to fix it: switch to Shutter Priority (Tv or S mode) and dial in 1/30s or slower for flowing water – use a tripod to keep the scene steady. For panning with a moving car or cyclist, try 1/60s or 1/30s and follow the subject smoothly. The background will blur beautifully, creating a sense of speed.
Your photos will look alive, not like every other static snapshot.
3. Mistake: Ignoring Shutter Speed When Pulling Out Your Phone
In 2026, smartphone cameras do incredible things, but they still struggle in low light. Many travelers rely on their phone’s night mode, which uses a slow shutter speed combined with computational stacking. That’s fine for still scenes, but move the phone slightly or try to capture a child running, and you get a ghostly mess.
The secret is: most phone camera apps let you lock exposure and adjust shutter speed manually in pro mode. Set it to 1/125s or faster for moving people, even if the image looks a bit dark – you can brighten it later in editing. Now try this: use the exposure compensation slider to add +0.7 or +1.0 stop, which tells the phone to keep the shutter fast while brightening the image digitally. Your photos will look much sharper and more natural.
Don’t forget to shoot in RAW on your phone if possible – apps like Lightroom Mobile process those files beautifully. Adobe’s RAW tutorial explains how it preserves detail even when you push exposure.
4. Mistake: Using a Fast Shutter Speed in Low Light and Crankinh Up ISO
This is one of the most common shutter speed mistakes travelers make. You see a street performer at dusk, you want to freeze the action, so you set 1/500s and let the ISO climb to 12800. The result is a noisy, grainy photo that looks flat and unappealing.
Instead, I want you to think differently. In 2026, modern cameras (like the Nikon Z8) handle ISO 6400 very well, but 12800 still introduces noticeable noise. Ask yourself: does the subject *need* to be frozen? If they are standing still but gesturing, you can use 1/125s and drop ISO to 3200 or 6400. That small change often saves the photo.
The trade‑off between motion blur and noise is a personal choice. I’d rather have a slightly soft performer than a gritty, noisy one. Your photos will look cleaner and more professional if you slow down the shutter just a little and accept a tiny bit of motion blur in non‑critical areas.
Step‑by‑Step Guide: How to Choose the Right Shutter Speed for Moving Subjects
- Identify the subject’s speed. Walking people: 1/125s. Running child: 1/250s. Car driving: 1/500s or faster. Birds in flight: 1/2000s.
- Set shutter priority mode (Tv or S). Dial in your chosen speed.
- Check the ISO. If the camera pushes ISO above 6400 (on a modern full‑frame), consider whether you can accept a slightly slower shutter speed.
- Enable burst mode. Fire 3‑5 frames. The middle frame is usually sharpest.
- Review the image. Zoom in on the eyes. If they’re soft, increase shutter by one stop and try again.
5. Mistake: Forgetting to Adjust Shutter Speed When Using Flash
Flash sync speed is a classic pitfall. In 2026, most cameras sync at 1/200s or 1/250s with a standard hotshoe flash. If you set 1/500s, you’ll get a dark band across the picture. Travelers who use pop‑up flash (or an external flash without checking settings) often end up with half‑black photos.
I once ruined a gorgeous portrait of a street vendor in Marrakech because I had my shutter at 1/400s and the flash didn’t sync. The result was a photo with the left side completely black. I learned the hard way.
The secret is: always keep your shutter speed at or below the camera’s maximum sync speed unless you’re using high‑speed sync (HSS) mode. If you need a faster shutter for daylight fill‑flash, activate HSS on your flash unit. But note: HSS reduces flash power, so you’ll need to be closer to the subject.
Don’t forget to check your camera menu for “Flash Sync Speed” and set it to 1/250s or 1/200s before a shoot. Then your flash photos will be evenly lit and professional.
Recommended Settings for Common Travel Scenarios (2026 Edition)
- Street photography (daytime): Shutter 1/250s, aperture ƒ/8, ISO 200. Auto‑ISO capped at 3200.
- Golden hour portraits: Shutter 1/125s, aperture ƒ/2.8, ISO 400. Use exposure compensation +0.3.
- Night market handheld: Shutter 1/60s, aperture ƒ/2.8, ISO 6400. Use IBIS if available.
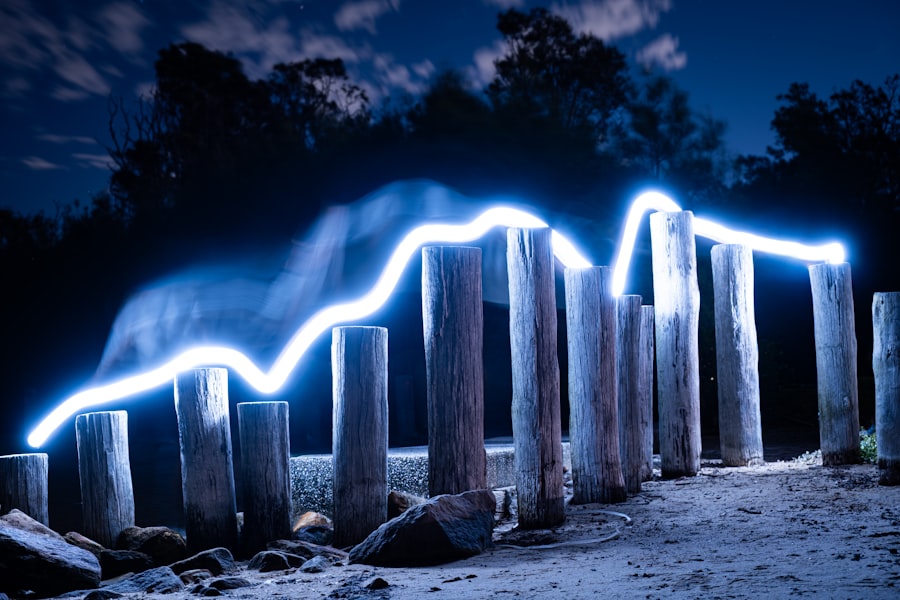
- Waterfalls (tripod required): Shutter 1/15s to 2s, aperture ƒ/11, ISO 100. Use a remote shutter release.
Must‑Have Gear for Sharp Travel Photos
- A lightweight travel tripod (carbon fiber, 3‑section).
- A remote shutter release or use your camera’s self‑timer (2‑sec delay).
- A fast prime lens (e.g., 35mm ƒ/1.8 or 50mm ƒ/1.4) for low‑light flexibility.
- A camera or phone with good IBIS (check 2026 models like the Sony A1 II or Canon R5 Mark II).
Cheat Sheet: The Golden Rule of Sharp Handheld Shots
“Your shutter speed should be at least 1 / (focal length × crop factor). For a 50mm lens on a full‑frame camera, that’s 1/50s. On a 1.5× crop sensor, it’s 1/75s. Double it if you’re feeling shaky or want extra safety.”
Before & After: A Personal Failure That Fixed My Approach
In 2024, I was in Bali photographing a traditional dance at sunset. The light was fading fast. I was too proud to raise my ISO, so I dropped the shutter to 1/15s. The dancer moved; every frame was a blurry disaster. I had made the same shutter speed mistakes travelers make when they fear noise more than blur.
Back at my hotel, I felt crushed. But I learned: noise can be reduced in post‑processing with denoise tools, but motion blur is permanent. Now, in 2026, I always prioritize a safe shutter speed – even if it means ISO 8000. The denoise algorithms in Lightroom and Topaz AI are incredible. Your photos will look much better a little noisy than completely blurry.
So remember: shutter speed mistakes travelers make often come from overthinking. Next time you’re in a tricky light situation, ask yourself: “Can I accept noise? Or can I accept blur?” Choose blur only if the subject is completely still. Otherwise, let the shutter speed be your priority, not your ISO.
Final Encouragement: You’ve Got This
Now you know the five most common shutter speed mistakes travelers make in 2026. You have a step‑by‑step guide, recommended settings, and a golden rule to paste into your camera bag. Go out there, experiment, and don’t be afraid to take test shots. Your photos will improve immediately. I can’t wait to see your sharp, creative images from your next trip.
Frequently Asked Questions
What is the most common shutter speed mistake travelers make in low light?
Using too slow a shutter speed without a tripod, causing blurry images from camera shake.
Why do my moving subject photos look blurry despite a fast shutter speed?
You may not have used a shutter speed fast enough to freeze the motion, like 1/500s for walking people.
How does shutter speed affect daytime landscape photos?
A too-slow shutter speed can overexpose the sky, while a too-fast one may underexpose shadows.
What shutter speed mistake ruins waterfall or river shots?
Using a fast shutter speed freezes water motion, losing the silky smooth effect travelers often want.
Can using auto shutter speed be a mistake for travel photography?
Yes, auto mode often picks a speed that blurs handheld shots or freezes motion when you want blur.
💬 Comments (0)
No comments yet. Be the first!