5 Tips for Sharp Travel Photos 2026
Learn to capture sharp travel photos with these 5 tips for handheld shooting. Master shutter speed and stabilization in 2026.
If you want sharp travel photos in 2026, you need to master a few key techniques that separate postcard‑quality images from blurry disappointments. I’ll show you how to turn your travel snapshots into crystal‑clear memories — no expensive gear required. In this tutorial, you’ll learn practical tips that work in any location, from the crowded streets of Tokyo to the wind‑swept deserts of Namibia.
Let me share a quick story from my 2026 trip to Iceland. I stood at the edge of a frozen waterfall, certain that my settings were perfect. The scene was breathtaking — mist rising, rocks glistening. I clicked the shutter, checked the LCD, and my heart sank. The image was soft, almost dreamy, but definitely not sharp travel photos. The culprit? A slow shutter speed and camera shake from a cold finger. I recalibrated, used a solid tripod, and took the shot again. The second frame was tack sharp. That moment taught me that sharpness is a combination of gear, technique, and settings — and you can learn all three right now.
1. Choose the Right Gear — Tripods and Remote Releases
The secret to sharp travel photos often begins with stability. You can own the most expensive camera in 2026, but if it moves during exposure, you lose critical detail. A lightweight travel tripod is your best friend. Look for carbon fiber models with a ball head — they pack small but hold firm even in a light breeze. Before you buy, check the official specs on the DPReview guide to tripods for weight and load capacity.
Step‑by‑Step: Using a Tripod for Peak Sharpness
- Set up your tripod on solid ground, not on a bridge or wooden deck that vibrates.
- Extend the thickest leg sections first, then the thinner ones.
- Aim for eye level — avoid extending the center column if possible.
- Use a remote shutter release or a 2‑second timer to eliminate finger shake.
- If you don’t have a remote, use the camera’s self‑timer with mirror lock‑up (if your DSLR supports it).
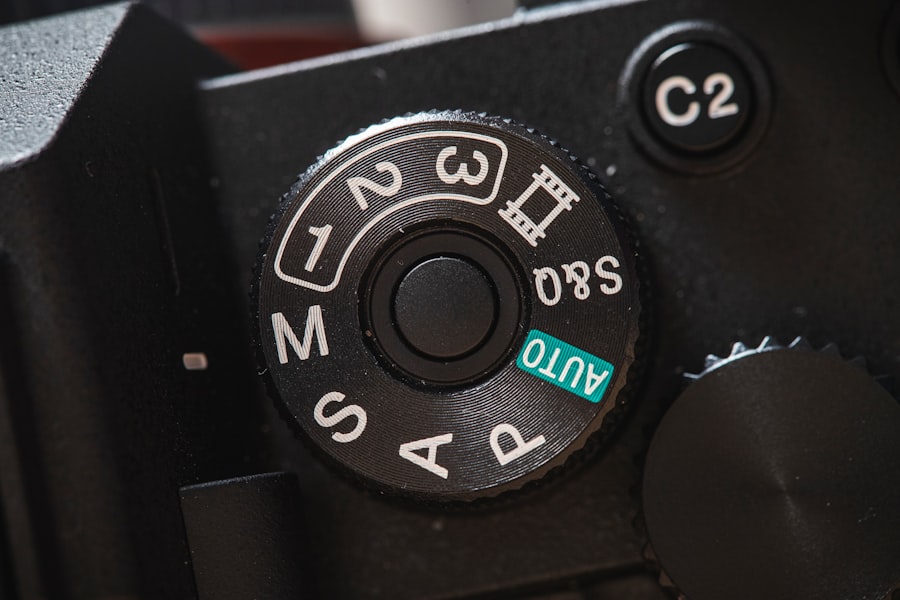
2. Master Your Camera Settings — ISO, Aperture, and Shutter Speed
Now try this: next time you’re shooting a sunrise, force yourself to use the “sharpest” setting for your lens. Many lenses are sharpest two stops down from their maximum aperture (e.g., f/8 if your lens opens to f/4). Keep ISO as low as possible — ISO 100 or 200 — because higher ISO introduces noise that fakes fine detail. For handheld shots, use the “reciprocal rule”: your shutter speed should be at least 1/focal length. If you’re at 50mm, shoot at 1/50s or faster. In low light, raise ISO moderately — modern cameras in 2026 handle ISO 3200 well — but never go above 6400 if you want sharp travel photos for large prints.
Must‑Have Gear for Tack‑Sharp Shots
- Carbon fiber tripod with ball head (e.g., Peak Design Travel Tripod or similar).
- Cable release or wireless remote (works with smartphones via app).
- Lens hood to reduce flare and contrast loss.
- Cleaning cloth and sensor swabs — dust spots ruin sharpness in post.
3. Use the Rule of Thirds and Advanced Focus Techniques
Don’t forget to turn off continuous autofocus (AF‑C) when shooting static scenes. Use single‑point AF (AF‑S) and place the focus point exactly where you want the sharpest detail — usually one‑third into the scene according to the Rule of Thirds. For landscapes, magnify your live view (10x) and manual focus to achieve critical sharpness. For portraits, focus on the eye closest to the camera. A common mistake is to rely on the camera to “do it all”; your eyes are more reliable in 2026 than any auto system for sharp travel photos.
Cheat Sheet — The Golden Rule of Sharpness: “Focus one‑third into the scene. Always check focus by zooming in on the LCD. If you see a halo, re‑focus.”
Step‑by‑Step: Locking Focus Like a Pro
- Switch lens to autofocus (AF), then half‑press the shutter to lock focus.
- Keep your finger half‑pressed and recompose your frame.
- For moving subjects, back‑button focus is better — assign focus to a rear button so the shutter only triggers.
- Turn on focus peaking in manual mode (most Sony cameras have it). Red outlines mean your edges are sharp.
4. Shoot RAW and Use Exposure Compensation
The second most important setting for sharp travel photos is exposure. Blown highlights or crushed shadows cannot be recovered, and overexposed areas look mushy. Use exposure compensation (the ± button) to protect highlights. I usually dial in ‑0.3 or ‑0.7 EV for bright scenes. Shoot in RAW format — it captures more tonal data than JPEG. A RAW file lets you sharpen and adjust exposure in post without destroying detail. Adobe’s official sharpening tutorial in Lightroom Classic explains the sliders I use for every travel image.
Recommended Settings for Sharp Travel Photos (2026)
- File format: RAW (or RAW+JPEG as backup).
- ISO: 100–400 (raise only if necessary).
- Aperture: f/8 to f/11 for landscapes; f/2.8 or f/4 for portraits (sharpness on the subject).
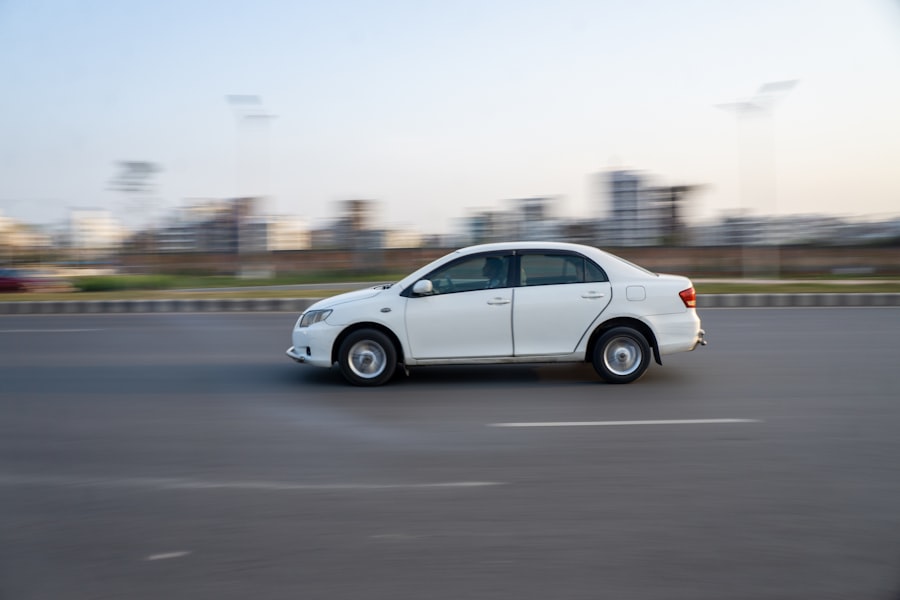
- Shutter speed: 1/125s for walking scenes; 1/500s for action.
- Exposure compensation: ‑0.3 EV for sunny days; +0.3 EV for snow.
5. Sharpen in Post Without Overdoing It
Now try this final step: import your RAW file into your editor and apply a modest amount of output sharpening. The key is to sharpen only the edges, not the whole image. Use a radius of 1.0–1.5 pixels and an amount of 40–60%. Then use a layer mask to sharpen only the main subject. Over‑sharpening creates ugly halos and makes your photo look artificial. Less is more. The goal is to enhance the detail that your lens and technique already captured — that’s how professionals produce the sharp travel photos you see on magazine covers.
Remember, sharpness starts in the field. You can’t fix camera shake in Photoshop in 2026 — the algorithms are better than ever, but they still leave artifacts. Invest your time in stable shooting, correct focus, and proper exposure. When you combine these five tips, your travel photos will pop with clarity that makes viewers feel like they’re standing right there with you.
So pack your tripod, set your ISO low, and start practicing. In a few weeks, your sharp travel photos will become your signature style. And when you look back at your 2026 travels, you’ll be proud of every crisp, detailed image.
💬 Comments (0)
No comments yet. Be the first!