5 ND Filter Tips 2026 for Long Exposures
Master long exposure on the go with these ND Filter Tips 2026. Learn how to choose and use filters for stunning travel photos.
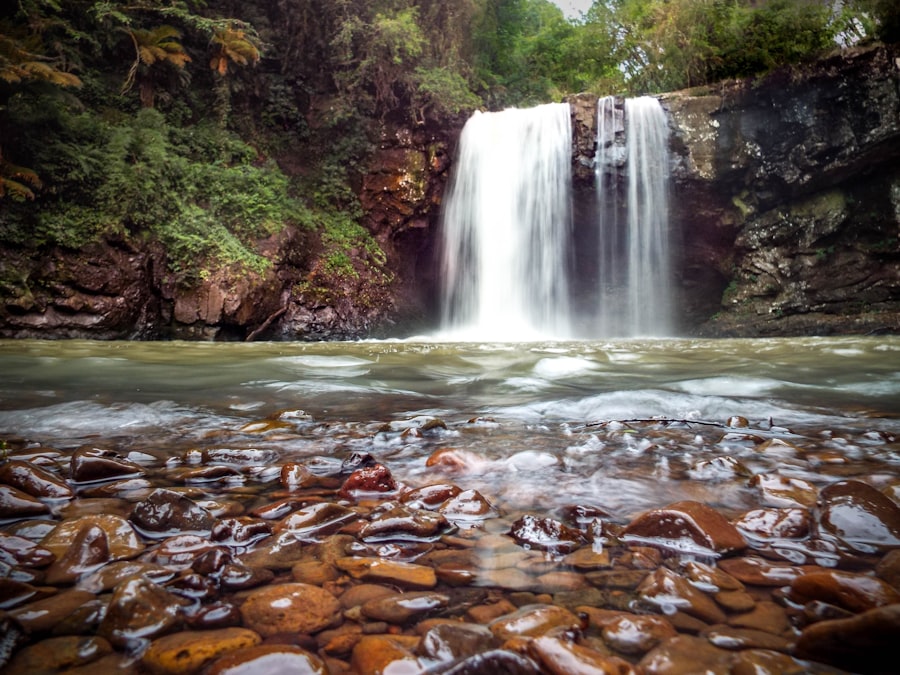
Mastering these ND Filter Tips 2026 will completely transform how you capture motion, turning chaotic landscapes into serene, fine-art masterpieces. As a travel photographer, I remember standing on a windy coast in Iceland years ago, trying to capture a silky waterfall. My first attempt was a complete disaster; I did not use a neutral density filter, and my image was a blinding, overexposed white mess because too much light flooded my camera sensor. Once I learned how to control light with the right glass, everything changed, and today I will show you how to get those same jaw-dropping results in your own work.
Understanding the Magic of Neutral Density Filters
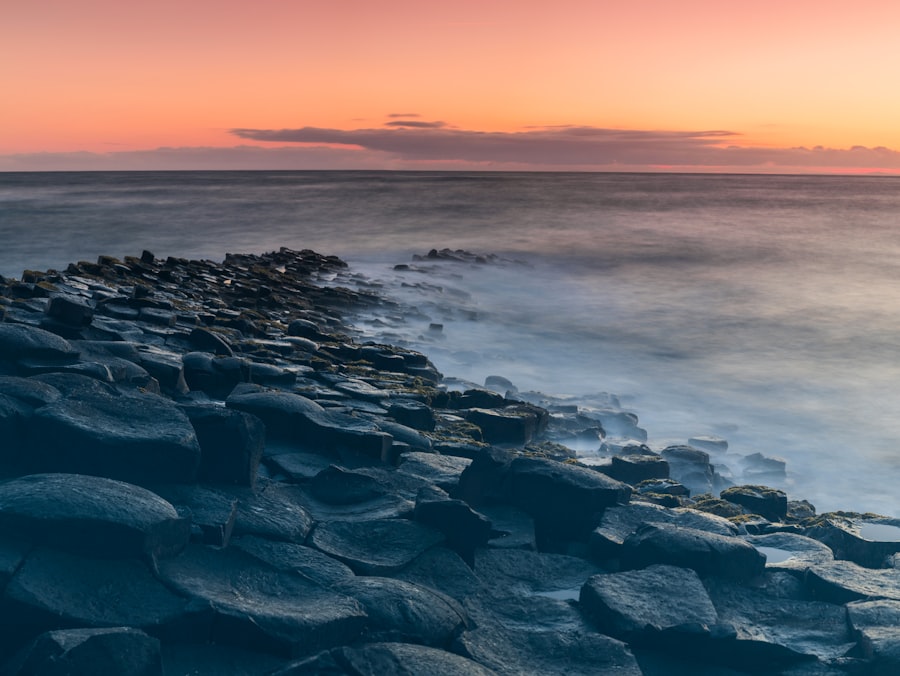
Think of a Neutral Density (ND) filter as sunglasses for your camera lens. It reduces the amount of light entering the camera without changing the color of the scene. This allows you to use much slower shutter speeds than usual, even in broad daylight. If you want to create that dreamy, misty water effect or make fast-moving clouds look like paint strokes across the sky, this is the tool you need.
In 2026, camera sensors are more powerful than ever. However, even the most advanced cameras cannot bypass the laws of physics when it comes to light. That is why these ND Filter Tips 2026 are essential for anyone wanting to elevate their visual storytelling. By limiting the light, you gain ultimate creative control over your exposure time.
The Golden Rule of Long Exposure
The Golden Rule of Long Exposure: Always calculate your base exposure before you attach your ND filter. Focus on your subject, set your exposure in manual mode, lock in your focus, and only then slide your filter into place. This prevents your camera autofocus from hunting in the dark.
5 Essential ND Filter Tips 2026 for Stunning Images
1. Master the Base Exposure First
The secret is to get your shot looking perfect without the filter on your lens first. Set your camera to Manual mode. Keep your ISO as low as possible (usually ISO 100) to avoid digital noise. Set your aperture to a sweet spot for sharpness, typically between f/8 and f/11. Once you have a well-exposed photo, note the shutter speed. This is your base exposure, which you will use to calculate your new slow shutter speed once the filter is attached.
2. Lock Your Focus and Switch to Manual
First, let's look at a common mistake: letting your camera autofocus with a dark filter attached. Strong ND filters, like a 10-stop filter, block so much light that your camera will struggle to find focus. To fix this, focus on your subject using the Rule of Thirds to create a balanced composition. Once your focus is locked, switch your lens or camera body to Manual Focus (MF). Now, when you screw on your filter, your focus point remains perfectly sharp.
3. Use an Exposure Calculator App
You do not need to do complex math in your head. In 2026, there are dozens of free smartphone apps that do the work for you. You simply input your base shutter speed and the strength of your ND filter (for example, a 6-stop or 10-stop filter), and the app tells you exactly how many seconds or minutes your new exposure needs to be. If your calculated exposure is longer than 30 seconds, you will need to switch your camera to Bulb mode and use a remote shutter release.
4. Prevent Light Leaks through the Viewfinder
Now try this next time you shoot with a DSLR: cover your viewfinder. When you run a long exposure for several seconds or minutes, stray light can enter through the optical viewfinder on the back of your camera. This causes strange purple bands or flare across your image. Don't forget to use the little plastic cover that came with your camera strap, or simply put a piece of black tape over the viewfinder to keep your exposure clean.
5. Choose RAW over JPEG for Ultimate Color Control
Even the highest quality ND filters can sometimes introduce a slight color cast, making your image look a bit too blue or too warm. The secret is to always shoot in RAW format instead of JPEG. A RAW file saves all the uncompressed data from your camera sensor. This makes it incredibly easy to correct the white balance during post-processing in software like Adobe Lightroom without losing any image quality.
Before & After: From Amateur Snapshot to Fine Art
Let us look at a real-world scenario. Imagine standing in front of a rushing mountain stream at noon.
The Before: You take a standard shot without a filter. Your shutter speed is 1/250th of a second. The water looks frozen, choppy, and distracting. The bright sunlight forces you to use a high f-stop, which ruins any chance of soft background bokeh, and the overall image feels chaotic and flat.
The After: You apply our ND Filter Tips 2026. You mount your camera on a sturdy tripod, attach a 10-stop ND filter, drop your ISO to 100, and extend your shutter speed to 15 seconds. Suddenly, the chaotic rushing water turns into a smooth, silky fog. The moving leaves on the trees blur gently, adding a sense of dynamic motion, while the stationary rocks remain tack-sharp. It looks like a professional gallery print.
Step-by-Step Guide to Your First Long Exposure
Your Action Plan for Success
- Set up your tripod: Any movement will ruin your long exposure, so a sturdy base is non-negotiable.
- Compose your shot: Use the Rule of Thirds to place your main subject on the grid intersections.
- Set your camera settings: Choose ISO 100, an aperture of f/9, and adjust your shutter speed until the light meter is balanced.
- Lock your focus: Autofocus on your subject, then switch your lens to Manual Focus.
- Attach the ND filter: Carefully screw or slide your filter onto the lens.
- Calculate and shoot: Use your exposure app to find the new shutter speed, set it, and use a 2-second timer or remote release to trigger the shutter without shaking the camera.
Gear and Settings Checklist
To get the best results with these ND Filter Tips 2026, you need the right setup. Here is a quick checklist of what to pack in your gear bag and how to configure your system.
Must-Have Gear for Long Exposures
- A Solid Tripod: Essential to keep your camera perfectly still during long exposures.
- A 10-Stop ND Filter: Perfect for daytime long exposures to get those ultra-smooth water effects.
- A Remote Shutter Release: Prevents camera shake when pressing the shutter button.
- Microfiber Cloth: To keep your filters clean and free of water spots or dust.
Recommended Camera Settings
- Image Format: RAW (for maximum dynamic range and color correction).
- ISO: 100 (or your camera's lowest native ISO to minimize noise).
- Aperture: f/8 to f/11 (the sweet spot for most landscape lenses).
- White Balance: Daylight or Manual (to prevent the camera from shifting colors mid-exposure).
- Exposure Compensation: Set to 0, or adjust slightly if you want to protect your highlights.
Elevating Your Photography in 2026
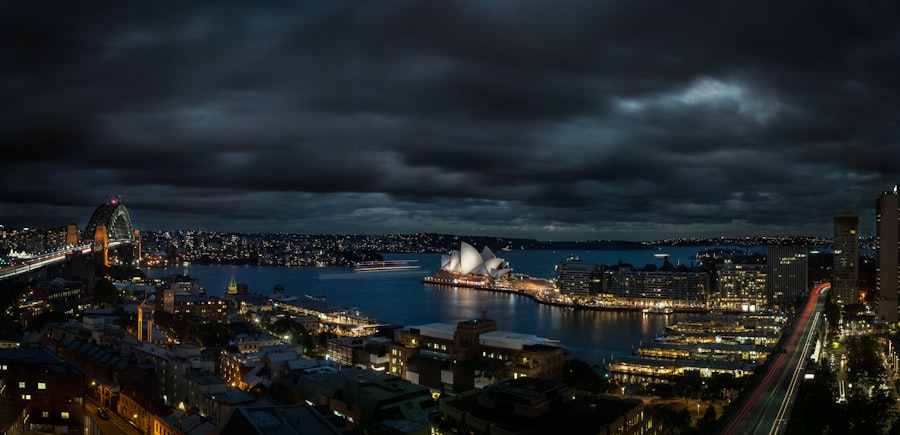
By practicing these ND Filter Tips 2026, you will start to see the world differently. You will look at a busy city street and see a beautiful blur of moving light trails. You will look at a stormy beach and see an ethereal, calm landscape. For more detailed guides on choosing the right lenses and cameras for these techniques, check out the latest gear reviews on DPReview or explore the camera setup guides on the official Sony support page. Grab your gear, head outside, and start capturing the passage of time!
Frequently Asked Questions
What ND filter strength is ideal for 2026 long exposures?
A 6-stop to 10-stop ND filter remains best for most daylight long exposures in 2026.
Should I use manual or autofocus with an ND filter?
Always focus before attaching the ND filter, then switch to manual focus for consistency.
How do I calculate exposure time with an ND filter in 2026?
Use a camera app or built-in calculator that accounts for stops to multiply base shutter speed.
What's new for ND filters in 2026 to avoid color casts?
Modern nano-coated filters minimize color shifts, but still shoot in RAW for easy white balance adjustment.
Do I need a tripod for long exposures with ND filters?
Yes, a sturdy tripod is essential to prevent blur during long exposures in 2026.
Camille Bernard shares travel photography tips for every kind of traveller, from phone snapshots to full kits. She breaks down light, composition and timing so you come home with photos that actually capture how a place felt.
💬 Comments (0)
No comments yet. Be the first!