Mount Bromo sunrise photography 2026
Learn key techniques for Mount Bromo sunrise photography 2026, including ideal lens selection, composition, and exposure tips.
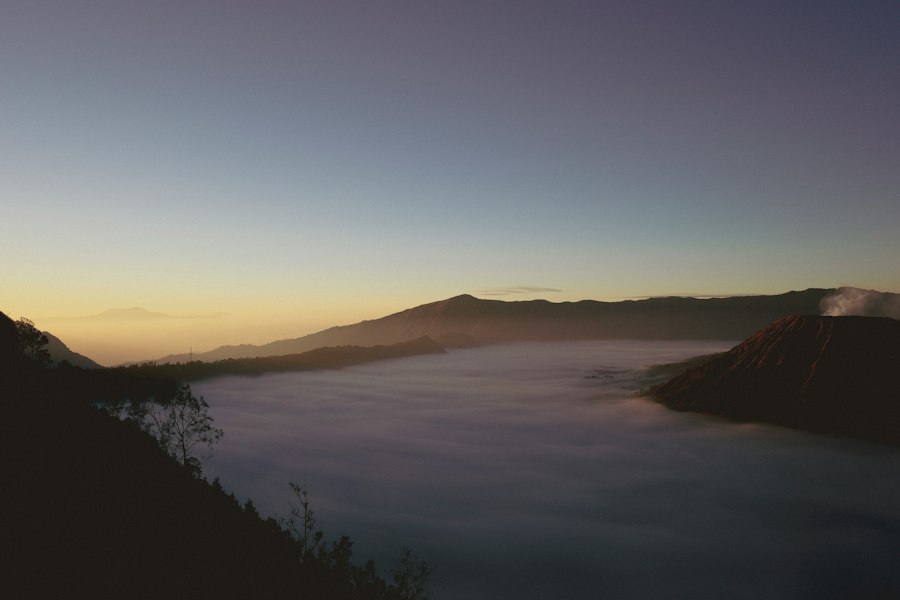
Mastering Mount Bromo sunrise photography 2026 is one of the most rewarding challenges you can undertake as an adventure photographer.
I still remember my very first trip to East Java years ago. I hiked up to King Kong Hill at three in the morning, freezing cold, tired, and full of high expectations. I set up my tripod, pointed my lens toward the valley, and waited for the light. But when the sun broke over the horizon, my shot looked like a muddy grey mess. The dramatic volcanic peaks were silhouetted into a dark blob, and the sky was completely blown out into a harsh white streak. I had made a rookie mistake by relying on my camera's auto mode. Today, I want to make sure you do not repeat my mistakes. I will show you how to capture the majestic sea of sand and smoking craters like a true professional.
Understanding the Bromo Landscape for Your 2026 Photography Trip
First, let us look at what makes this location so magical yet challenging for your camera. Mount Bromo sits inside the massive Tengger Caldera, surrounded by the Sea of Sand. As the sun rises, warm light hits the rising volcanic steam while deep cool shadows linger in the valleys below. This creates an extreme dynamic range, which is the difference between the brightest parts of your image and the darkest areas.
Your camera sensor struggles to see both the bright sky and the dark crater at the same time. The secret is knowing how to balance your exposure using your camera settings manually. When you master Mount Bromo sunrise photography 2026, you learn how to handle these tough lighting conditions with total confidence.
To capture maximum detail in these extreme shadows and highlights, you must shoot in RAW format instead of JPEG. A JPEG file compresses your image and throws away crucial color data. A RAW file saves every single bit of light information captured by your sensor. This allows you to recover hidden shadow details in editing software without creating ugly digital noise.
Essential Gear List for Mount Bromo Sunrise Photography 2026
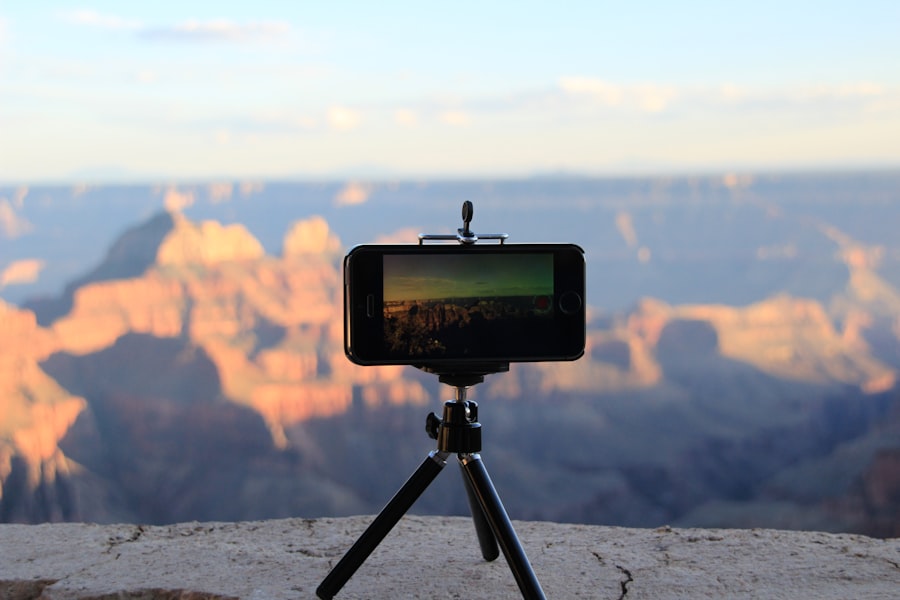
You do not need fifty pounds of camera gear to get world-class shots. However, bringing the right tools will make your morning on the viewing platform smooth and stress-free.
Here is my recommended gear list for your journey:
- Full-frame or APS-C Camera Body: Modern mirrorless or DSLR cameras handle low-light situations with ease. Check out the latest high-resolution sensors listed on the Sony official site or explore optical systems on the Canon official site.
- Telephoto Zoom Lens (70-200mm): A long lens allows you to isolate the smoking peak of Bromo and capture compression effects, making distant mountains look massive and close together.
- Wide-Angle Lens (16-35mm): Perfect for sweeping wide shots that include the morning crowd, foreground foliage, and the entire caldera system.
- Sturdy Tripod: Wind gusts on the mountain ridges can be strong. A rock-solid tripod is non-negotiable for low ISO long exposures before dawn.
- Lens Cleaning Cloths and Air Blower: Fine volcanic dust gets everywhere. Keep your front lens element clean to prevent light flares.
- Extra Batteries: Cold mountain mornings drain battery power rapidly. Keep spares warm inside your jacket pocket until you need them.
Step-by-Step Guide to Shooting the Sunrise
Now try this proven workflow when you arrive at the viewpoint before first light.
Step 1: Arrive Early and Lock Down Your Composition
Aim to reach your chosen lookout point by four in the morning. Use the Rule of Thirds to build a balanced frame. Imagine your frame divided into a nine-box grid. Place the horizon along the bottom third line to emphasize the dramatic sky, or along the top third line if the mist filling the caldera floor is the real hero of your story.
Step 2: Set Your Camera Base Settings
Set your camera mode to Manual. Mount your camera securely onto your tripod and turn off image stabilization, as stabilization systems can accidentally introduce subtle shake when the camera is already static. Select your native sensitivity, usually ISO 100, to keep your images clean and free of digital grain.
Step 3: Dial in Your Aperture and Focus
Set your aperture to f/8 or f/11. This represents the sweet spot for maximum sharpness across your entire frame from front to back. Switch your lens to manual focus, turn on live view zoom, and manually focus on the lit rim of the crater or a bright star in the sky.
Step 4: Balance Exposure Compensation as the Light Changes
As the sun begins to peek over the ridge, monitor your histogram. Do not trust your LCD screen because your eyes are adjusted to the dark. If the graph hits the far right wall, your sky is overexposed. Use Exposure Compensation or adjust your shutter speed faster to protect those golden sky highlights.
Golden Rule Cheat Sheet: ISO 100 for maximum clarity, Aperture at f/8 for total sharpness, shutter speed variable on a tripod, and always protect your highlights from blowing out to pure white!
Camera Settings Master Class
To make execution easy when your fingers are cold, use this quick settings guide for Mount Bromo sunrise photography 2026.
- Image Format: Uncompressed RAW
- Shooting Mode: Manual (M)
- ISO: 100 to 400 (Keep as low as possible)
- Aperture: f/8 - f/11 for landscapes, f/2.8 if you want smooth background blur or low-light bokeh before dawn
- Shutter Speed: 1/2 second to 1/250th second (Adjust based on changing light)
- White Balance: Daylight or Daylight Shade to keep warm morning tones naturally golden
For more deep dives into managing camera settings in high contrast scenes, you can review detailed tutorials available on DPReview or read through tone curve guides hosted on Adobe tutorials.
Before and After: Fixing a Flat Volcanic Shot
Let us take a look at a real-world scenario to help you visualize your progress.
Before: You shoot in auto JPEG mode as the sun breaks. The camera gets confused by the extreme brightness of the sunrise sky and sets a high ISO with a fast shutter speed. The result is a grainy image with a featureless white sky, pitch-black mountains with no visible texture, and dull colors.
After: You follow this guide for Mount Bromo sunrise photography 2026. You lock your camera on a tripod, shoot in RAW at ISO 100, and expose for the bright sky highlights. Later, in editing, you pull up the shadow sliders slightly. Now, your final image features a rich, golden-orange sky, vivid purple shadows, crisp details in the volcanic smoke, and silky mists floating gracefully through the valley floor.
The secret is simple: plan ahead, understand your light, and respect the landscape. Don't forget to take a minute away from your viewfinder just to soak in the incredible view with your own eyes. Pack your gear, set your alarms early, and get ready to take the best landscape shots of your life this year!
Frequently Asked Questions
What is the best time to photograph the Mount Bromo sunrise in 2026?
Aim for the dry season between April and October 2026, arriving at the viewpoints by 4:00 AM. Clear skies are most likely from June to September.
Which viewpoint is best for Mount Bromo sunrise photography?
Penanjakan 1 offers the classic wide panorama of the crater and surrounding volcanoes. King Kong Hill is a less crowded alternative with a similar view.
What camera gear do I need for Mount Bromo sunrise photography?
Bring a tripod, a wide-angle lens for landscapes, and a telephoto lens for compressing the crater and smoke details. A headlamp and warm layers are essential for the cold pre-dawn hours.
How do I get to the Mount Bromo viewpoints for sunrise?
Most photographers stay in Cemoro Lawang and take a 4x4 jeep to Penanjakan before dawn. Book your jeep and guide the evening before, especially on weekends.
What settings should I use to shoot the Mount Bromo sunrise in 2026?
Use a tripod with ISO 100, an aperture around f/8 to f/11, and bracket exposures for the high dynamic range. Switch to faster shutter speeds as the light brightens to avoid blowing out the sky.
Matthias Weber digs into the craft of travel photography, from camera settings to editing. He explains the technical side in plain language so you can spend less time fiddling with dials and more time shooting.
💬 Comments (0)
No comments yet. Be the first!