5 Minimalist Travel Photography Tips
Learn minimalist travel photography in 2026 with these simple composition and framing techniques for stunning photos.
Minimalist travel photography is the ultimate secret to transforming cluttered vacation snapshots into breathtaking, gallery-worthy masterpieces that tell a powerful story. In the bustling travel landscape of 2026, our eyes are constantly bombarded with visual noise. When you visit a famous landmark, your instinct might be to capture everything in a single frame. However, the true magic happens when you do the exact opposite. By embracing simplicity, you allow your viewers to breathe, focus, and truly connect with the essence of a destination. I will show you how to strip away the chaos and find extraordinary beauty in the quietest corners of the world.
The Philosophy of Minimalism in Travel
Minimalist travel photography is not about finding empty deserts or abandoned buildings. It is a deliberate choice to simplify your frame. The secret is to identify your main subject and ruthlessly eliminate any distractions surrounding it. When you train your eyes to see negative space, which is the empty area around your subject, your photos will look instantly more professional and artistic.
Think of your camera as a editing tool for reality. Instead of adding elements to your composition, your goal is to subtract them. Whether you are shooting in a crowded market in Tokyo or on a misty beach in Oregon, you can always find a minimalist perspective. All it takes is a shift in your mindset and a few technical adjustments.
The Golden Rule of Minimalism: Before you press the shutter, ask yourself: "Does this element add to the story of my image?" If the answer is no, recompose, zoom in, or change your angle to get rid of it.
5 Essential Tips for Minimalist Travel Photography
Now, let us dive into the practical techniques that will elevate your portfolio. These five actionable tips will change the way you look through your viewfinder forever.
1. Master the Power of Negative Space
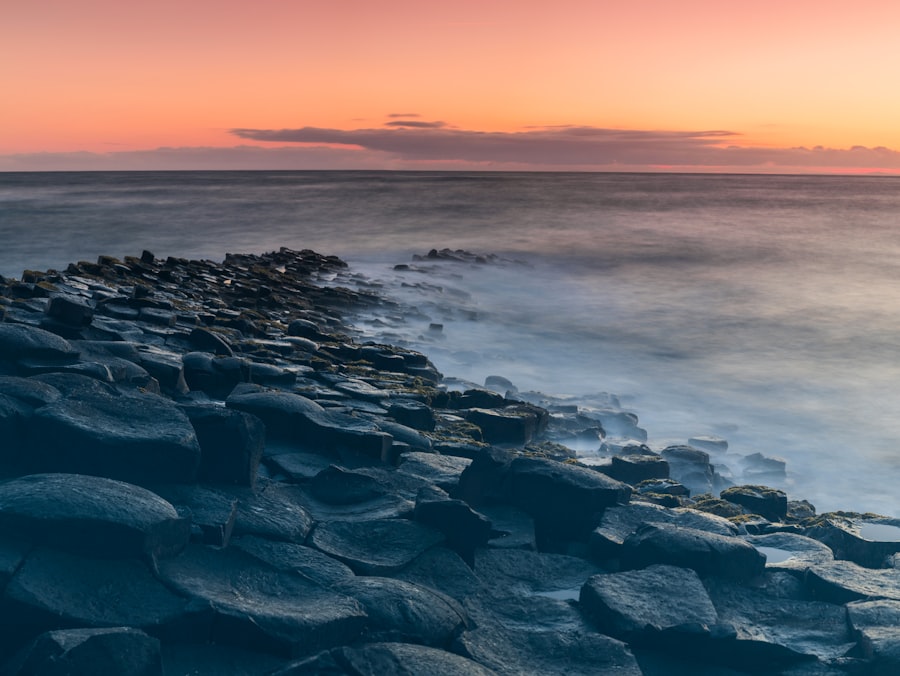
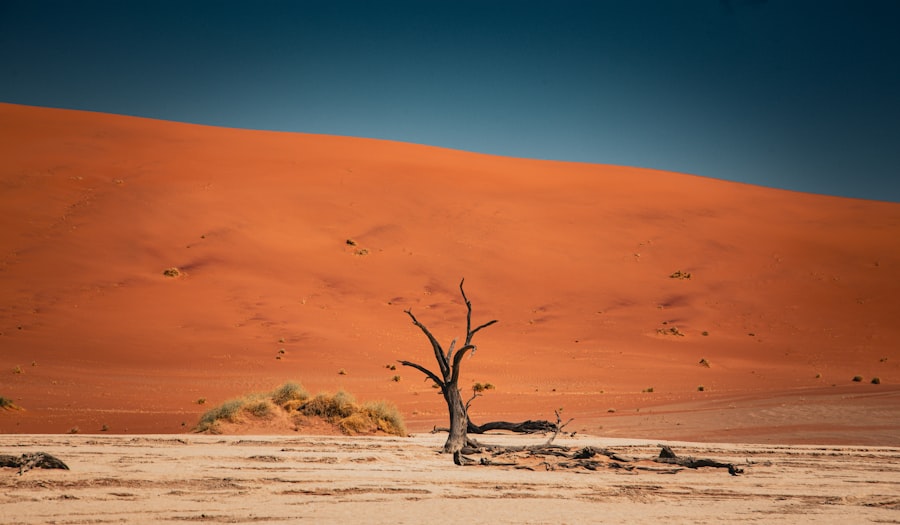
Negative space is the unsung hero of minimalist travel photography. This refers to the large, quiet areas of your image, such as a clear blue sky, a blank concrete wall, or a calm body of water. By placing a small subject against a massive background of negative space, you create a sense of scale, isolation, and drama.
First, let us look at how you can compose this. Use the Rule of Thirds, a classic composition guideline where you divide your frame into a grid of nine equal rectangles. Instead of placing your subject dead center, position them on one of the four intersections. Let the remaining two-thirds of the image remain completely empty. This draws the viewer's eye directly to your subject while giving the photograph plenty of room to breathe.
2. Simplify Your Color Palette
Too many competing colors can ruin a minimalist composition. The secret is to look for monochromatic scenes or images that feature only two contrasting tones. For example, a yellow taxi cab against a dark gray asphalt road, or a red umbrella on a snowy white street.
Now try this: set your camera to look for primary color blocks. If the scene is too chaotic, you can always convert your images to black and white during post-processing. Removing color forces the viewer to focus on the shapes, lines, and textures of your travel destination.
3. Use Depth of Field to Create Clean Backgrounds
Sometimes you cannot avoid a busy background. In a crowded city, you cannot easily remove the tourists or traffic behind your subject. This is where you use depth of field to your advantage. By using a wide aperture (like f/1.8 or f/2.8), you can blur the background into a soft, creamy mist.
This beautiful background blur is known as Bokeh. It physically separates your subject from the chaos, making them pop out of the frame. For more on how lens optics create this effect, check out the detailed technical guides on DPReview.
4. Seek Out Striking Lines and Geometrical Shapes
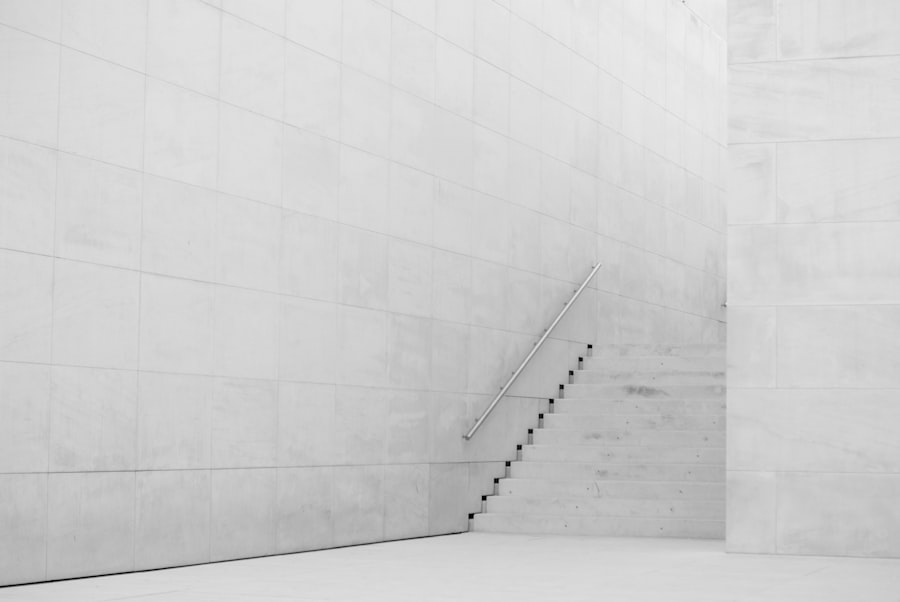
Minimalism relies heavily on graphic design principles. Keep your eyes open for leading lines, such as a long pier stretching into the ocean, a winding mountain road, or the sharp architectural angles of a modern museum. These lines act as visual pathways, guiding the viewer's eyes directly to where you want them to look. Don't forget to align your camera perfectly with these lines to keep your horizons straight and your compositions clean.
5. Control Your Exposure to Create Silhouettes
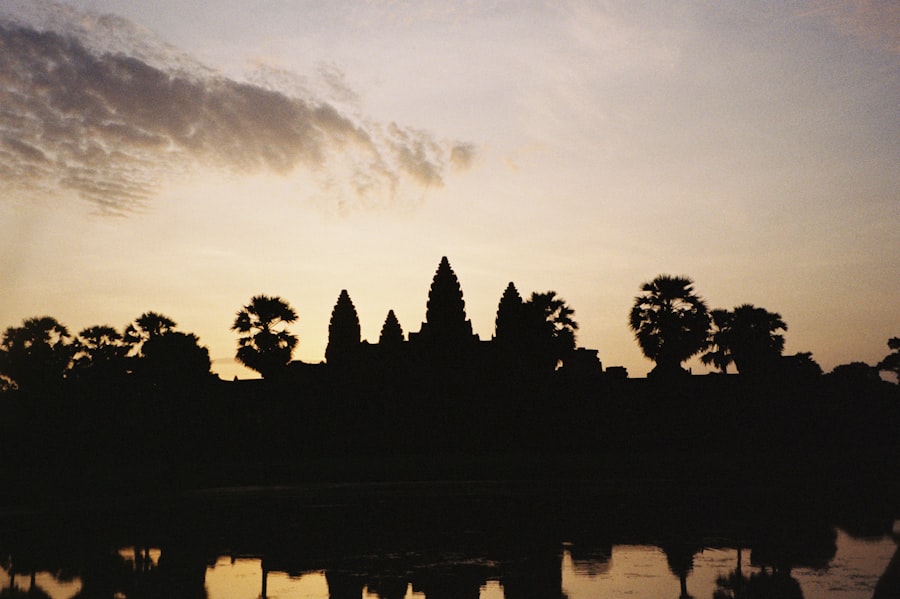
High-contrast lighting is perfect for minimalist travel photography. During the golden hour, position yourself so the sun is directly behind your subject. By intentionally underexposing the image, you can turn your subject into a dark silhouette against a vibrant, clean sky. This strips away all distracting details like clothing patterns or facial expressions, leaving only a pure, poetic shape.
Before and After: A Lesson in Simplification
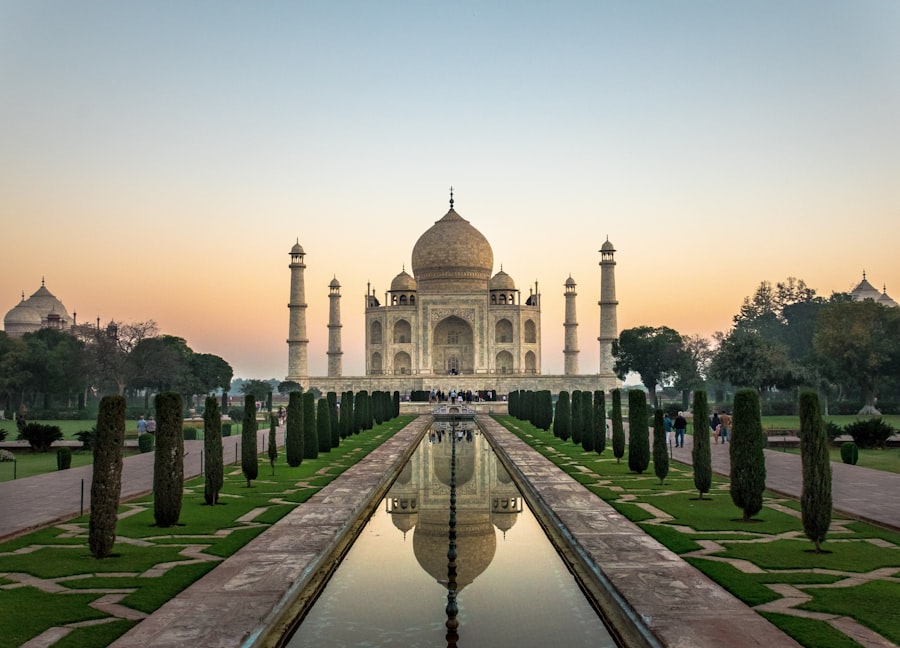
Let me share a quick personal story from a trip I took. I was standing in front of the magnificent Taj Mahal. I wanted a shot that captured the grandeur of the monument, but there were thousands of tourists in my way. My first photo was a complete mess. It was cluttered with selfie sticks, colorful tour groups, and half-eaten snacks on the pavement. It looked like a chaotic tourist snapshot, not art.
I realized I needed to apply my own advice on minimalist travel photography. Instead of trying to capture the entire building from the front gates, I walked to the side gardens. I found a single arched marble doorway. I stepped back, framed the Taj Mahal through the archway, and waited. When a single person walked past in the distance, I captured them silhouetted against the white marble. By limiting my frame, utilizing the archway as a natural border, and using negative space, I transformed a chaotic scene into a peaceful, timeless piece of art.
Your Step-by-Step Guide to Camera Settings
Getting the right technical setup is crucial for capturing clean, high-quality images. Follow this step-by-step guide to configure your camera for success.
Step 1: Choose the Right Image Format
Always set your camera to shoot in RAW vs JPEG. While JPEG files are smaller and convenient, RAW files preserve all the data captured by your camera sensor. This gives you maximum flexibility when adjusting highlights, shadows, and white balance later. Learn more about file processing on the Adobe Lightroom Tutorials page.
Step 2: Set Your ISO to the Lowest Value
To keep your minimalist backgrounds looking smooth and free of digital noise, keep your ISO as low as possible, ideally ISO 100 or 200. Higher ISO values introduce grain, which ruins the clean aesthetic of minimalist travel photography.
Step 3: Master Exposure Compensation
When shooting bright scenes like snowy landscapes or sandy beaches, your camera's light meter can get confused and make the image look gray. Use your Exposure Compensation dial (the +/- button) to manually brighten or darken the image. For a minimalist high-key look, dial it up to +1 or +2 to blow out the background into a clean, pure white canvas.
Recommended Settings and Gear for 2026
To make your next trip easier, here is a quick checklist of the best gear and settings to use for clean, impact-filled travel shots.
- Camera Sensor: Full-frame mirrorless camera for superior dynamic range (check out the latest specs on the official Sony camera page).
- Lens Choice: A fast prime lens (like a 50mm f/1.8) for creating beautiful bokeh and working in low light.
- Tripod: A lightweight carbon-fiber travel tripod to keep your compositions perfectly aligned.
- Filter: A Circular Polarizer to remove unwanted reflections from water and glass.
When you are out in the field, use these baseline settings as your starting point:
- Shooting Mode: Aperture Priority (A or Av) so you can control your depth of field instantly.
- Aperture: f/2.8 for portraits and detail shots; f/8 for sharp landscapes.
- Focus Mode: Single-point autofocus to ensure your main subject is razor-sharp.
- White Balance: Auto, but easily adjusted later in your RAW editor.
Conclusion: Less is Always More
As you pack your bags for your next adventure in 2026, remember that you do not need to capture every single detail of your journey to tell a great story. Often, the things you leave out of the frame are just as important as the things you keep in. By mastering minimalist travel photography, you will create images that evoke emotion, inspire curiosity, and stand out in a noisy digital world. Slow down, look for the quiet spaces, and let your subject shine. Happy shooting!
Frequently Asked Questions
What is minimalist travel photography?
It focuses on simplicity by capturing scenes with minimal elements, often using negative space and clean compositions. The goal is to convey a mood or subject without visual clutter.
Why should I travel with only one lens?
Using one prime lens forces creativity and reduces decision-making time, helping you focus on composition. A 35mm or 50mm lens is versatile enough for both landscapes and details.
How can I use negative space effectively?
Seek out large areas of solid color or texture, like a blank wall or sky. Place your subject off-center to create balance and draw the viewer's eye.
What's the best lighting for minimalist shots?
Scattered light on an overcast day or golden hour sunlight minimizes harsh shadows. Soft lighting enhances texture and simplicity without overpowering the scene.
Should I edit minimalist photos a lot?
Edit sparingly to enhance simplicity—essentially reduce in-process in-camera such as contrast, a little dodging-backing, dust cleanliness editing barely should be needed. Focus on capturing clean images in-camera first.

Camille Bernard shares travel photography tips for every kind of traveller, from phone snapshots to full kits. She breaks down light, composition and timing so you come home with photos that actually capture how a place felt.
💬 Comments (0)
No comments yet. Be the first!