Long Exposure Tips for Travel Photography
Master long exposure photography for travel. Learn tips for silky waterfalls and light trails with this guide.
If You Are New to Travel Photography, Mastering Long Exposure Can Transform Your Images From Ordinary to Breathtaking
I have been teaching travel photography for years, and the one technique that consistently wows my students is long exposure. You slow your shutter speed down, let light collect over seconds or minutes, and suddenly water turns to silk, clouds stretch like brushstrokes, and traffic becomes ribbons of light. It is not difficult once you understand the basics. In this tutorial I will guide you through everything you need to know to capture stunning long exposure shots during your travels in 2026.
First, let’s look at what long exposure actually means. Simply put, it is using a shutter speed longer than about 1/30th of a second — often several seconds or even minutes. Your camera’s sensor stays open, recording every photon that hits it. The result is motion blur that can turn crashing waves into fog, or stars into streaks. The secret is controlling how much light enters and keeping the camera perfectly still.
Essential Gear for Long Exposure Travel Photography
Before you head out on your 2026 travels, you need the right tools. You can start with basic kit, but a few items make the process much easier.
- A sturdy tripod — carbon fiber is great for weight, but any solid tripod works.
- A remote shutter release or cable release — even a 2-second self-timer can work in a pinch.
- Neutral density (ND) filters — these are like sunglasses for your lens. They block light so you can use longer shutter speeds in daytime.
- A lens hood to prevent stray light from creating flares.
- Extra camera batteries — long exposure drains them faster because the sensor stays active.
Now try this: if you do not own an ND filter yet, practice at dawn or dusk when natural light is dim. You can get 10-second exposures even without filters. The key is to keep ISO low (100 or 200) and aperture small (f/11 to f/16).
Camera Settings for Long Exposure
Recommended Settings for Your First Long Exposure
- Shoot in RAW — this gives you maximum flexibility to adjust exposure and white balance later.
- Set ISO to 100 (or your camera’s base ISO) to minimize noise.
- Choose aperture around f/11 for a deep depth of field. Remember the Rule of Thirds: place the horizon on the upper or lower third line for balance.
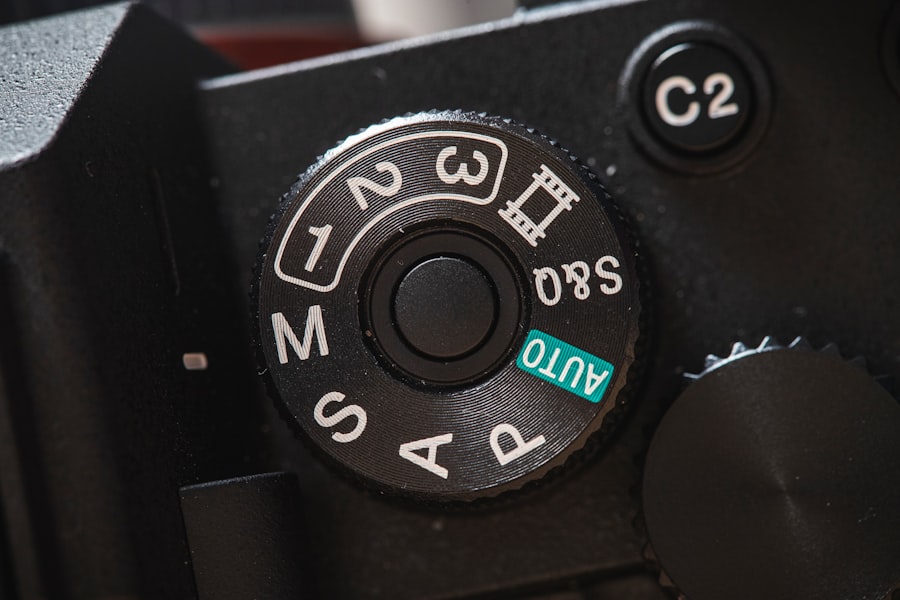
- Use manual mode (M) or shutter priority (S/Tv). Dial in a shutter speed from 5 to 30 seconds.
- Enable Exposure Compensation if you are in a semi-automatic mode — you may need +1 or +2 stops for very dark scenes.
- Turn off image stabilization on your lens when using a tripod — it can introduce micro-vibrations.
The secret is to check your histogram. You want the graph to be roughly centered, not touching the left edge (underexposed) or right edge (blown out). If the image looks too dark, increase shutter speed or open aperture slightly. If too bright, use an ND filter or close down aperture.
Step-by-Step Guide to Your First Long Exposure
Let me walk you through a real scene. You are at a beach in Portugal in 2026. The sun is setting, waves roll in. Follow these steps.
Step 1: Set Up Your Tripod
Find a stable spot. Extend the legs fully but avoid the center column if possible — that is the weakest link. Hang your camera bag from the hook to add weight and reduce wind shake.
Step 2: Compose and Focus
Use the Rule of Thirds to place a rock or pier in the foreground. Focus manually using live view — zoom in 10x and turn the focus ring until edges are sharp. Then switch to manual focus so the camera does not refocus when you press the shutter.
Step 3: Meter and Set Shutter Speed
Without an ND filter, start with a shutter speed around 1/2 second. If you have a 10‑stop ND filter, your shutter speed might be 10 to 20 seconds. Use your camera's built‑in meter or a phone app to calculate the correct exposure.
Step 4: Use a Remote Release
Attach your cable release or set a 2‑second self‑timer. This prevents camera shake from your finger pressing the shutter button. Now take the photo.
Step 5: Review and Adjust
Check the histogram. If the waves look too bright, shorten the shutter speed or add an ND filter. If the image is too dark, lengthen the exposure. Don’t forget to also check focus — zoom in on the playback. Repeat until you get it right.
Cheat Sheet Tip: When you halve the shutter speed, you let in half the light. When you double it, you double the light. Use this rule to dial in the perfect exposure without guesswork. Golden Rule: "Expose for the highlights, develop for the shadows" — in digital, protect the brightest parts of your image to avoid blown‑out whites.
Personal Story: My Failed Night Shot and How I Fixed It
Early in my career, I tried to capture a long exposure of the Milky Way over a desert. I set everything up: ISO 6400, 30‑second shutter, wide aperture. The result was a noisy, star‑streaked mess. Why? I had forgotten to turn off my lens’s image stabilization, and my tripod was on sandy ground that shifted. I also shot in JPEG, which crushed my ability to recover details.
I learned three lessons that day. First, always shoot RAW — it gives you the latitude to fix exposure and reduce noise in post‑processing. Second, turn off any stabilization when the camera is on a tripod. Third, use a heavier tripod or weigh it down. The next night I tried again with those fixes. I dropped ISO to 3200, used a 20‑second shutter, and manually focused on a bright star. The result was a sharp, stunning Milky Way with vivid colors. That long exposure taught me that small mistakes ruin an image, but simple corrections save it.
Creative Techniques Using Long Exposure
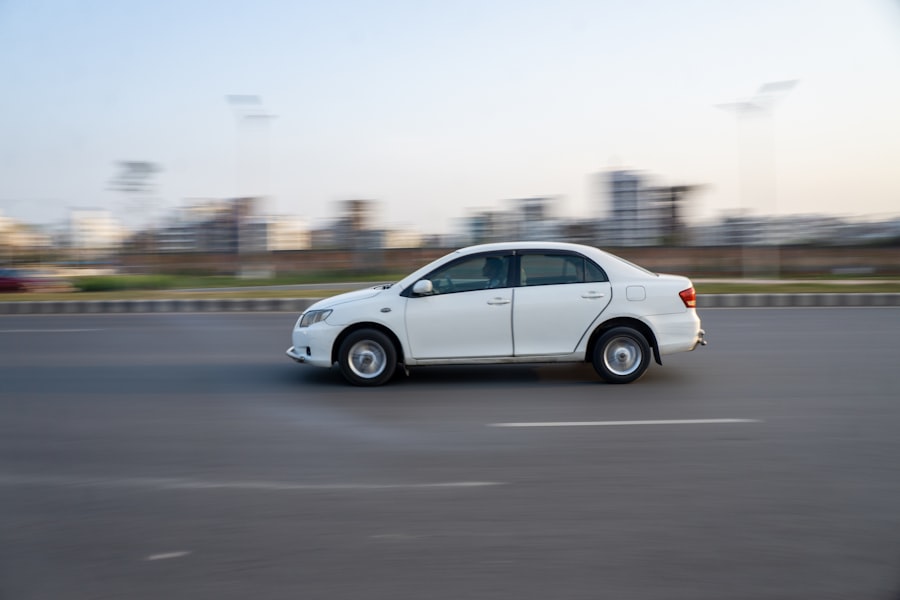
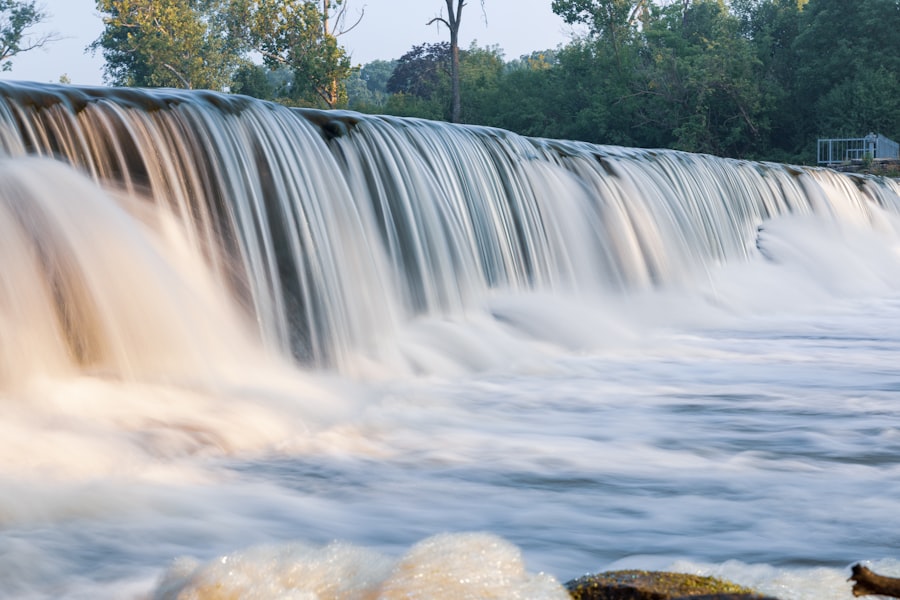
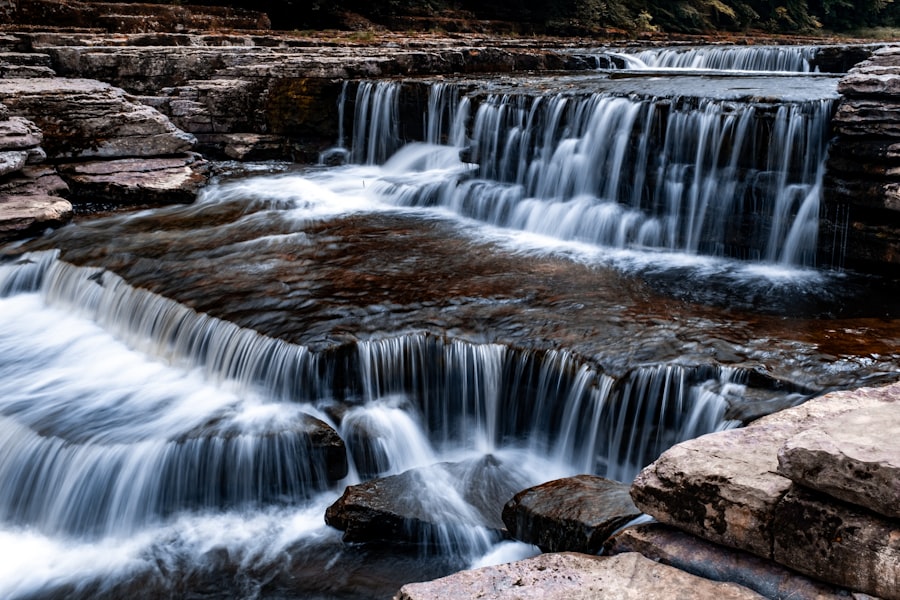
Once you are comfortable with basic long exposure, you can experiment. Try capturing light trails from cars or boats. For cityscapes, use a 10‑second exposure at f/11 to turn headlights into streaks. For waterfalls, aim for 2–5 seconds to blur water into a creamy flow. You can also combine multiple exposures in post‑processing — for example, blending a long exposure sky with a sharp foreground that was exposed separately.
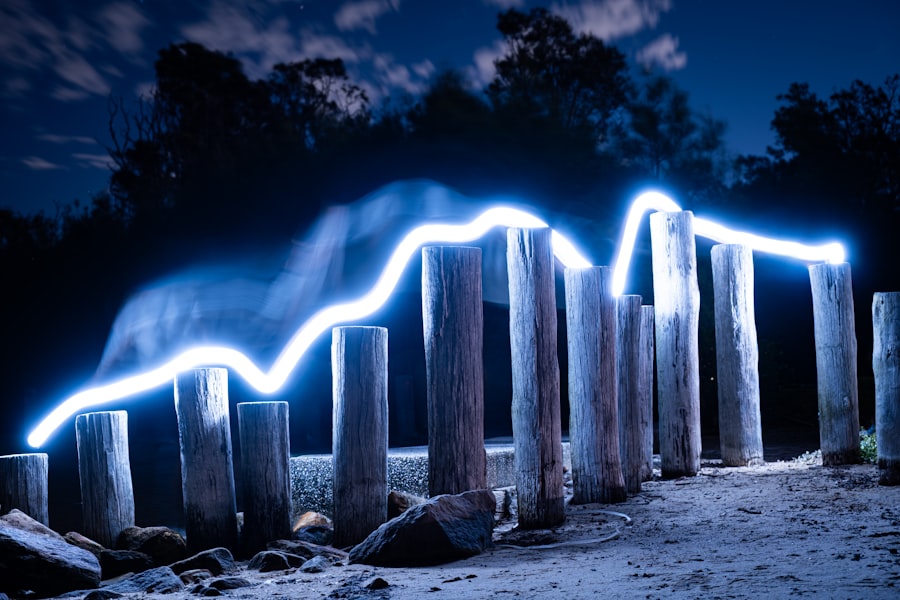
Another fun trick is intentional camera movement during a long exposure. Swivel your camera upward while the shutter is open to create abstract light paintings. This is great for creative travel portraits or architectural shots where you want a dreamy effect.
Remember, the best long exposure photos tell a story. Use leading lines, like a dock or road, to guide the eye. And always keep the Rule of Thirds in mind — place your main subject off‑center for more dynamic composition.
Common Mistakes and How to Avoid Them
- Soft images: Usually caused by vibration. Use mirror lock‑up (if your camera has it) or electronic shutter. Always use a remote release.
- Blown highlights: Your shutter speed is too long. Use an ND filter or close aperture. Check Exposure Compensation if in a semi‑auto mode.
- Noise: High ISO ruins long exposure shots. Keep ISO at 100. If the scene is too dark, use longer shutter speed instead of raising ISO.
- Lens flare: Light from the sun or streetlights entering the lens. Use a lens hood and shield the front element with your hand or a black card.
Now try this: go out tonight and capture a 30‑second long exposure of a busy intersection. Use a tripod, ISO 100, f/16. The streaks of red and white lights will amaze you. Then try the same scene with a 10‑stop ND filter during the day — you will get ghostly pedestrians and smooth clouds.
For more advanced techniques, I recommend checking out DPReview’s guide to long exposure photography: DPReview Long Exposure Tips. Also, look at Sony’s official camera specifications for noise performance at long shutters: Sony Camera Specs.
Don’t forget to practice. Every location offers a new chance to refine your technique. Whether you are photographing misty mountains in Chile or neon streets in Tokyo, long exposure will elevate your travel photography to a professional level. I hope this tutorial inspires you to try it on your next trip in 2026. Happy shooting!
💬 Comments (0)
No comments yet. Be the first!