Lightroom Mobile Editing for Travel 2026
This guide teaches Lightroom Mobile editing for travel photos. Transform your vacation images into pro shots in 2026.
Why Lightroom Mobile Editing Is the Future of Travel Photography in 2026
Lightroom Mobile editing is the single most powerful skill you can learn as a travel photographer in 2026. I’ll show you how it turns a flat, underexposed snapshot into a stunning image that makes people stop scrolling. A few years ago I was in Santorini, watching the sunset over Oia. I was so caught up in the moment that I forgot to check my exposure compensation, and every shot came out with blown-out highlights and muddy shadows. Back at the hotel, I loaded the RAW file into Lightroom Mobile—and within ten minutes I had recovered the sky details, brightened the foreground, and made the whitewashed buildings pop. That was the day I realized you don’t need a laptop to produce professional results. Your camera’s sensor captures everything; Lightroom Mobile editing simply brings it to life.
Travel photographers today face a unique challenge: you’re always on the move, often with limited time and internet access. That’s why I rely on Lightroom Mobile editing for almost every image I share. It lives on my phone, syncs to the cloud, and works with both RAW and JPEG files. If you’re shooting JPEG on a recent mirrorless body (like the Sony A7 IV), you can still make big improvements—but shoot RAW if you want to push highlights and shadows without breaking the image. Lightroom Mobile editing gives you professional control over white balance, contrast, and even local adjustments, all without carrying a laptop across Europe.
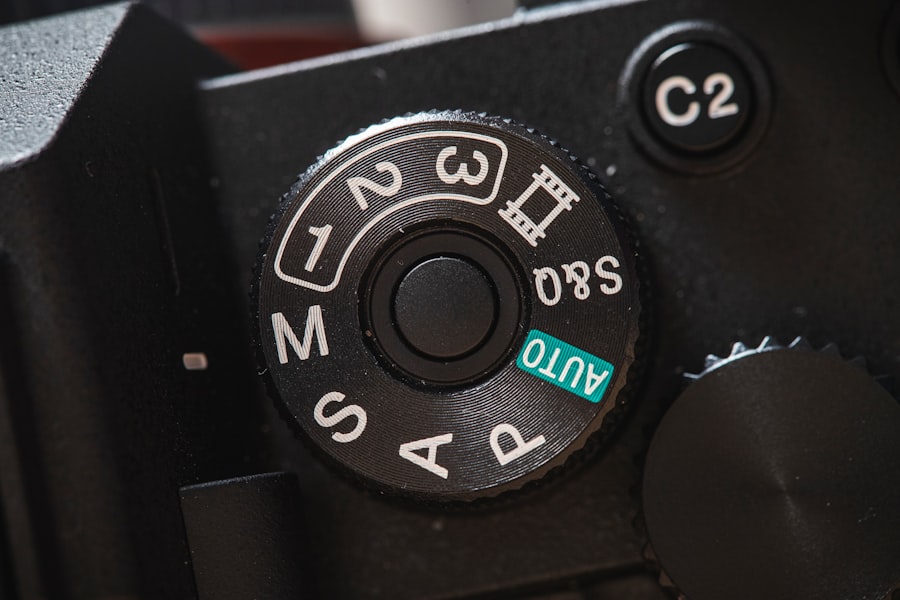
Now, before we dive into the steps, let’s break down the jargon. ISO is your sensor’s sensitivity to light: low ISO (100–400) gives clean files, high ISO (1600+) adds grain. Exposure compensation is a quick way to brighten or darken the whole scene before you press the shutter. RAW vs. JPEG is simple: RAW is the digital negative (all data), JPEG is the processed finished product. Lightroom Mobile editing works best with RAW, but even JPEGs can be dramatically improved. The secret is to start with a well-exposed shot—no editing tool can fix a completely black image.
The Essential Gear for Lightroom Mobile Editing in 2026
Must‑have Gear
- Smartphone with a large, color-accurate screen (OLED preferred) – your editing canvas.
- Adobe Lightroom Mobile app (free version works, but the paid plan unlocks cloud sync, healing brush, and masking).
- Portable tripod or stabilizer – for sharp long exposures and consistent framing.
- External backup drive (USB‑C with adapter) – never lose your edits on the road.
- Camera that shoots RAW – any DSLR or mirrorless from DPReview’s top-rated cameras will do.
Recommended Settings
- Shoot RAW + JPEG (RAW for editing, JPEG for quick sharing).
- Enable auto‑sync in Lightroom so edits appear on your desktop later.
- Set your smartphone’s screen brightness to 70% for consistent color judgment.
- Turn off “auto‑enhance” in the camera – you want a neutral starting point.
🔥 Golden Rule of Travel Editing: Always edit on a calibrated screen if possible. If you’re outdoors, shade your phone and use your hand to block glare. What you see is what you’ll post. When in doubt, save the edit and check it in natural light before publishing.
Step‑by‑Step Guide: Edit a Travel Photo in 10 Minutes Using Lightroom Mobile
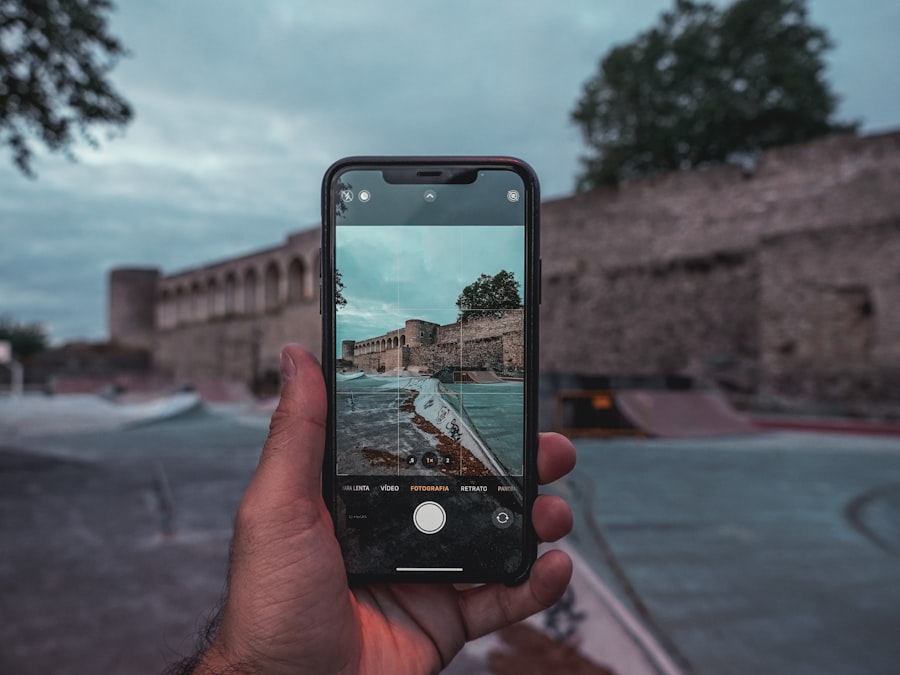
Step 1 – Import and Assess
First, let’s look at the image you want to edit. Open Lightroom Mobile and tap the “+” icon to import from your camera roll. Don’t forget to check if you shot in RAW – the file icon will show a “R” badge. Now tap the image and look at the histogram in the top‑right corner. A bell‑shaped curve is ideal. If the histogram is smashed against the left edge, the image is underexposed. If it’s touching the right edge, highlights are blown. My Santorini shot had a huge spike on the right – so I knew we’d need to bring down the highlights first.
Step 2 – Correct Exposure and White Balance
Lightroom Mobile editing starts here. Tap the “Light” icon (circle with a sun) and adjust Exposure to bring the overall brightness to neutral. Then slide Highlights down (‑30 to ‑50) to recover sky details. Pull Shadows up (+20 to +40) to open up dark areas. Next, head to “Color” and use the White Balance dropper on a neutral gray area – like a white wall or cloud. If the image is too warm, drag the Temperature slider left. Now try this: add +5 to the Dehaze slider for landscapes to clear atmospheric haze.
Step 3 – Enhance Colors and Contrast
The secret is subtlety. Go to “Effect” and increase Contrast by +10, then bump Vibrance by +15. For travel portraits, lower Saturation by ‑5 and adjust the orange luminance slider down to smooth skin. Lightroom Mobile editing also includes a Color Mixer panel: tap the target circle next to HSL, then drag your finger on the area you want to change (e.g., drag down on blue sky to darken it). This is far more intuitive than sliders.
Step 4 – Selective Adjustments and Sharpening
Now apply local edits. Tap the masking icon (circle with a dot) and choose “Brush” or “Linear Gradient”. Paint over your subject to increase exposure by +0.3, or use a gradient to darken the sky. Finally, go to “Detail” and set Sharpening to 40, Radius to 1.0, and Masking to 30 (hold down the Masking slider to see the white edges – those are the sharpened areas). Avoid applying noise reduction unless you shot at ISO 3200 or higher – you want to keep texture.
Now try this: compare your before and after by holding down your finger on the image. That’s your “wow” moment. Lightroom Mobile editing has transformed a flat, underexposed travel photo into a vibrant keeper – ready to be posted in minutes, not hours.
Pro Tips for Lightroom Mobile Editing on the Go
Always edit in a sequence that mimics how light hits the scene. Start with global adjustments (exposure, white balance), then move to color and contrast, and finish with local edits. Lightroom Mobile editing works best when you don’t jump between sliders randomly. Another tip: use the “Auto” button as a starting point, then refine manually. I’ve found that Auto often pulls Highlights too low, so I dial it back by half. And don’t forget to check your images on another screen – what looks great on an OLED phone might look muddy on a laptop. Finally, sync your edits with an Adobe cloud folder so you can open them in the desktop version later for fine‑tuning. For a deeper dive, check out Adobe’s official Lightroom Mobile tutorial.
To sum up, Lightroom Mobile editing is the travel photographer’s secret weapon in 2026. It’s fast, powerful, and always with you. With the right camera settings, a few essential pieces of gear, and the step‑by‑step approach above, your travel photos will look like they were edited in a professional studio – even if you’re editing them in a Moroccan riad or on a train through the Scottish Highlands. Now go shoot, import, and edit. Your audience will thank you.
💬 Comments (0)
No comments yet. Be the first!