Kyoto Zen Garden Photography 2026: Pro Tips
Capture the serenity of Kyoto Zen Garden Photography 2026 with our expert guide on mastering light, composition, and texture.
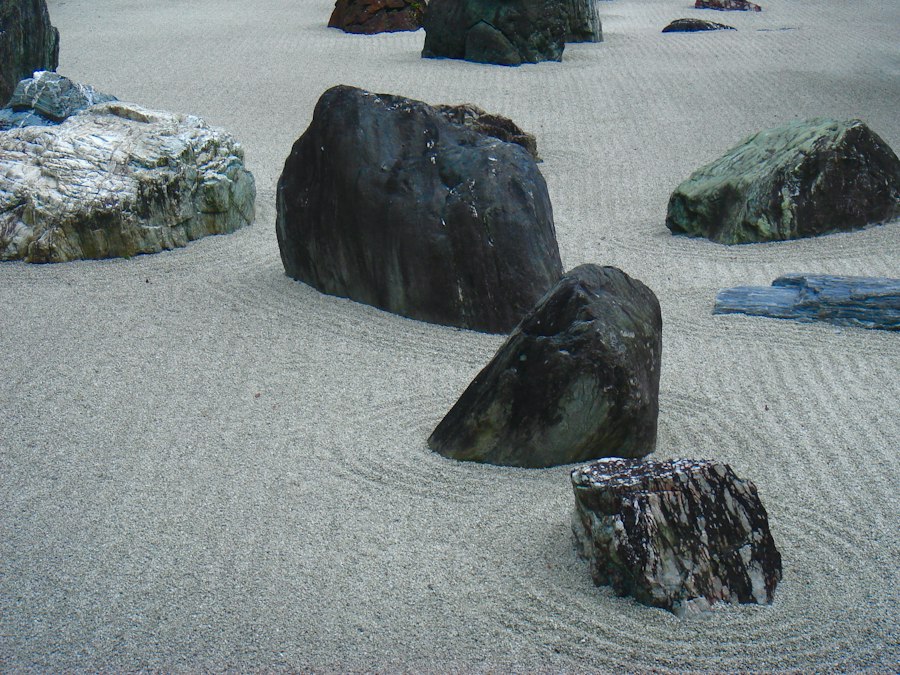
Kyoto Zen Garden Photography 2026 is an art form that requires patience, stillness, and a deep understanding of your camera settings.
When you step into a temple in Kyoto, the silence hits you first. I remember my first visit to Ryoan-ji. I was so excited that I rushed around, clicking away at everything, convinced I was capturing the essence of the place. When I got back to my hotel and checked my screen, the images were flat, blurry, and lacked the serene soul of the garden. I had treated the space like a tourist attraction rather than a meditative subject. I had to learn that Kyoto Zen Garden Photography 2026 is not about taking pictures; it is about observing the flow of nature and light.
In this guide, I will show you how to capture that elusive Zen atmosphere. Whether you are a hobbyist or a budding pro, your photos will look professional once you master these specific techniques.
Understanding Light and Texture in Zen Spaces
Zen gardens are defined by raked gravel, moss, and carefully placed stones. These elements are highly textured. To make them pop, you must pay attention to the direction of the light. Avoid the harsh high-noon sun, which creates deep, unattractive shadows. Instead, aim for early morning or late afternoon when the light is soft and directional.
If you find that your bright white gravel is washing out your image, use your Exposure Compensation. This feature, usually found by pressing a button with a plus-minus icon, allows you to darken or brighten your photo. By sliding it toward the negative, you keep the details in the highlights, preventing the white stones from becoming featureless glowing blobs.

The Gear You Need for Kyoto Zen Garden Photography 2026
You do not need a bag full of heavy lenses to excel at Kyoto Zen Garden Photography 2026. In fact, a lighter kit often allows you to move more freely and stay respectful of the temple environment. Here is what I keep in my bag:
- A mirrorless camera body with a silent shutter mode to avoid disturbing the quiet atmosphere.
- A 35mm or 50mm prime lens: These lenses are sharp and mimic the natural field of view of the human eye.
- A circular polarizer: This filter is essential to reduce glare on wet moss or dark stones, allowing you to see the true colors beneath.
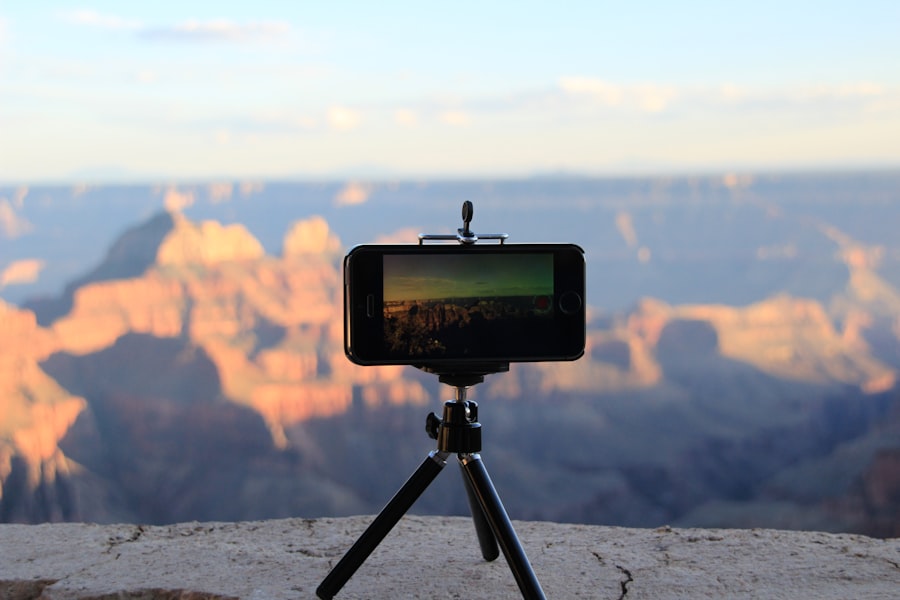
- A lightweight carbon fiber tripod: Many temples prohibit tripods, so always check the rules first. If allowed, it is a game-changer for long exposures.
- An extra battery: Cold mountain air in Kyoto can drain your power faster than you expect.
For those interested in technical details, you can compare the latest sensor capabilities at DPReview to ensure your gear handles the high dynamic range required for these high-contrast scenes.
Step-by-Step: Capturing the Perfect Zen Frame
1. Compose with the Rule of Thirds
Divide your frame into a grid of nine squares. Don't put your main rock or tree in the center. Instead, place it on one of the four intersections. This creates a sense of balance and movement that feels natural to the viewer.
2. Master Your Depth of Field
To get that dreamy background blur, known as Bokeh, use a wide aperture like f/1.8 or f/2.8. However, in a Zen garden, you often want everything in focus to show the entire landscape. In that case, use an aperture of f/8 or f/11. This keeps the foreground and background sharp.
3. Shoot in RAW
Never shoot in JPEG if you want the best results. RAW files contain all the image data your sensor captured. If your white balance is slightly off or your shadows are too dark, you can fix them later in editing software like those found at Adobe. A JPEG file throws away that data the moment you take the shot.
Refining Your Approach to Kyoto Zen Garden Photography 2026
The secret is to treat the camera as an extension of your own breath. When I realized my photos were failing, I stopped looking through the viewfinder constantly. I started by sitting on the temple veranda for ten minutes, just watching the way the shadows moved across the raked gravel. I decided to capture the interplay between the permanent stones and the transient light. When I finally lifted the camera, I knew exactly what I wanted to frame. My results improved instantly because I was no longer chasing a shot; I was waiting for one.
The Golden Rule of Zen Photography: If you feel you need to rush, take a step back. True composition in Kyoto Zen Garden Photography 2026 happens when you align your frame with the silence of the garden itself.
Recommended Settings for Consistent Results
When you are starting out, use these settings as a baseline to ensure you don't miss the shot while fumbling with dials:
- Mode: Aperture Priority (A or Av)
- ISO: Keep it as low as possible, ideally ISO 100 or 200, to ensure zero digital noise.
- White Balance: Use "Cloudy" or "Shade" mode to add warmth to the often cool, blue tones of the garden shadows.
- Focus Mode: Single-point AF to ensure you lock focus on the specific stone or leaf you intend to highlight.
Final Tips for Kyoto Zen Garden Photography 2026
Don't forget to check your ISO. If you are shooting handheld in the shade, your camera might try to boost the ISO to keep the shutter speed fast. High ISO leads to grainy photos. If you find your shutter speed is too slow, find a steady handrail or a low wall to rest your camera on instead of cranking up the ISO. Remember, Kyoto Zen Garden Photography 2026 is a marathon, not a sprint. Take your time, respect the sacred space, and let the garden speak to you through the lens.
Now try this: Next time you visit a garden, force yourself to use only one focal length for the entire session. By limiting your choices, you will be forced to move your feet and find angles that others miss. That is how you develop a unique eye for this incredible craft.

Matthias Weber digs into the craft of travel photography, from camera settings to editing. He explains the technical side in plain language so you can spend less time fiddling with dials and more time shooting.
💬 Comments (0)
No comments yet. Be the first!