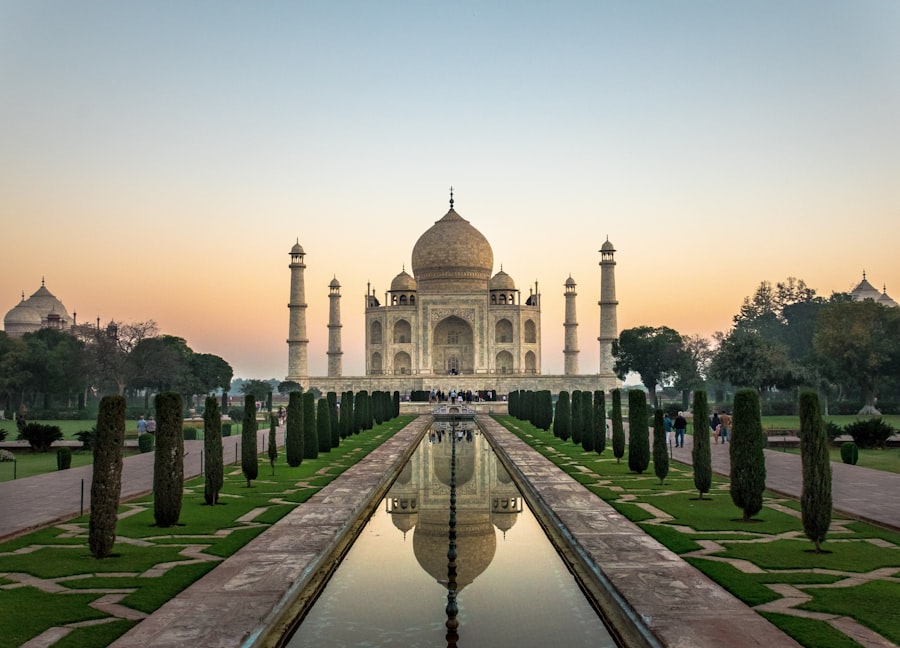
Kyoto Temple Drone Photography Guide 2026
Capture stunning aerial perspectives with this Kyoto temple drone photography guide 2026, featuring legal tips and best settings.
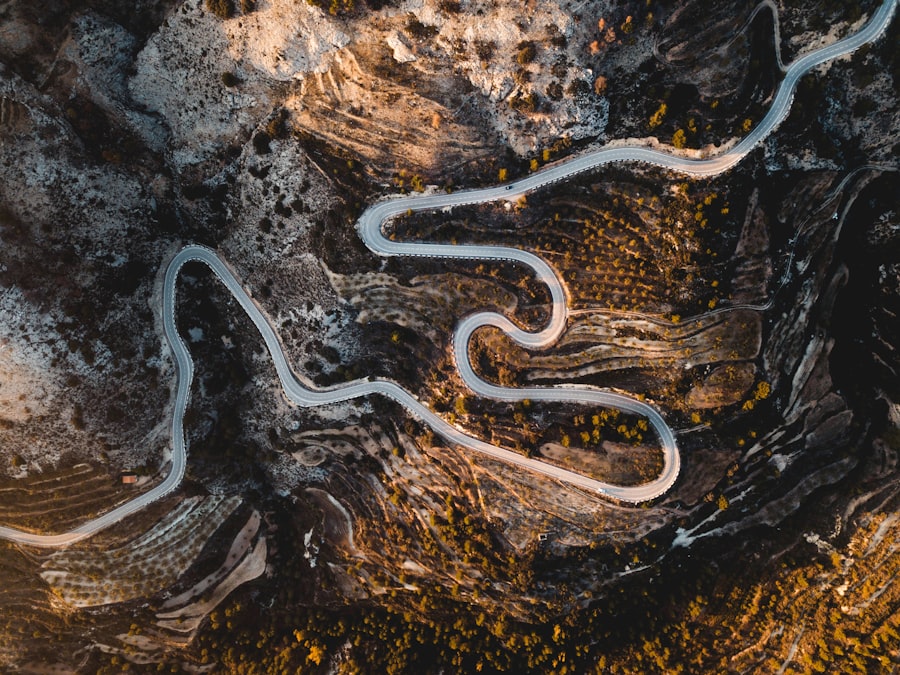
Welcome to the ultimate Kyoto temple drone photography guide 2026, your go-to resource for capturing the ancient, mist-shrouded pagodas of Japan from a breathtaking aerial perspective. As a travel photographer, I know how magical it feels to see those iconic tiled roofs peeking through cherry blossoms or fiery autumn maples. But capturing that magic from the air requires a blend of technical skill, respect for local culture, and the right camera settings. Today, I will show you how to elevate your aerial imaging game so your photos will look like they belong in a premium travel magazine.
The Magic of Aerial Perspectives in Kyoto
There is something deeply spiritual about Kyoto. When you view its historic structures from above, you reveal geometric patterns, hidden gardens, and symmetry that are completely invisible from the ground. However, drone photography here is not just about flying high; it is about storytelling. By understanding how to frame these ancient wooden structures against the rolling green hills of Kansai, you can create images that evoke a sense of timelessness.
The secret is to treat your drone not just as a flying camera, but as a tripod in the sky. In 2026, drone sensors have become incredibly advanced, allowing us to capture dynamic range that rivals professional ground-based setups. But to make the most of this technology, you need to master both your flying technique and your camera settings.
Essential Drone Gear and Recommended Settings
Before you pack your gear bag and head out into the crisp Kyoto morning, we need to talk about equipment. To get those pin-sharp details in the temple tiles, you need a drone with a capable sensor. I highly recommend checking out the latest sensor technology on the DPReview website to understand how modern compact sensors handle low-light conditions.
First, let's look at the gear you should carry in your camera pack:
- A drone with a multi-focal camera: Having a telephoto lens on your drone is a game-changer for capturing compressed, intimate shots of pagodas without flying too close.
- Neutral Density (ND) filters: Essential for controlling your shutter speed and keeping your footage looking natural in bright daylight.
- High-speed memory cards: Ensure your cards can handle the high write speeds of modern color profiles.
- A sturdy landing pad: Kyoto terrain can be dusty or wet; a portable pad protects your camera lens during takeoff and landing.
Once your gear is ready, you need to dial in your camera settings. Your photos will look significantly better if you move away from automatic modes and take manual control of your camera.
- Image Format: RAW vs JPEG. Always shoot in RAW. While JPEG files are compressed and processed by the drone, RAW files preserve all the pure data captured by the sensor. This gives you maximum flexibility when editing in software like Adobe Photoshop or Lightroom.
- ISO: Keep this as low as possible (usually ISO 100) to avoid digital noise in your shadows, especially during golden hour.
- Aperture: If your drone has an adjustable aperture, shoot around f/4 or f/5.6 for the sharpest results across the frame.
- Exposure Compensation: Keep an eye on your histogram. If the white temple walls are too bright, dial your exposure compensation down to -0.3 or -0.7 to preserve those delicate highlights.
The Golden Rule of Aerial Composition: Never place your subject dead center unless you are going for absolute, symmetrical minimalism. Instead, use the grid lines on your controller screen to place the main temple pagoda along the intersections to create balance and tension.
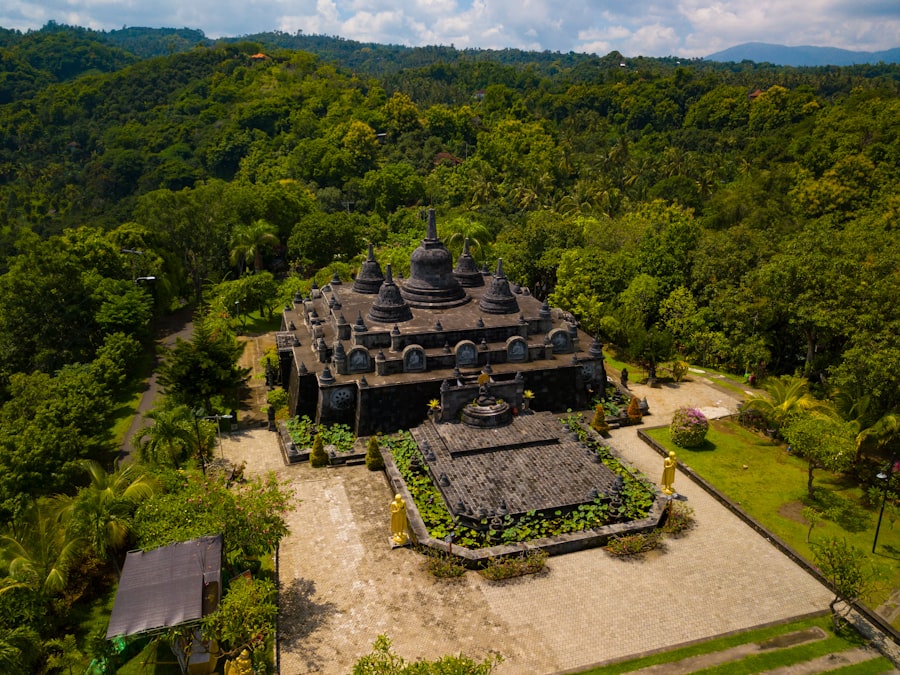
Step-by-Step Guide to Framing the Perfect Shot
Now that your settings are locked in, let us walk through the actual process of capturing an image that will make your audience stop scrolling. This Kyoto temple drone photography guide 2026 approach is designed to keep you safe, respectful, and highly creative.
Step 1: Arrive Before the Sun
The best light happens during the golden hour, which is just after sunrise. Not only is the light soft and warm, but the wind is usually calmest in the early morning. Arriving early also ensures you do not disturb crowds of tourists, which is a crucial aspect of responsible drone piloting in Japan.
Step 2: Compose Using the Rule of Thirds
Now try this: turn on the rule of thirds grid on your pilot app. This classic rule divides your screen into nine equal rectangles. Position the main temple structure where the grid lines intersect. By placing the pagoda on the left or right third of the frame, you leave room for the misty mountains or the waking city in the background, telling a much richer story of the landscape.
Step 3: Play with Depth and Bokeh
Can you get bokeh with a drone? Yes! If you fly close to some overhanging maple leaves while focusing on a distant temple, you can create a beautiful, blurry foreground. This shallow depth of field, or bokeh, adds an incredible three-dimensional feel to your aerial images, making them look less like a flat map and more like a cinematic painting.
Before & After: A Lesson in Light and RAW Editing
Let me share a quick personal story about a failed photo. During my first autumn trip to Kyoto, I found a stunning temple tucked away in a valley. I was so excited that I flew my drone up, kept the settings on automatic, and shot in JPEG. The sun was bright, casting harsh shadows across the courtyard.
When I got back to my hotel, the photo was a disaster. The bright, white-washed walls of the temple were completely blown out (pure white with no detail), and the beautiful red maple trees in the shadows were almost black. Because I had shot in JPEG, the camera had discarded all the extra light data. I could not save the highlights or lift the shadows without creating a grainy, pixelated mess.
The next morning, I went back to the same spot, but this time I applied the principles of this Kyoto temple drone photography guide 2026. I switched my camera to RAW, dialed my ISO down to 100, and used exposure compensation to slightly underexpose the image, protecting those bright temple walls. Back at my computer, using Lightroom, I easily lifted the shadows to reveal the rich red maples and pulled down the highlights to show the delicate wooden textures of the temple. The difference was night and day; the flat, ruined snapshot became a gallery-worthy print.
Navigating Rules and Cultural Respect in 2026
We cannot talk about a Kyoto temple drone photography guide 2026 without emphasizing safety and local regulations. Japan has strict aviation laws, especially around historic cultural properties. Many temples are designated as national treasures, and flying directly over them without written permission is strictly prohibited.
Always register your drone with the Japanese government before your trip, and use official airspace maps to check for restricted zones. The secret to successful drone photography in Kyoto is to fly from public areas outside temple boundaries, using a telephoto lens to compress the distance. This respects the peaceful atmosphere of the temples, keeps visitors safe, and ensures you stay fully compliant with local laws.
Don't forget to pack your patience! If a monk or local official asks you to put your drone away, do so immediately with a smile and a polite bow. Preserving the peace of these sacred spaces is always more important than getting the shot.
Final Thoughts for Your Kyoto Adventure
Mastering aerial photography in one of the world's most beautiful cities takes practice, preparation, and respect. By implementing the tips in this Kyoto temple drone photography guide 2026, you are well on your way to capturing stunning, professional-grade images that do justice to the beauty of Japan. Keep your ISO low, shoot in RAW, compose with intention, and always fly with respect. Now, get out there, capture the mist rising over those ancient roofs, and show the world Kyoto as they have never seen it before!
Frequently Asked Questions
Is drone photography legal at Japanese temples in 2026?
Yes, but strict rules apply: drones must be registered, you need permission from the temple and local authorities, and flights are restricted to specific hours and zones.
What are the best temples in Kyoto for drone photography?
Kiyomizudera and Fushimi Inari Taisha are popular but often restricted; consider less crowded sites like Tofukuji or Nanzenji with open spaces and prior permissions.
Do I need a special permit for flying a drone at temples in 2026?
Yes, you typically need a permit from the temple's management and must follow Japan's Civil Aviation Bureau regulations for drone flights near populated areas.
What time of day is best for drone photography at Kyoto temples?
Early morning hours (6-8 AM) when temples open and crowds are thin often yield optimal lighting and fewer restrictions on flight times.
How can I avoid cultural backlash while drone-flying at a temple?
Never fly near worshippers or monks, avoid rattling rituals, and keep the drone at a respectful distance to not disturb the sacred atmosphere.

Matthias Weber digs into the craft of travel photography, from camera settings to editing. He explains the technical side in plain language so you can spend less time fiddling with dials and more time shooting.
💬 Comments (0)
No comments yet. Be the first!